I am being taken advantage of by my nieces ... and loving every moment of it! Yesterday my youngest niece arrived with another of her dolls in tow and informed me that she needed a new dress. Well, I had some fabric left over from my Elsa projects and figured it would not take too long anyway, so I might as well make the doll a dress. Doll's clothing are very similar to clothes made for humans, but the tiny necklines and armholes make them tricky to sew. In today's blog I show you a couple of tricks for dealing with these obstacles.
When I was handed the doll, I realized that she was in need of a whole makeover, not only a new dress! Her hair was so wild that it took me a full half hour to get the knots out.
I then set to work with some Handy Andy on a cloth, cleaning up the little face. With the doll now more or less presentable, I could move on to the sewing.
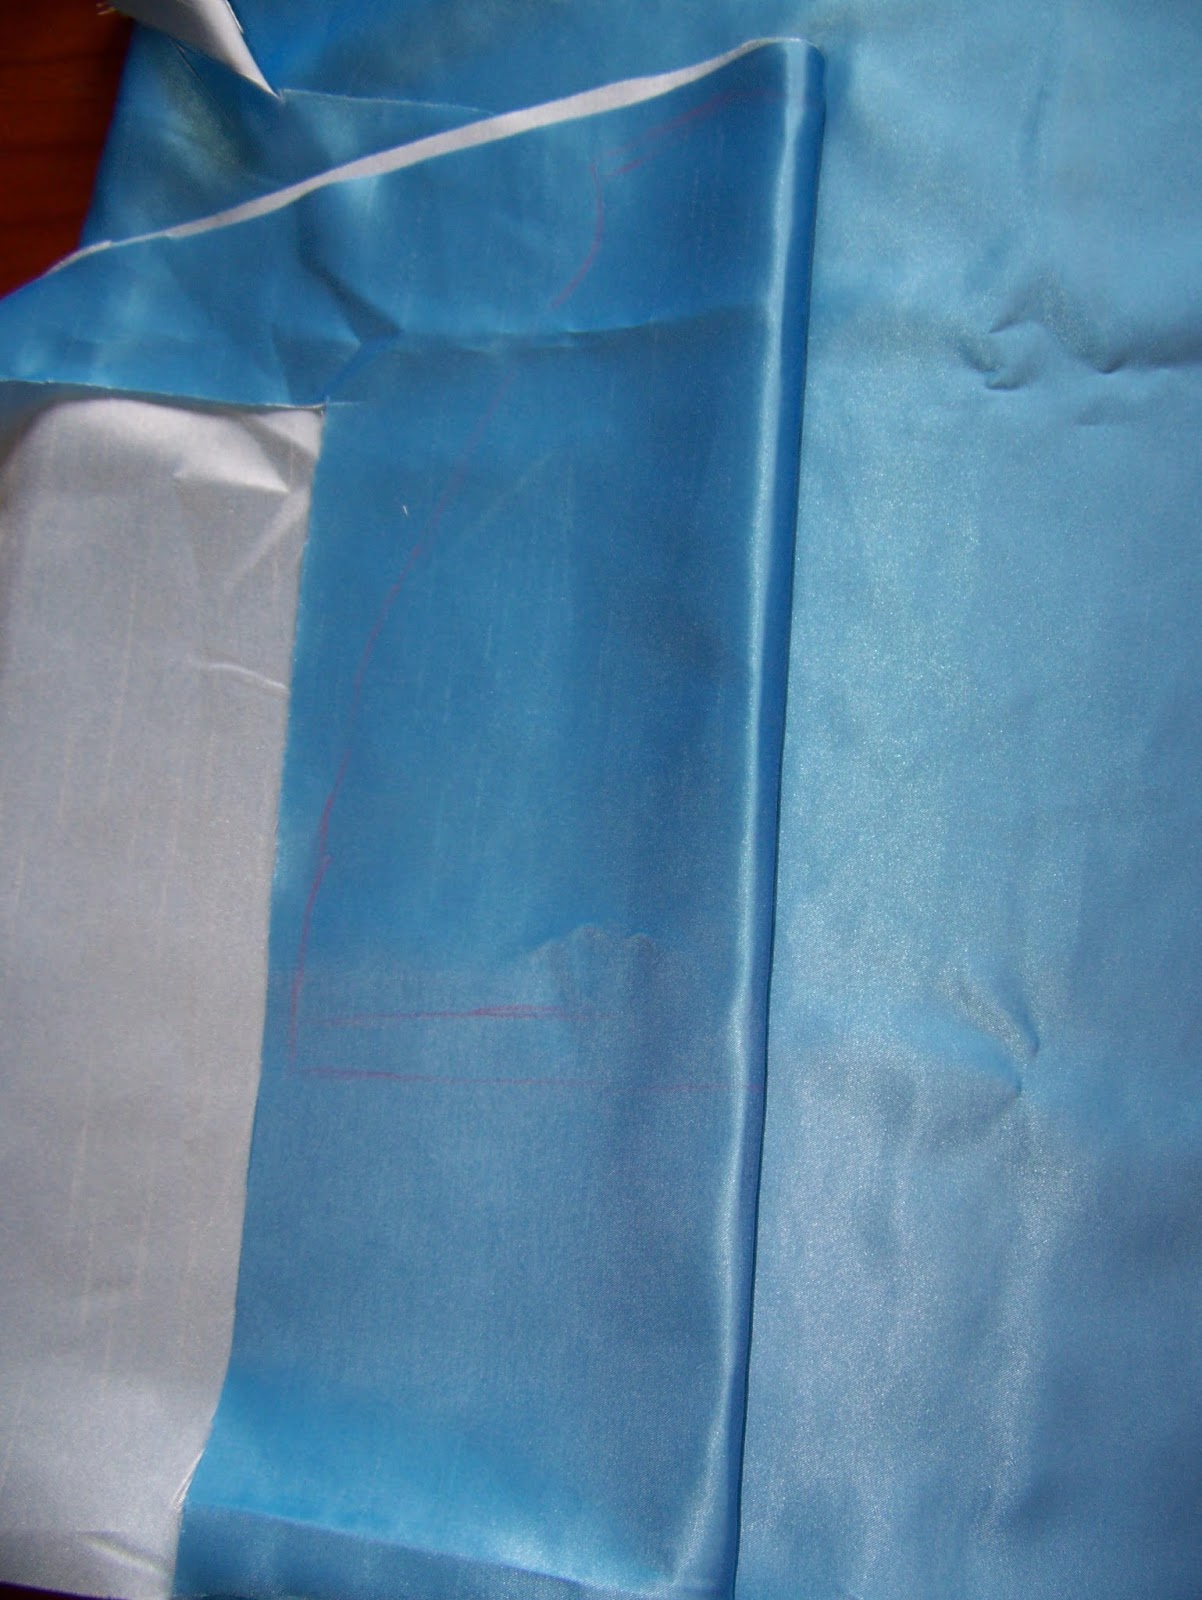
I used the doll's own dress to get the size right for cutting. I added extra space for seams and traced the outline of the dress on the fabric with Dressmaker's chalk.
I then laid the doll on top of the dress to determine how long I could make the new dress.
I then folded the fabric in half to make sure that the two sides would be equal. That meant that I was cutting four layers of fabric at once.
The cutout dress.
I wanted to add a train and laid the pattern on the fabric for the train to get the length right.
The train is basically just a long rectangle.
I decided it would be easiest to dress and undress the doll if the train was removable and cut a band for it to make it removable.
The train for the band needed to be reinforced with iron-on vilene.
I cut two small strips of Velcro and pinned it to the band.
The Velcro was sewn onto the band.
Sew on both sides of the Velcro (top and bottom) to secure it properly.
I then folded the band in and sewed the sides.
Hem the train on three sides with a rolled hem. Sew.
Tack the top of the train.
Fold the bottom seams of the band in. You may even want to iron them flat to make it easier to work with.
Tuck the train deep into the band and pin it in place. This part is tricky. Make sure that there are no loose ends slipping out.
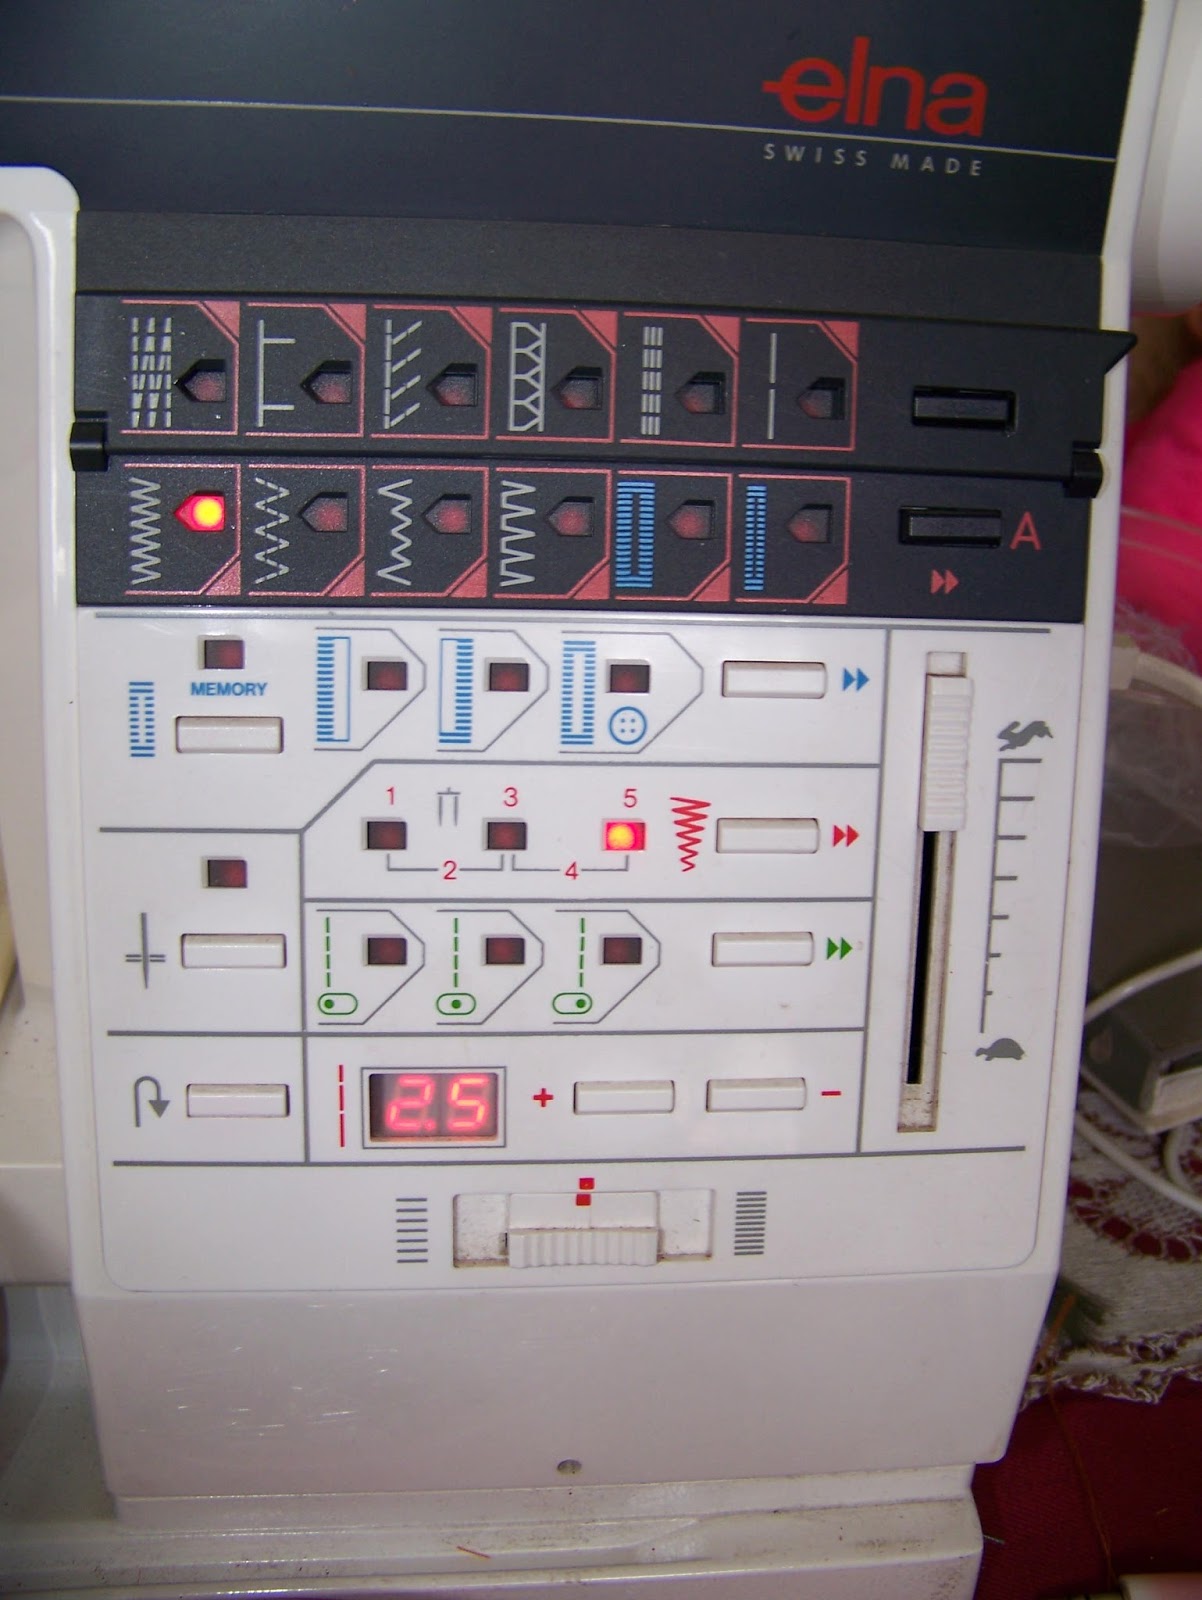
We will be doing top stitching and lengthen the stitch length on the machine as this is much neater.
Sew along all four sides of the band for a pretty finish.
The train is now complete and can be put aside.
Cut down the center of the back panel of the dress, from the neckline.
Set your machine to zigzag.
Pull the cut seam straight and finish the ends.
Fold the opening over only the width of the zigzag stitching. Pin in place. Sew.
Turn the fabric with the needle in the down position when you reach the end of the opening and sew back up to the neckline.
You now have an opening at the back to make dressing the doll easy.
Determine where the train will come and pin the Velcro to the appropriate spots.
Sew the Velcro onto the back of the dress.
Pin the front and back together at the shoulders and sew.
Fold the neckline over as you did the opening at the back. Pin.
Sew the neckline.
Fold and pin the armholes in the same way. When making clothes for humans, we will not finish the hems on the arms before closing the sides. When making doll's clothing the armholes are too small to work with the machine once the sides are closed and so we reverse the order here. We attached the Velcro earlier for the same reason. The principle to bear in mind is to do whatever needs doing while there is still space to do it in.
Sew the hems for the armholes.
Put tiny pieces of Velcro at the top of the opening at the back and sew them on to the dress to close the opening.
You can now pin and sew the side seams.
Pin and sew the hem of the dress.
The dress is now finished, except for needing some ironing.
Dress the doll and attach the train. Front view.
A view from the back.
For more crafty ideas and great products, visit
APrettyTalent.com.
Remember to keep nurturing your TALENT for making PRETTY things.
You can subscribe to this blog and receive regular updates by email by simply registering your email address at the top of the current blog.