Part 1 was published on 21 February 2015
Part 2 was published on 26 February 2015
Part 3 was published on 1 March 2015
Part 4 was published on 2 March 2015
Today we put the final pieces of the bag together and then we are all done. This is what it will look like at the end of the day:

Button and Loop
We are first going to finish the button and loop. You can make a button hole, if you prefer, but I wanted something that would give me a little extra stretch in case I wanted to use it as a beach bag and fill it to overflowing.
Cut a ribbon or elastic approximately 10 cm in length. You can also make a little fabric tube to attach as a loop.

Attach the loop to the centre pleat of the bag. I wanted to avoid extra thickness and did not allow the legs of the loop to overlap. If you are working with a thin ribbon, for example, you can allow it to overlap.

Sew it in place so that you don't have too many loose parts later when it becomes a bit more tricky.

You can sew your button on to the flap now, or you can do it right at the end. If you have an especially heavy or fragile button, it might be best to leave this till the last step.

Add the Top Panel
Next we are going to add the top panel of the bag. Take care to pin this section correctly, because it will save you lots of trouble later. Find the centre of the panel and mark it.
Put the panel inside your bag and line it up with the top of your lining. Match the centre of the top panel with the centre pleat of your bag. Work your way out and pin the top panel, the lining and the pleated bag together.

Find the centre of a second top panel. Line this panel up on the outside of your bag. You should once again work from the centres out, pinning all four layers together.

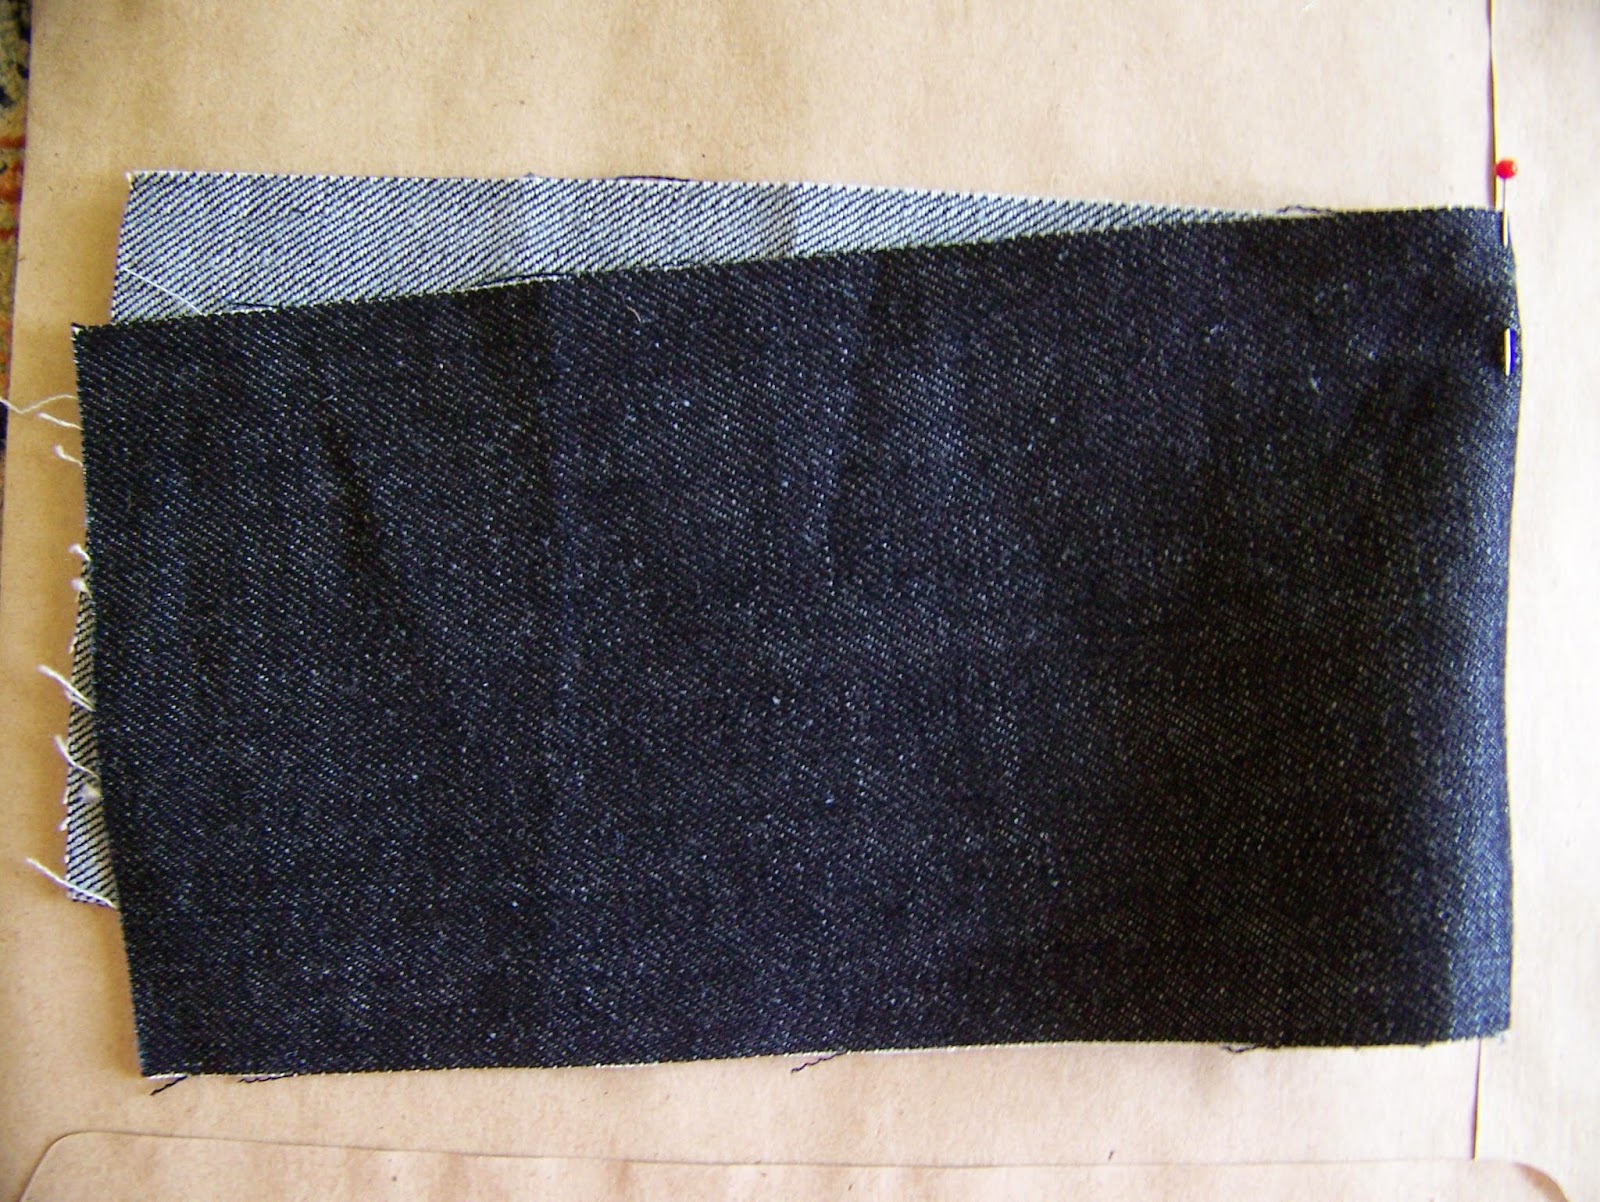
It now becomes crucial that you mark your starting and finishing points with pins before you start sewing. You are looking at the right side of my bag. The denim to the right is the bottom of my bag. The denim that is folded back is the top panel that I just pinned in place. The fabric that is peeping through is the pleated panel. When you sew the top panel onto the rest of the bag, you should not sew any further than the seam where the pleated panel and the bottom panel meet. This means that a 'flap' of approximately 1 cm will be loose, that is the piece which is folded back in the photo. This is very important for your final steps. Leave this 'flap' un-sewn on both sides of the panel and on both sides of the bag.

When you have pinned this side of the top panel in place, pin the opposite side of the bag in the same way. Finally all 4 top panels should be pinned to the bag.

Stitch the two top panels in place. I have allowed for a 1,5 cm seam allowance to accommodate the thick layers of fabric.

Attach the Zipper and Sling
Start by folding back the lining on the side flaps of your bottom panel. Fold them in approximately 1 cm.

Fold in the lining first.

Fold in the fabric to line up with the lining.


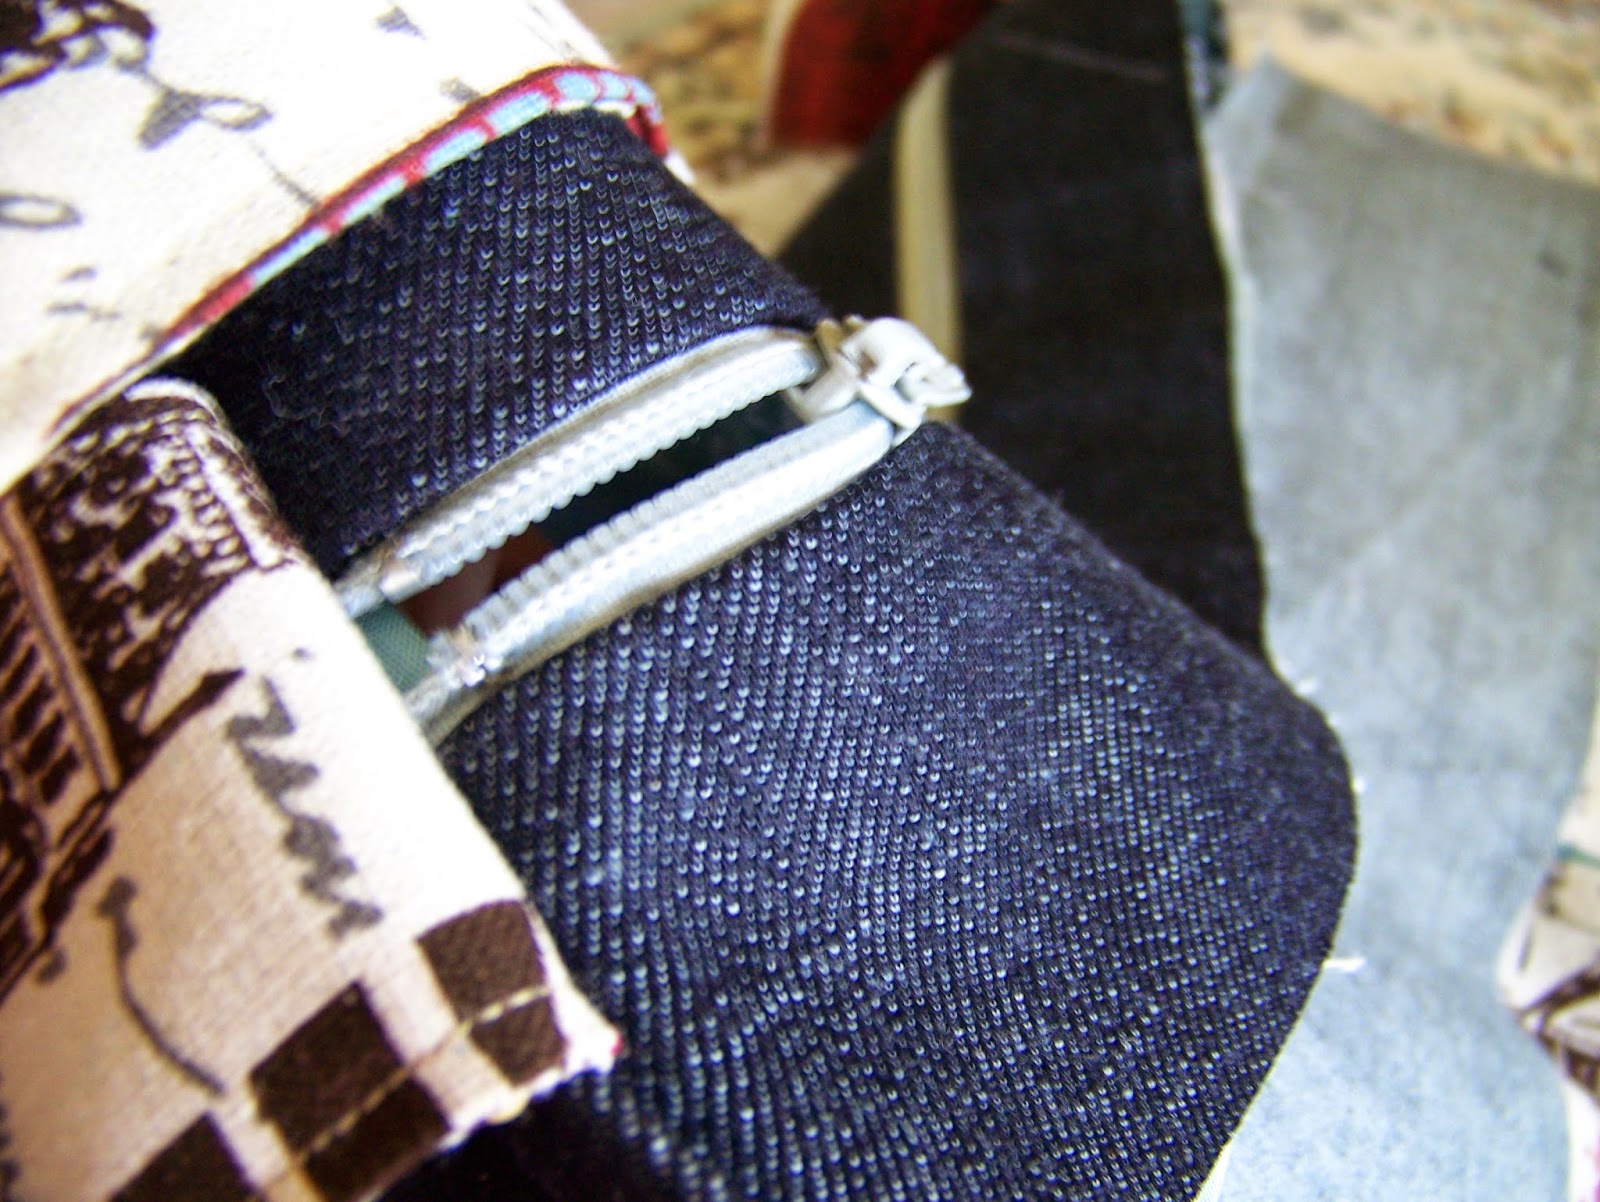
Sandwich the zipper in between the lining and the fabric, removing and re-pinning the pins one at a time. Pictured are the outsides and insides of both ends of the zipper.


Re-position your pins as illustrated and leave the centre unpinned.

Slide the sling of the bag into the opening and pin it in place. Do this on both ends.

Open the zipper slightly to make the sewing easier.
The rest of the sewing is going to be top stitching. You are going to be stitching through multiple layers of thick fabric and around awkward bends and corners. I love beautiful top stitching, but it will be difficult to achieve without an industrial machine. That is why I recommend that you change your thread to a colour matching your fabric.

Top stitch the zipper, sling and bag panels together as illustrated. The reason you can not see the zipper in my photo is because the sling is lying on top of it, obscuring it from view.

Do the same thing on the other side of the bag as well.

Final Steps - Tuck it Away
The first thing to do is to open your zipper all the way. This will give you space to work in.

Remember those seam allowances you left un-sewn on the top panel? Fold those back now and sandwich the top part of the bottom panel (attached to the zipper) between these.


Fold the tops of the top panels in.


Sandwich the zipper panel between these panels and pin in place. I show you shortly how to tuck in the corners.


That corner looks like a huge problem, but if you start tucking it in with your fingers you will see that it folds away very neatly. Pin everything properly to make sure it doesn't slide out of place once you start sewing.


Before you sew, take one last look inside to make sure that all the seams are in place. This is important, because if you miss a stitch, your bag can look very untidy as a result of crisscrossing top stitching.

Sew the long sides first, securing the zipper panels in place.

Sew the short side seams next.

And just like that you are done! Congratulations on making yourself a pleated bag. Front view.

Rear view.

Top view.

You can subscribe to this blog and receive regular updates by email by simply registering your email address at the top of the current blog.
No comments:
Post a Comment