
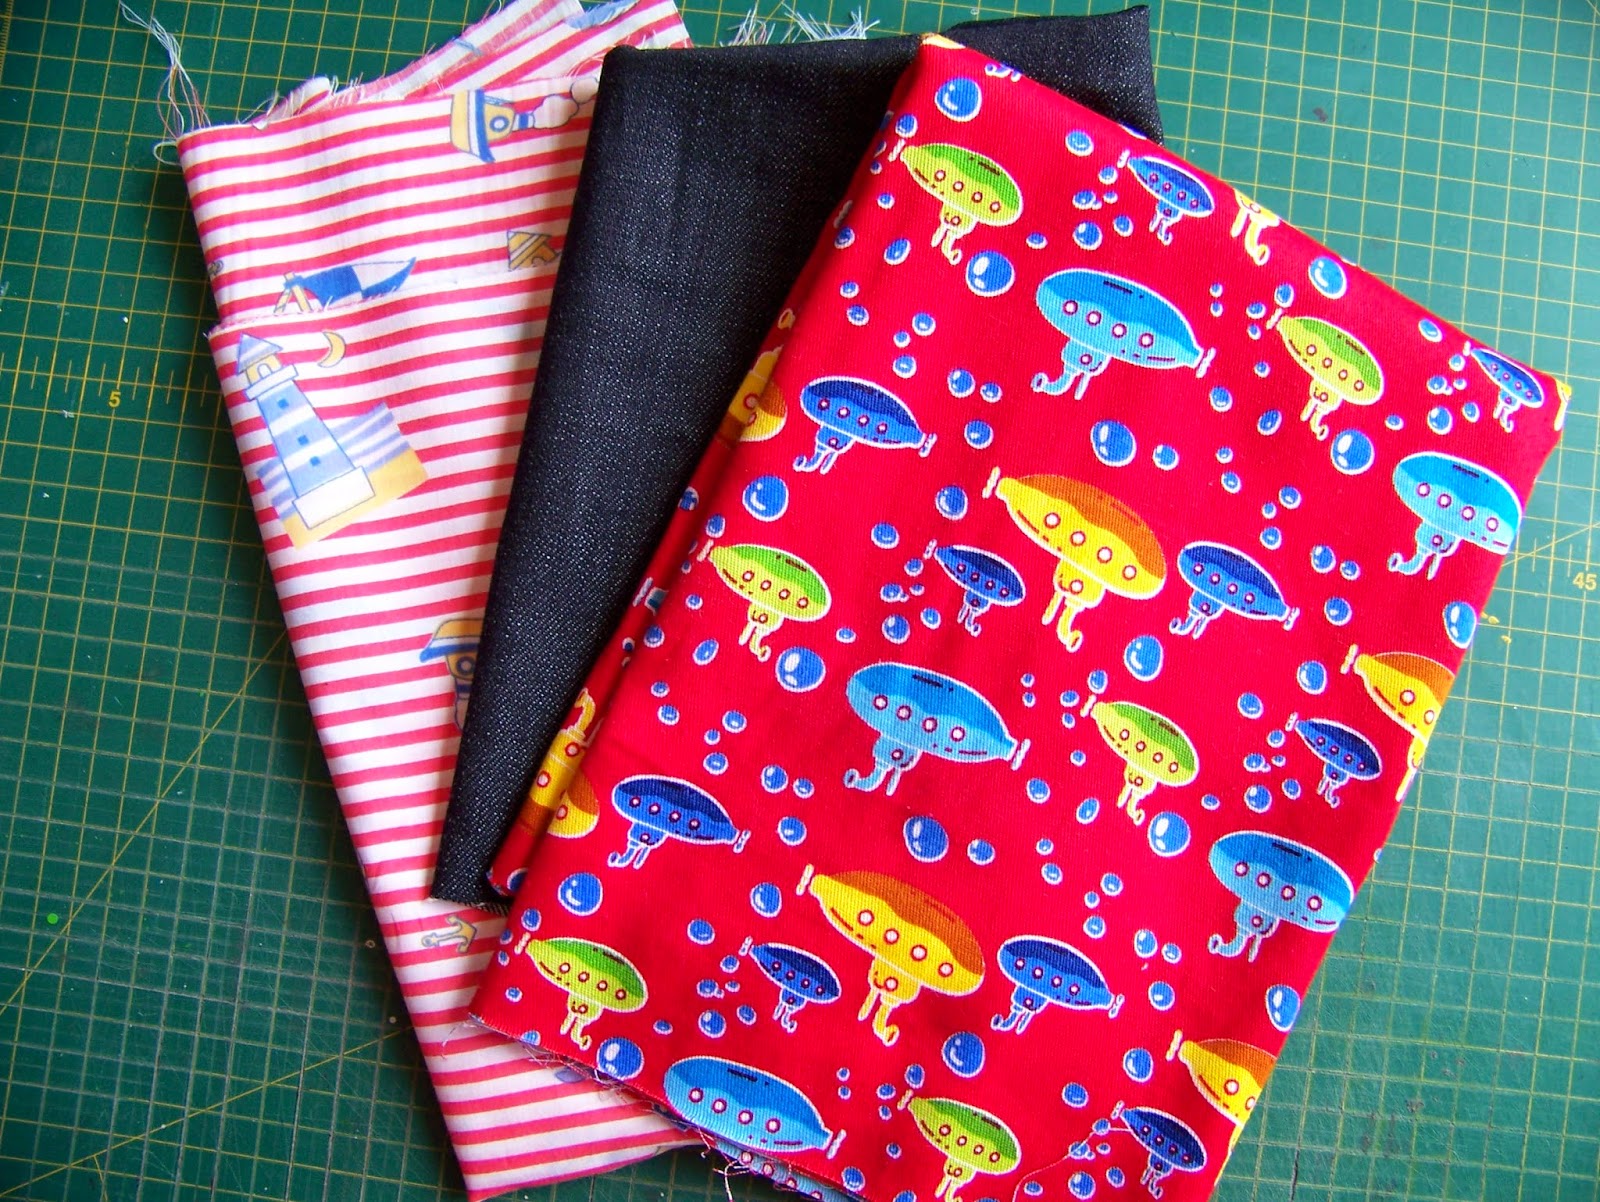
I decided to focus first on the fabric intended for my nephew, which had a decisive nautical theme. When conceptualizing an idea or pattern, it is important to focus. You can always expand from the original idea, but if you start too wide, you tend to miss the point entirely. I also decided to begin the design process on the hats, since this is what got my 'client' excited in the first place.
I made a couple of quick designs for caps. I then used the illustrations on the fabric to put together a picture of my own. This settled my mind on the idea I was working with. I immediately realized that with only a few minor adjustments, I would be able to make a number of different hats from the same basic pattern. This was done with an H pencil in a sketchbook.

I coloured the sketch with Inktense pencils, which are known for their vibrant colours.

I used a fine-liner to outline the sketch.

Finally, I washed the Inktense with water to dissolve it and bring its true vibrancy out. I used an Aquash brush with water in the reservoir, but any watercolour brush will do nicely.

When I was done, I decided to put a colour wash in the water. I laid the Inktense pencil on a washable surface and using a wet brush, I picked the colour off the tip of the pencil.

I washed the 'sea' in with this loaded brush.


To complete the storyboard, I added the fabric swatches to the picture.

It was time to design the pattern and I'll tell you more about that in the next blog. Before I leave off with this blog I want to show you what I do with my patterns. I slide them into an envelope, just bigger than an A4. I clearly mark the outside of the envelope so that I will know what is inside. You can do the same with the patterns you download from APrettyTalent.com. If you don't feel like drawing your own pictures, simply stick a photograph of the finished product(s) on the envelope, or capture one from the blog to print out and stick on.


For more crafty ideas and great products, visit APrettyTalent.com.
Remember to keep nurturing your TALENT for making PRETTY things.
You can subscribe to this blog and receive regular updates by email by simply registering your email address at the top of the current blog.
You can subscribe to this blog and receive regular updates by email by simply registering your email address at the top of the current blog.
No comments:
Post a Comment