
I have a sticker sheet with her favourite Strawberry Shortcake characters as well as an A5 sheet of paper in the theme. These will both come in handy. A double-sided A4 piece of cardboard in cerise pink is all that is needed to kick things off.
Tip: if you know of a favourite character, like this one, buy the items when you come across them rather than waiting for a birthday to come along and then scrambling to find something.

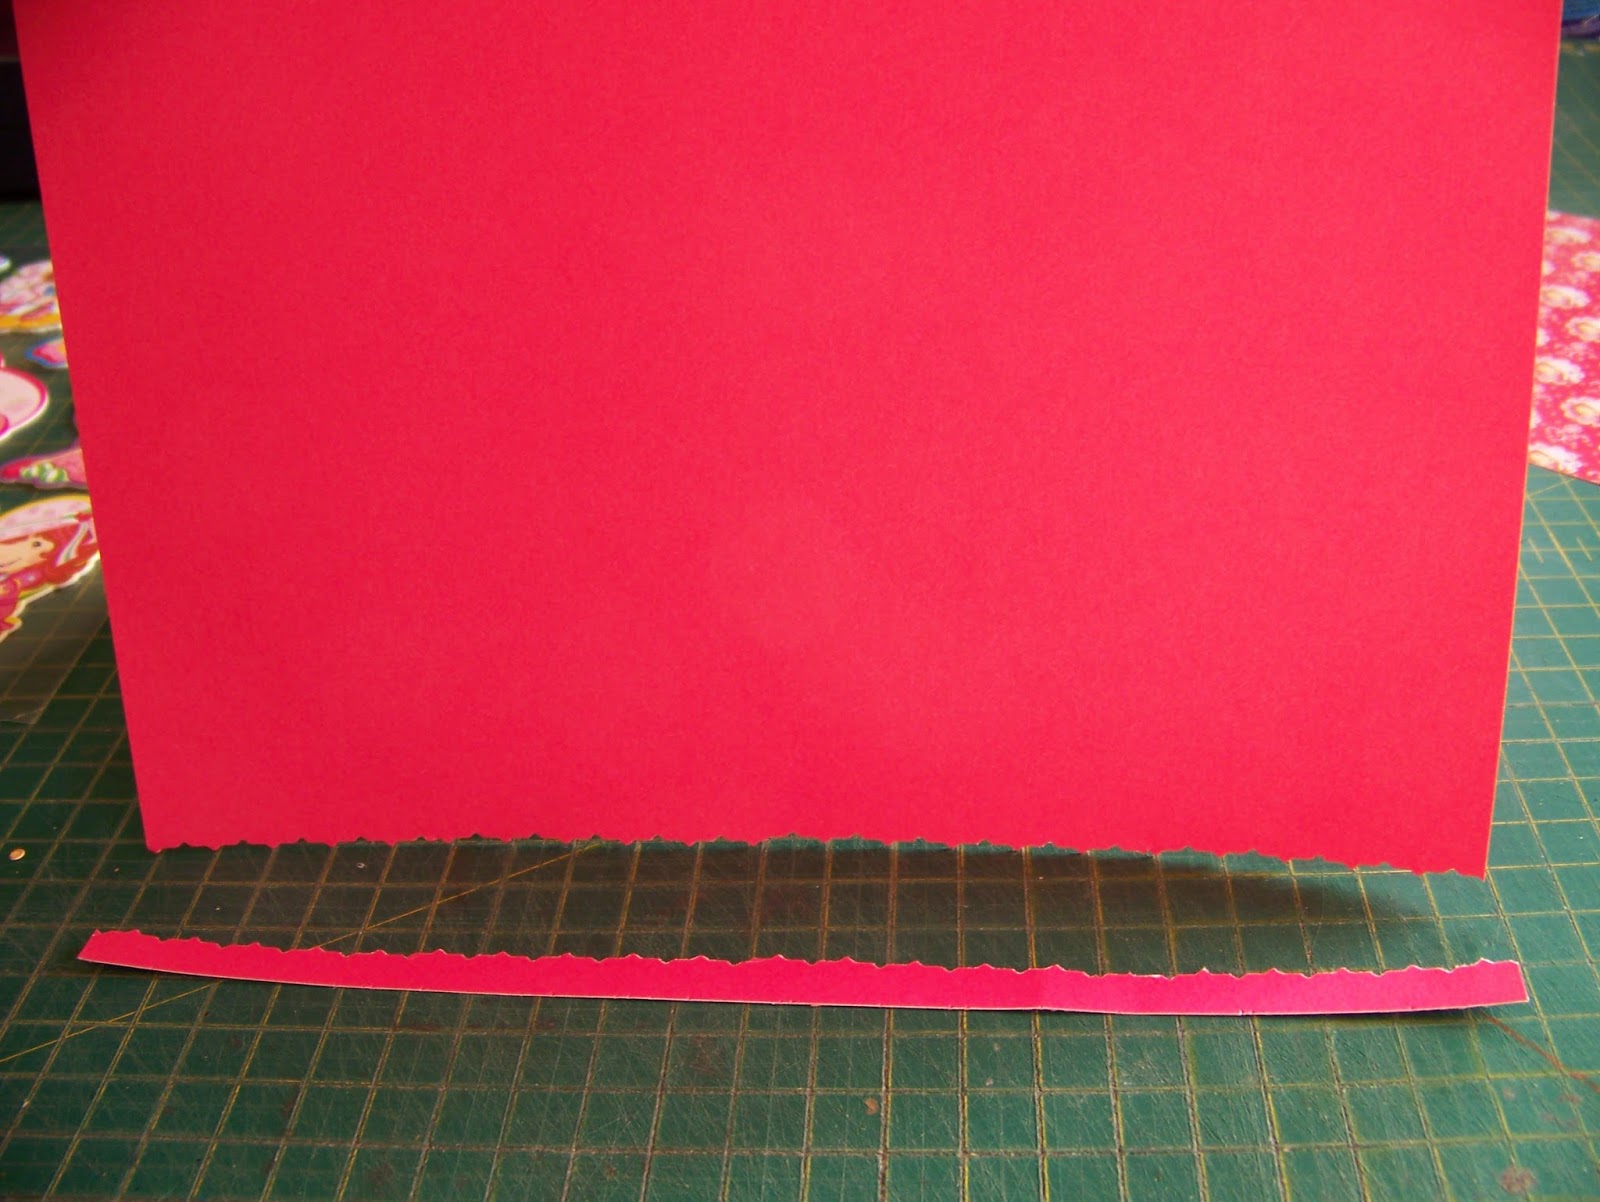
I decide that a frilly edge will be quite in order for this girly card. I therefore cut off one side of the card with a pair of scissors that has a deco edge.

I fold the cerise cardstock almost in half, with 1 cm sticking out from the bottom of the card. I now realize that the A5 paper is too big and cut the paper in half.

The two bright cerise colors are too much on top of each other and I decide to put a paler pink in between. This matting is cut 2 cm bigger than the Strawberry Shortcake printed paper.

I punch the little girl's name out of coordinating paper, using my alphabet punch set.

This too needs a paler background to stand out against the card. I select a small piece of handmade paper and cut it to size. I glue the punched letters onto this paper.

I decide that I like the layout and use double-sided tape to stick everything down.

I find a discarded frame from a previous project in my stash. This one was cut from Vellum and brings another element to the card. I decide to add this to the inside of the card. This is where I will write my message.

Loving the idea of frames, I decide to take it a little further. I cut a smaller frame for one of the stickers from a pale pink. I also cut a strip of paper the length of the card by 1 cm from the same pale pink paper.

I stick the elements in place with double-sided tape.

I use a green fine-liner to write my message in the Vellum frame. I add a small sticker here as well to keep things interesting.

The frame on the opposite page gets its own sticker in the frame.

That puts the finishing touches on the inside of the card and I am satisfied.

I add the main sticker on the sticker sheet to the outside of the card, positioning the figure off center and allowing her to walk out of her frame. This adds a sense of playfulness to the card. I balance the card by adding the sticker of the flower in the empty spot of the frame. Notice how adding the strip of pale pink to the inside of the card allowed the frilly edge of the card to show more clearly.

For more crafty ideas and great products, visit APrettyTalent.com.
Remember to keep nurturing your TALENT for making PRETTY things.
You can subscribe to this blog and receive regular updates by email by simply registering your email address at the top of the current blog.
No comments:
Post a Comment