
I will be using the Derwent Studio set of pencils that I opened yesterday for today's test. I have a drawing pad ready. As always, I slide a piece of cardboard in behind the top page of the paper pad. This will protect the bottom layers of paper if I press down hard, or make use embossing tools, etc. This is merely a precautionary measure.

I found this photo on the internet a couple of months ago and saved it to my iPad. I have no idea who to credit with taking this fabulous photo, but hats off to them. I like the idea of using this photo for a couple of reasons. When I look at the six colors that I have to work with, I see little hope of achieving the colors in the photo. This suits me, since this is realistic to what an artist may encounter. The odds of wanting to draw a clown with a bunch of brilliant balloons are slim. Yet, the colors in the set seem obviously geared towards drawing the clown. This is exactly why I avoid a photo of that nature.

I draw the basic picture in pencil. I am not going to bother with the background for the purposes of this exercise. I will concentrate only on the boat and the bird. This will be evidence enough.

I start with black, shading the darkest areas of the drawing first. This is not a color I would normally have opted to use for deep shadows, but my options are limited and I want to save the blue for other areas.

A striking color in the photo is red, yet the red in the photo is faded and brownish, nothing like the red in the pack I am working with. I am a little uneasy about applying this red to the drawing.

It is time to add the cooler counter for the red; blue. I would have loved to use different shades of this color. Instead, I am forced to use my skill in shading to achieve lighter and deeper 'colors'.

Adding green to the blue, makes me more comfortable and, for the first time, I am starting to suspect that I might achieve success at this endeavor.

I have been saving the golden brown for as long as I could. It was the only pencil in the set that I knew from the outset that I would be able to use successfully in the drawing. Almost every part of the drawing is muted and 'distressed' with the golden brown. I start with the darkest areas.

I then move to the lightest areas. All of this is only to alter the colors already used.

I now use the Golden Brown for its own sake and add the rust to the boat.

I go back to add more blue where needed.

I go back to the green a second time as well.

The red is used to add the distinct reddish hue to the rust.

I finally turn to the last color in the blister pack, the yellow, to add some odd highlights.
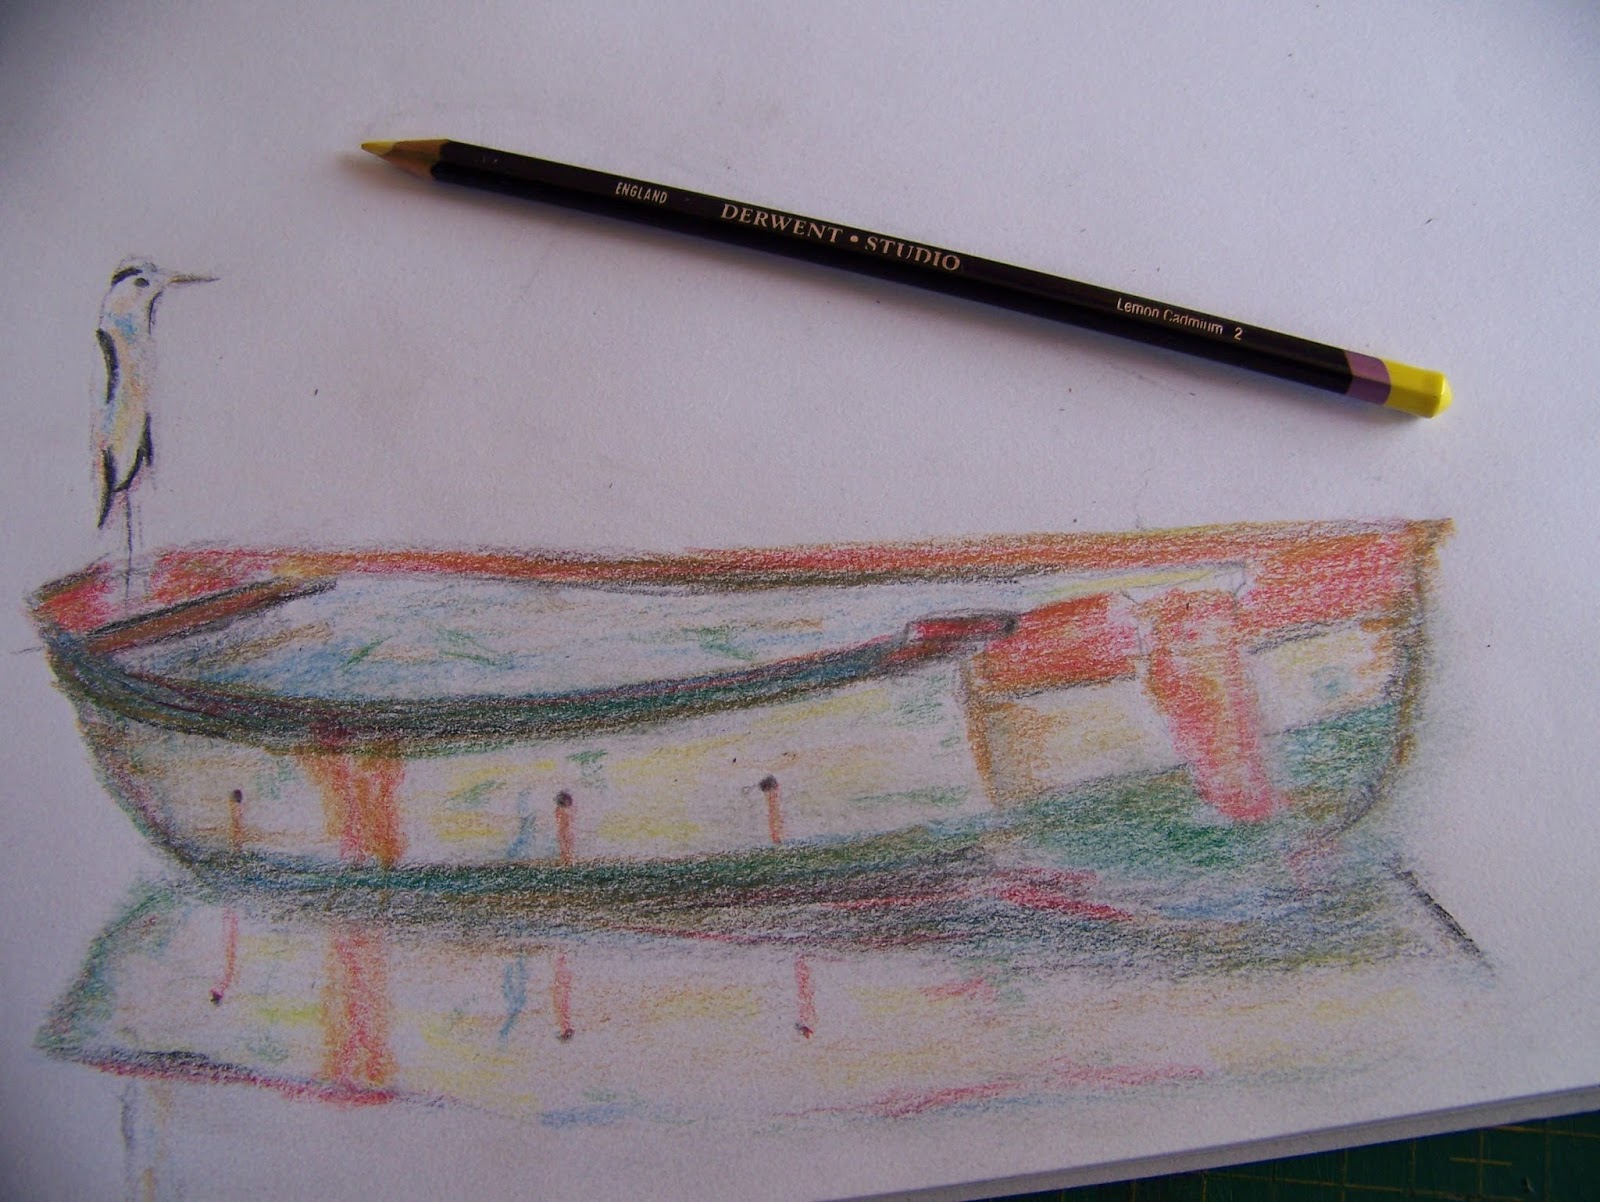
The final product is not a bad semblance of the photo at all! I am very impressed. I certainly did not expect this to be possible. If I were to work the drawing with blending pencils and paper stumps and the like, I would possibly be able to get it even closer to the original, but that seems an unwarranted use of time, since this really is only an exercise and not a fully developed drawing.

For more crafty ideas and great products, visit APrettyTalent.com.
Remember to keep nurturing your TALENT for making PRETTY things.
You can subscribe to this blog and receive regular updates by email by simply registering your email address at the top of the current blog.
No comments:
Post a Comment