
I secure a sheet of watercolor paper to a wooden backing with masking tape. When I paint the water onto the paper, it will buckle a bit and the tape will secure it in place. I will let it dry with the tape in place and as it dries it will return to its previous condition.

I will be using my set of Aquatone pencils and a selection of brushes are kept handy.

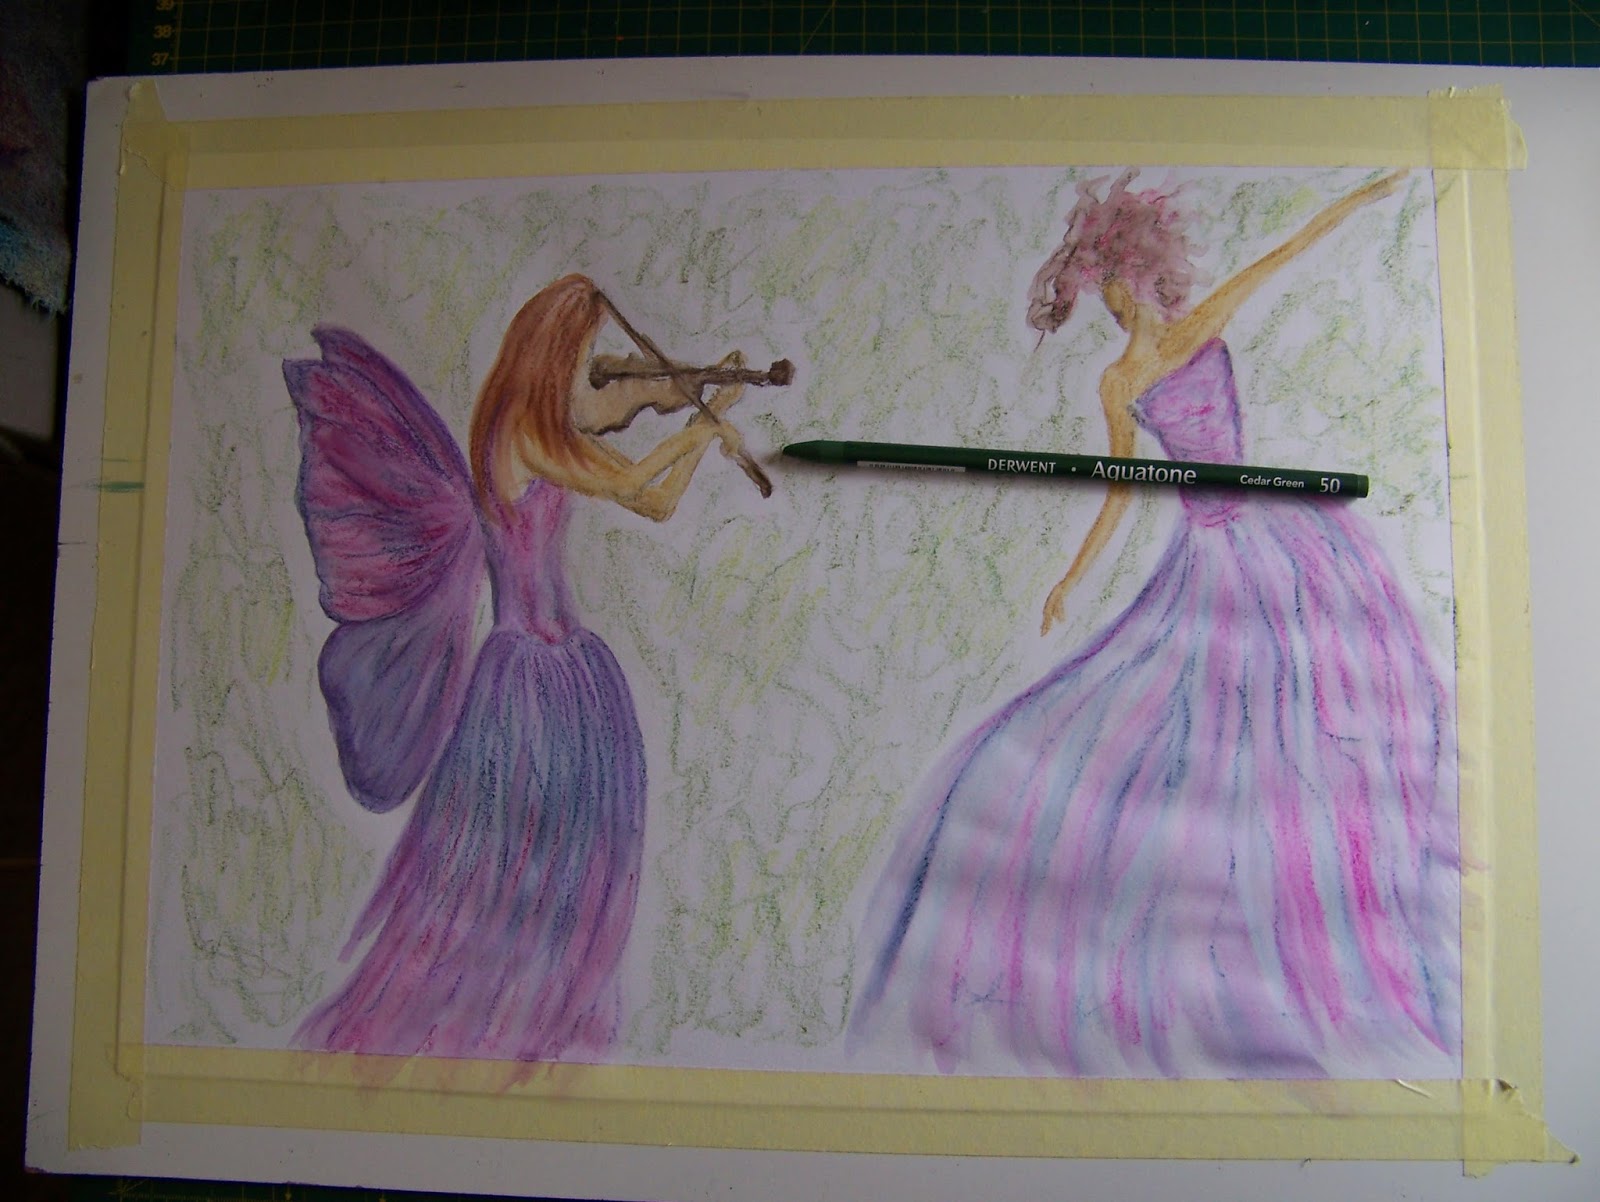
Aquatone are solid watercolor pencils without any wooden casing.

I draw my design on the paper with a pencil. Keep the lines feint. I am going for a very light and airy appearance and don't want heavy pencil lines spoiling the effect.

The first color I put down is Dark Violet. Don't bother too much with shading. When we paint the drawing, we will fill the blank spaces with the paint we lift off the lines we draw.

I add a warmer hue with Burnt Carmine.

Indigo adds a much deeper cold color.

Raw Umber is used on the lightest parts of the violin and parts of the body.

Burnt Umber shapes the dark areas on the violin.

Raw Sienna is used for the flesh parts of the figure.

The hair is drawn in Venetian red.

I now move to the second figure. I start the dress with Light Blue.

Magenta is used as a warm counter to the cool color of the dress.

I again use Indigo for my deep shadows.

The flesh parts of the figure is done in Raw Umber.

Highlights are added to the flesh in Raw Sienna.

The hair is started in Crimson Lake.

Burnt Umber is used to bring the hair back to a more natural look.

It is time to start painting the figures. I use a Pentel Aquash Brush to paint the largest part of the painting. I start on the wings.

I then paint the dress.

Next follows the flesh.

I take my time to develop the flow of the hair. I also paint the violin.

In the second figure I start with the hair.

I then move down to the flesh.

Lastly follows the dress.

I cover the background in Sap Green scribbles.

I randomly add swatches of May Green.

A few areas are darkened with Cedar Green.
For the first time I use a different brush, opting for a rather wide Angle brush. I can turn it on its side to do broad strokes, or turn it on its thin side to get into small spaces. I can even lightly rest the tip in very small areas if need be. A very handy brush indeed!

I paint the whole background, making sure to lift the color properly. I don't want a scribbled background, but a nicely blended one.

I sign my work in Ivory Black.

I use a Round 0 brush to paint over the letters of my name.

The painting is now left in the sun to dry.

Once it is dry, I simply remove the masking tape without leaving any damage on the paper. I was a little pushed for time and the painting is not quite dry yet, but it will return smoothly to its unwrinkled state and I am not worried.

For more crafty ideas and great products, visit APrettyTalent.com.
Remember to keep nurturing your TALENT for making PRETTY things.
You can subscribe to this blog and receive regular updates by email by simply registering your email address at the top of the current blog.
No comments:
Post a Comment