
You will need a set of oil pastels.

You will need to get a few drops of Lacquer Thinners. This is freely available from hardware shops. You will also need a few paint brushes that you are comfortable with. I worked with a small round and small flat.

You will need a pencil to draw your original design with, eraser and sharpener. Most important of all is the surface you work on. I opted for Fabriano Elle Erre 220 gsm pastel paper in Sky Blue. I then turned the paper over so I could work on the smooth side.

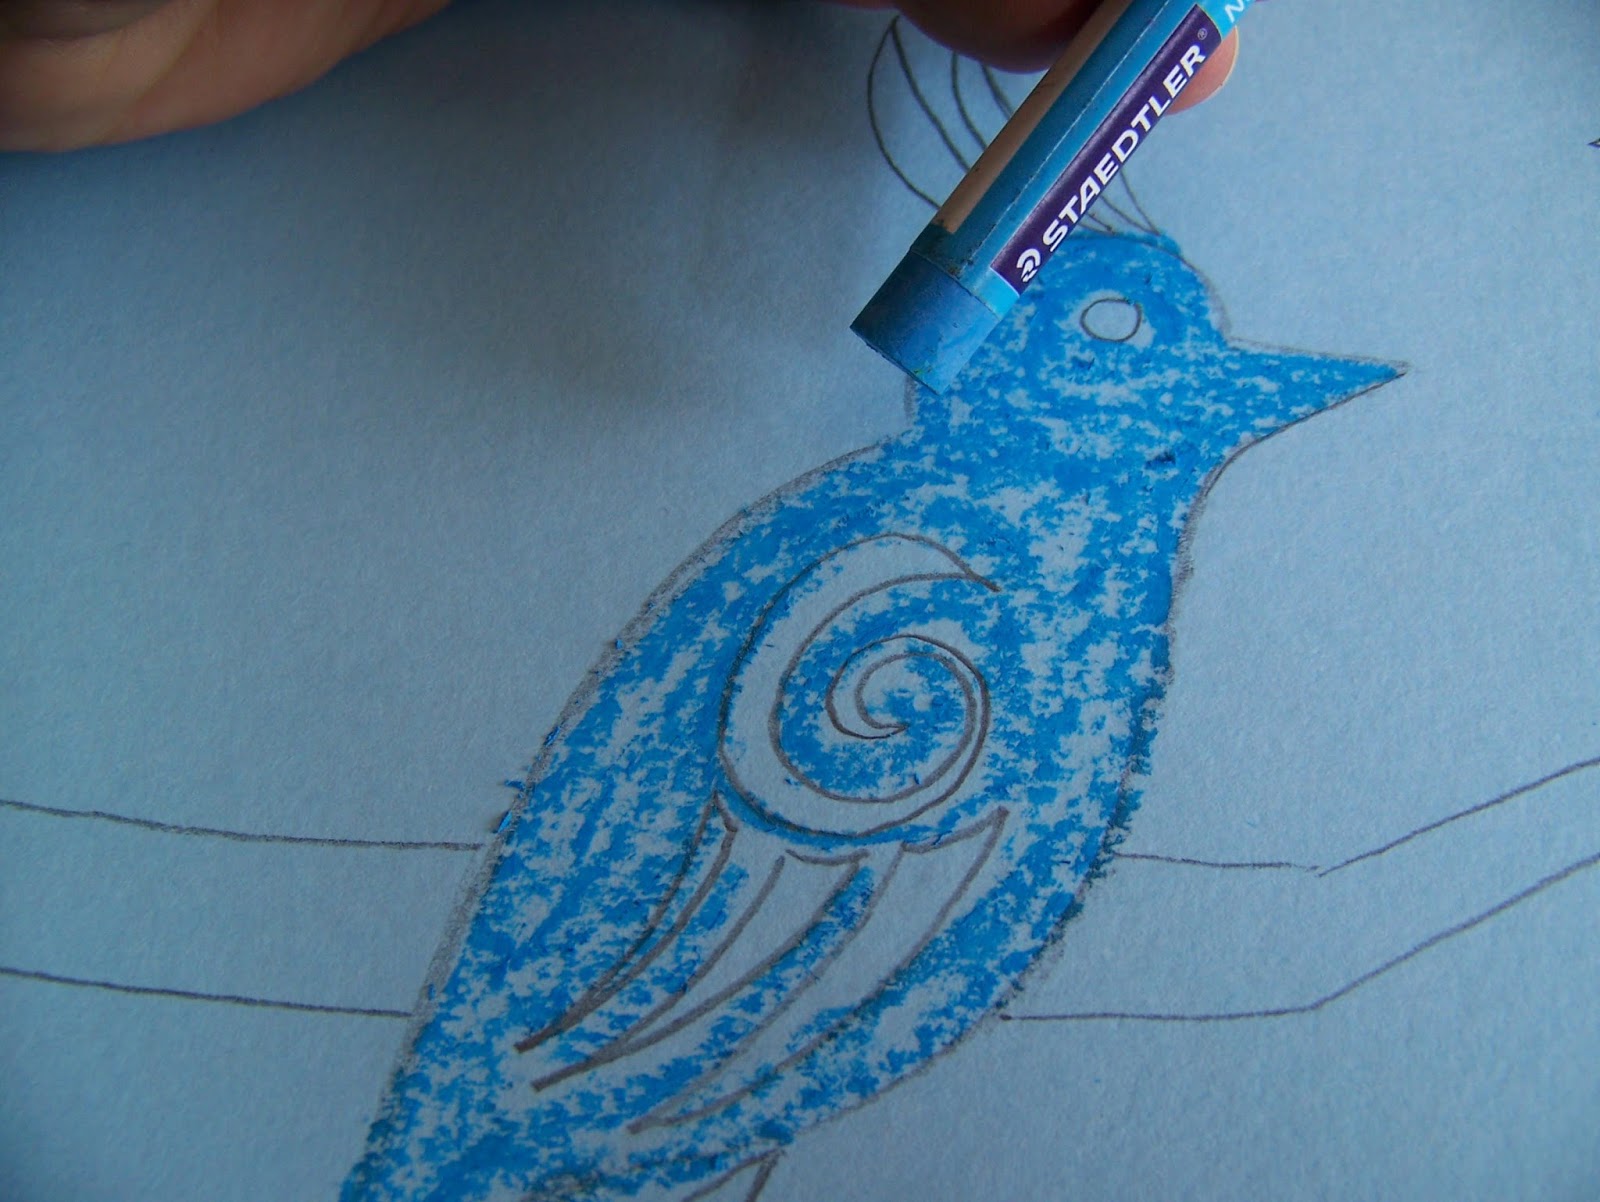
I captured this design off the internet years ago and have not been able to trace its origins, but it is not my own design. I love it for its clean lines which will work well with this illustration lesson. I drew the design onto the paper with an HB pencil.

I add a shade of blue to the necessary spots. Notice how I do not work very solidly. Instead, I very lightly add the color in quick strokes.
I then come in with a shade of purple.

Yellow is added.

Orange is added.

White is added, finishing the birds.

The branch is done in a dark brown.

The leaves are done in three shades of green.


With all the areas colored in oil pastels, I add a few drops of lacquer thinners to a container. Dip the brush in the thinners the same as you would when you were painting with water. Do take note that some people tend to find the smell overwhelming. I work in a well ventilated area. I suggest you do the same.

I use a small round brush to paint the small white areas, working from the lightest color to the darkest.

Second in line are the yellow areas, still done with a small round brush.

The larger orange areas are painted with the small flat brush, Turning the flat brush on its side allows for very tidy corners. This being the first of the larger areas to be painted, I can finally show you in detail the difference it makes when you paint the thinners on the oil pastels.

I now paint the purple areas.

The birds are finished once I've painted the blue.

Now follows the branch.

Lastly the leaves are painted.

This is what the painting looks like when it is finished.
The last word has not been spoken, though, because once I had finished I realized that the illustration gave you no idea of the ability to blend colors using this method. I quickly turned my page over to do a simple illustration on the back. This meant I was now working on the rough side of the paper. I made a few strokes in Olive Green.

This was followed by overlapping strokes in Red Vermilion.

This in turn was overlapped with Medium Yellow.

I then painted thinners onto the lines in the same direction as the pastel strokes. Notice how the thinners loosens and dissolves the particles, drawing them along and mixing them in with the colors to the top.

Worrying that you might not be able to see this clearly, I then drew the colors to the side in side-wards sweeps of the brush. (May I mention in parting, that this experiment on the back of the paper had no negative effect on my painting in the front, due to the fantastic quality of paper I was working with).


For more crafty ideas and great products, visit APrettyTalent.com.
Remember to keep nurturing your TALENT for making PRETTY things.
You can subscribe to this blog and receive regular updates by email by simply registering your email address at the top of the current blog.
No comments:
Post a Comment