
The only products required for today's project is a set of Derwent Drawing pencils and a sketch pad. Oh yes, you'll also need a good blender, but I'll tell you more about that later.

When I can foresee that I will be applying a lot of pressure to paper, I like to slip a piece of cardboard underneath it to protect the paper in the pad underneath the one I'm working on.

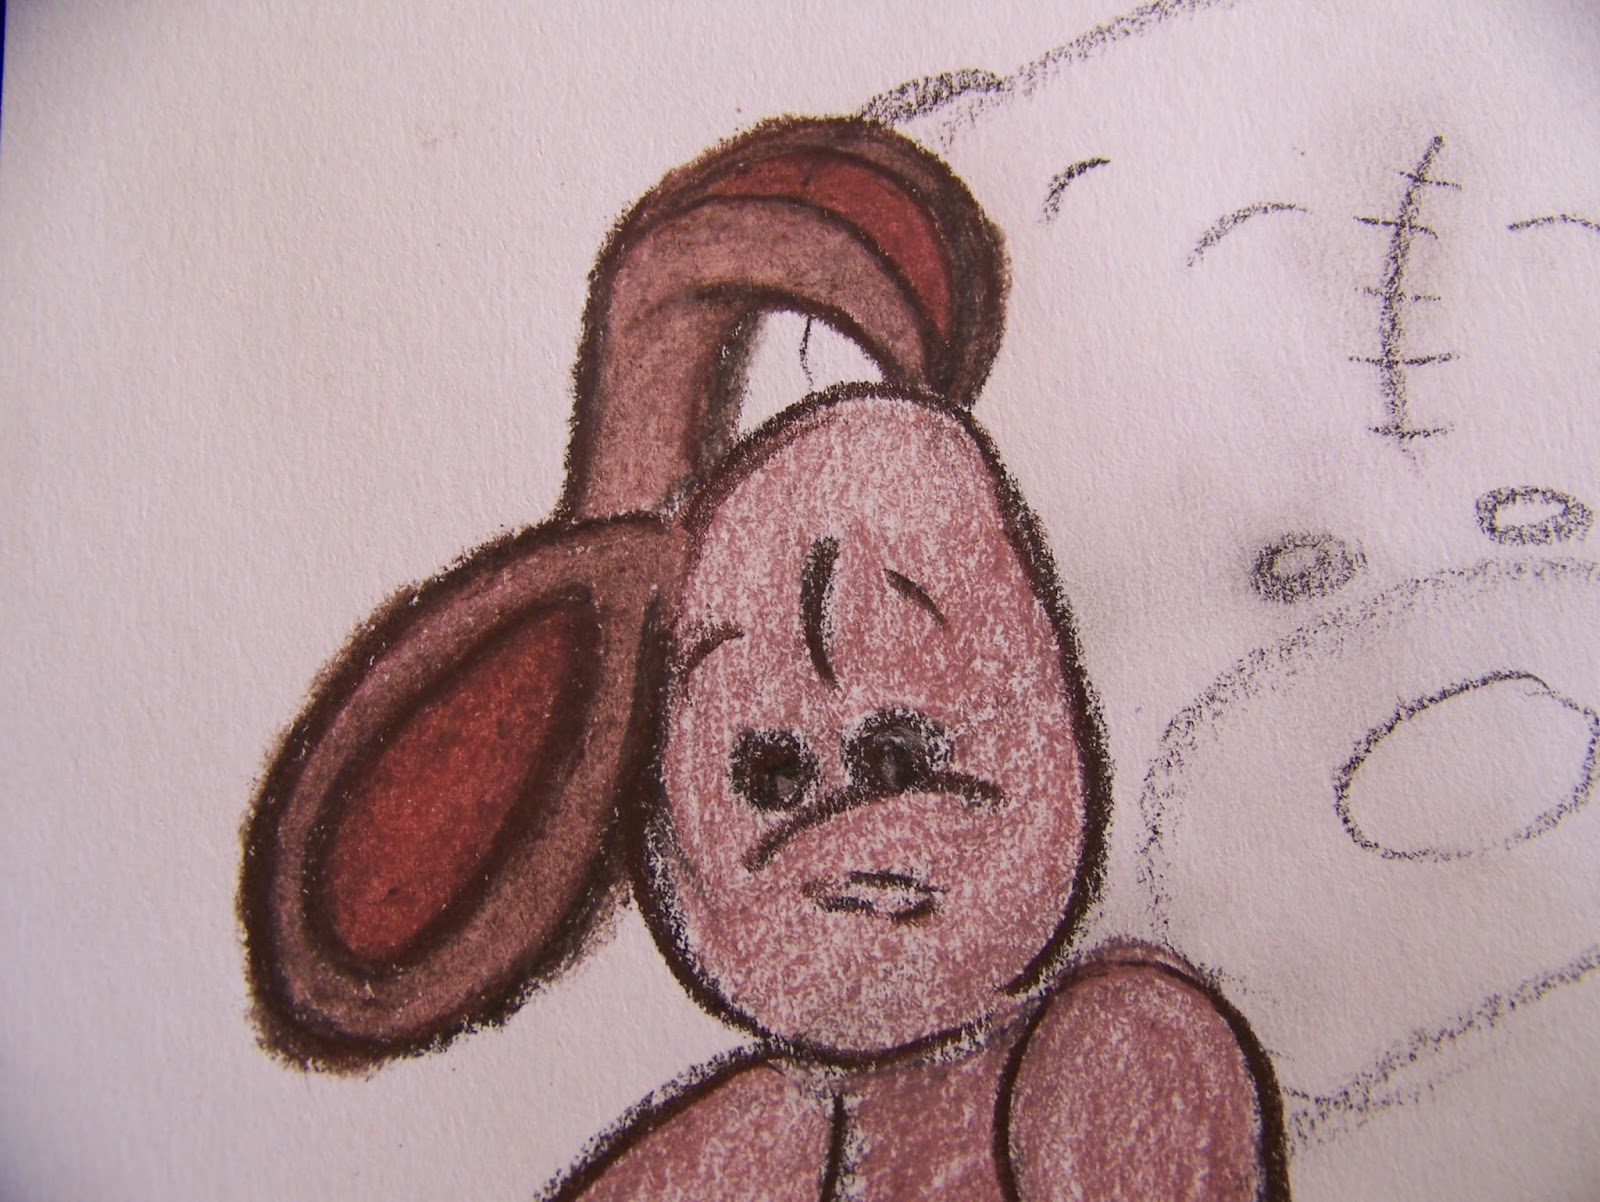
To kick things off, I draw the picture in Ivory Black.

I use Mars Violet for the main body of the rabbit.

The deeper colors on the rabbit, like the inner ears and the soles of the feet, are colored with Ruby Earth.

When the coloring is done, I outline and add definition in Chocolate.

I enliven the eyes by adding some Chinese White and Ivory Black to it.

With the whole rabbit colored, it is time to start blending the colors. I use Derwent's Blender to do this. In this picture I have only blended the pencil in the top ear.

My blender has been worked down to a stump, from which you can see how much I love it, but this is what it looks like when you buy it new. The Derwent Burnisher and Blender set comes with two of each, a sharpener and an eraser.

Both the ears have been blended here. Can you see how much difference it makes to the rest of the face and body which has not been blended yet?
I blend the Chocolate outline first, drawing the dark into the picture.

Only after the outline is blended do I move in to blend the inside of the rabbit. I will follow this rule throughout this project, though it is not a fast rule for blending.

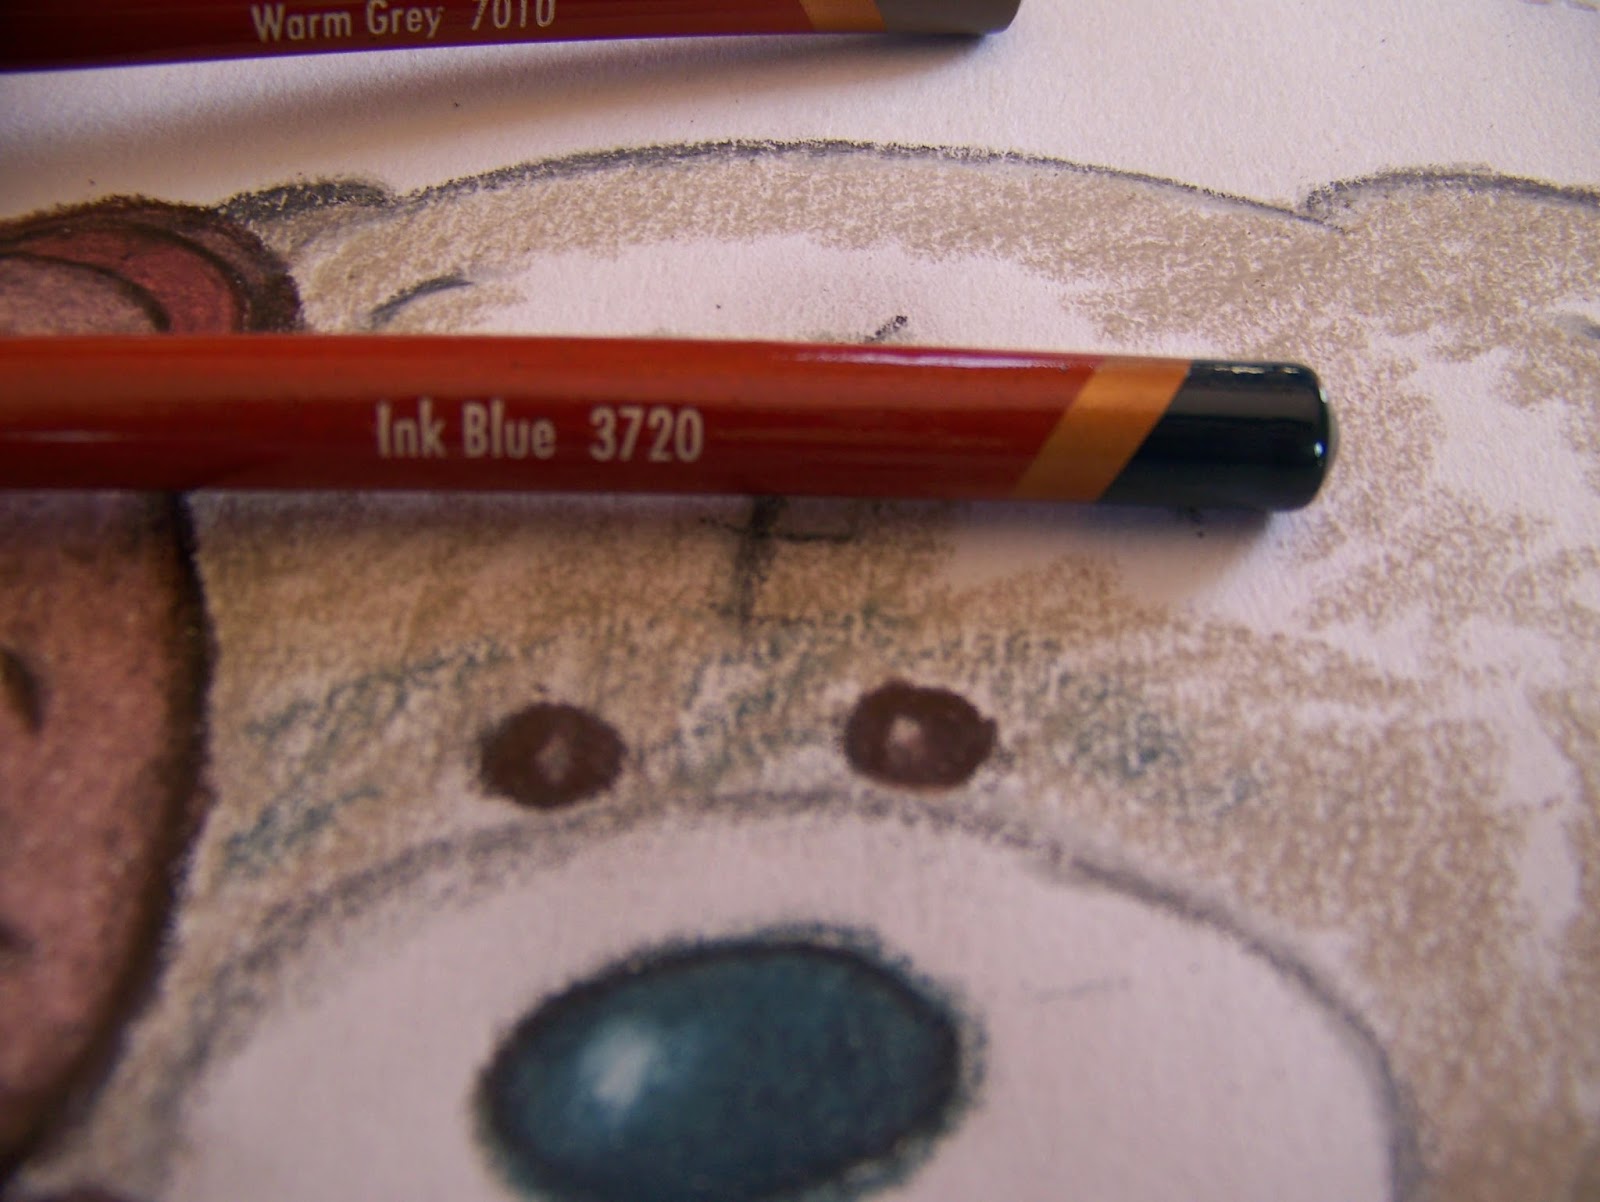
With the rabbit done, I turn my attention to the bear. I start on the nose which is colored in Ink Blue. Remember to leave the shiny spot on the nose white. (I make quick color strokes in random places on the bear in Ink Blue as well).

I use Chinese White to blend the shiny bit on the nose in to the rest of the nose.

I finish the blending job with the Blender.

I use Solway Blue on the outline of the bear. I also color all of the definition lines in the same color.

I color the bear's eyes with Chocolate and Chinese White.

I blend the definition lines of the bear. This will prevent, to a large extent, that it becomes obscured when the color is added in the next step.

I color the bear with Warm Grey leaving only the highlights white.

Can you see where I have added the quick strokes of Ink Blue?
The highlights are colored with Cool Grey.

I start the blending process on the outline, drawing the Solway Blue into the picture.

Here is a close-up of the blended outline.

Blend the inside of the bear. Your coloring and blending should follow the lines of the bear. If the shape is rounded, your lines should be as well.

I make very quick light Ivory Black strokes in the snout area.

Warm Grey is laid on top of the Ivory Black.

I follow the Warm Grey with Chocolate, especially at the outer edges.

I use Chinese White to blend the area directly next to the nose.

Blend the hairy snout.

The rest of the bear is colored in exactly the same manner as the head.

I color the patch in Crop Green and Olive Earth, allowing the two colors to blend on the paper.

The outlines are defined in Ivory Black.

Add clumps of hair in Warm Earth.

Some of my pencils have become blunt and I sharpen these thick pencils in the versatile Faber-Castell Three-Holed Sharpener. I use the same sharpener to sharpen the Blender as well.

Add more hair to your clumps in Chocolate.

Revisit the clumps of hair a third time in Sepia (red).

You can now sit back after a job well done.

For more crafty ideas and great products, visit APrettyTalent.com.
Remember to keep nurturing your TALENT for making PRETTY things.
You can subscribe to this blog and receive regular updates by email by simply registering your email address at the top of the current blog.
No comments:
Post a Comment