
These are the four surfaces I will be working on today. I have laid the rulers in place to make it easy to see the dimensions.

I am going to prepare the backs of the warmer mats first. I will use a flat brush and Sap Green Acrylic Paint to paint the backs (undersides).

Leave the under sides to dry before continuing on top.

I will paint the top with the same flat brush and VanDaniQue Tuscany Chalk Paint.

Leave this first initial layer to dry completely before you continue.

I will now paint a second layer of chalk paint. This time I use English Rose.

Leave this layer to dry.

I now use a number 2 round brush and Dark Pewter to paint the sides of the warmer mats.


Once the top side is dry, I turn the warmer mats over once more to sign my name at the bottom in Dark Pewter with a Rigger/Liner brush.

It is time to distress the paint. I will use 200 sanding paper.

Sand the mat down until you are satisfied with the level of distressing achieved.

I always prefer to seal my background once I am satisfied with it. I now add a layer of varnish. The varnish is also water-soluble and will dry quickly.

Let the varnish dry completely.

I now select a 12" x 12" sheet of printed paper to punch flowers from. I will not cut out the flowers. Instead, I choose to make my own flowers using a series of punshes I have.

I test the layout of the punched out designs before I fix them with decoupage.

This time I will use Modge Podge for the decoupagem, but you can use Acrylic Gel Medium with equal success.

Paint a generous layer of Modge Podge on the surface.

Lay the punshed out designs on the wet Modge Podge and rub out any trapped bubbles.

Paint a second layer of Modge Podge generously over the designs and the warmer mats. Allow it to dry completely.

I now use a very fine sanding block to distress the decoupaged flowers with.

I wil use Tim Holtz Destress Ink in Walnut Stain to distress the picture even further.

I make sure that the sides are properly inked as this is where real distress will be most visible.
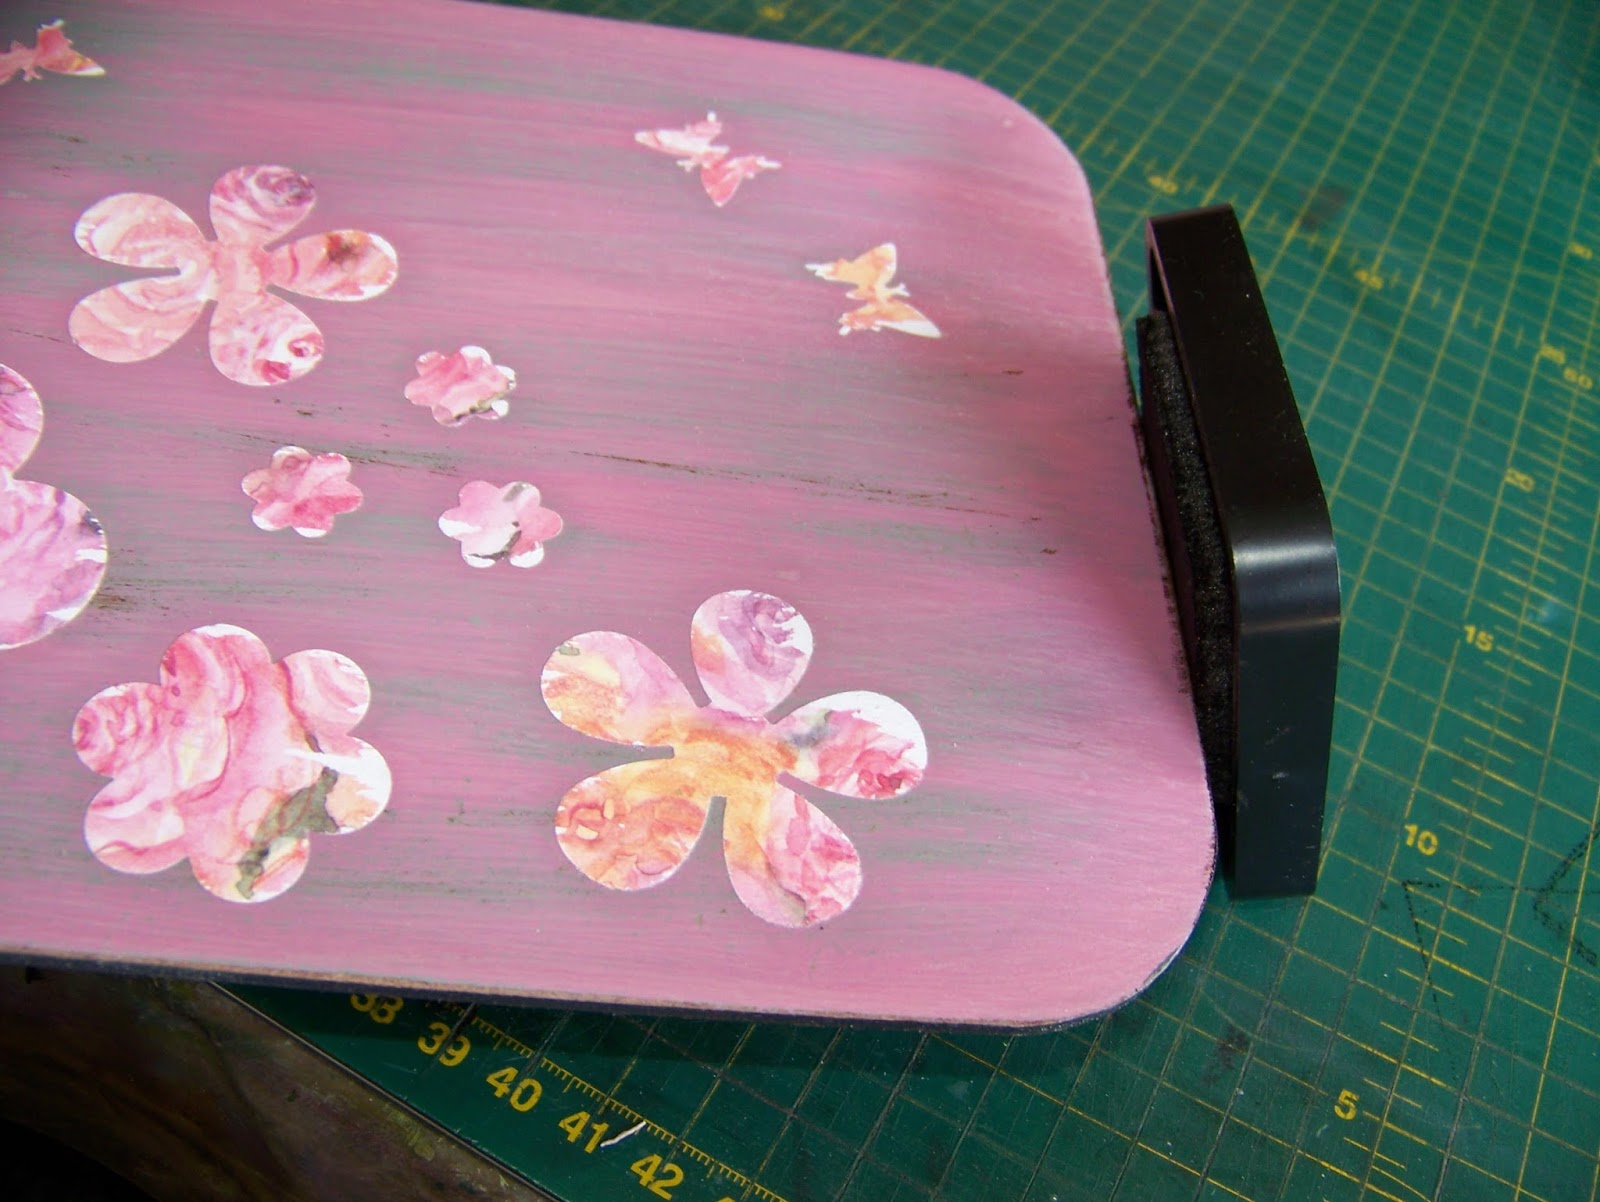
I then very gently smear the ink pad over the surface of the warmer mat. I did the same thing on the back as well for uniformity sake.

The end result has yesteryear's charm.
This set is available from APrettyTalent.com under Miekie Crafts. Click here to navigate there.
For more crafty ideas and great products, visit APrettyTalent.com.
Remember to keep nurturing your TALENT for making PRETTY things.
You can subscribe to this blog and receive regular updates by email by simply registering your email address at the top of the current blog.
No comments:
Post a Comment