
I start my drawing on a feint yellow paper. This is to make it easier for me to mimic the flesh color on the face, but you could just as easily work on white for all the difference it made to the final product. I draw a circle for the head with a drawing pencil. Keep going round and round till you find a shape you like.

Two circles form the ears. Minnie's head is slightly tilted and therefore the ears not in line on top of her head. Instead, one ear is lower down than the other.

Draw the center of the bow as well as the right hand folds. Use a soft eraser to clean up the excess lines.

Draw the left side of the bow and again erase the extra lines.

Draw the heart-shaped hairline and the bridge of the nose.

Draw the right cheek and the connect it to the ear-line.

Draw the left cheek and connect it to the ear. Note that because of the way the head is tilted, you can see less of the left side of the face and more of the right side which is tilted towards us.

Draw the button for the point of the nose.

Draw that signature wide smile.

Add the elongated ovals of the eyes. This time Minnie is looking up and the pupils go at the top. Do not forget those long lashes either!

Minnie's left sleeve is right under the center of the mouth.

Draw the bodice of her dress and the right sleeve as well.

Bring in the curve of her buttocks and add the arm. All this happens on the left.

Add one more fold for the dress on the left and then add the dress and arm on the right.

Finish the hemline of the dress.

Minnie's frilly pants show so often that it would be untrue to the mouse not to add this. Draw the frilly pants.

Draw the coquettish left leg and the line of the right leg disappearing behind the front leg.

Minnie's shoes are exaggeratedly huge and you need to keep your drawing true to this fact. Start with the left shoe.

Finish the drawing by adding the right shoe.

This time I go over all of the pencil lines with a black Sharpie marker.

The pants and the white of the eyes are colored with a white Posca marker.

I will use Derwent Inktense pencils to color the picture with. I love the intense vibrant colors of Inktense for projects like these.

The dress and bow is colored with Fuchsia.

The cuffs, belt and shoes are colored with Shiraz.

The arms, legs and hairline is colored with Ink Black.

The face is very lightly shaded in Baked Earth. This color can be much too intense of you apply it too dark.

I use the white Posca marker again. This time I make the signature polka dots on the dress and ribbon with the marker.

Sitting back, I decide that the Shiraz is too intense a color for Minnie. I use Antique White to tone it down. This concluded the drawing of Minnie, but I will show you how I used this cutie pie in a card.

I used a pair of sharp-nosed scissors to cut the drawing out.

Don't they make a cute pair?

I fold an A4 sheet of pink cardboard in half for the card.

Minnie is stuck to the left hand inside page of the card.

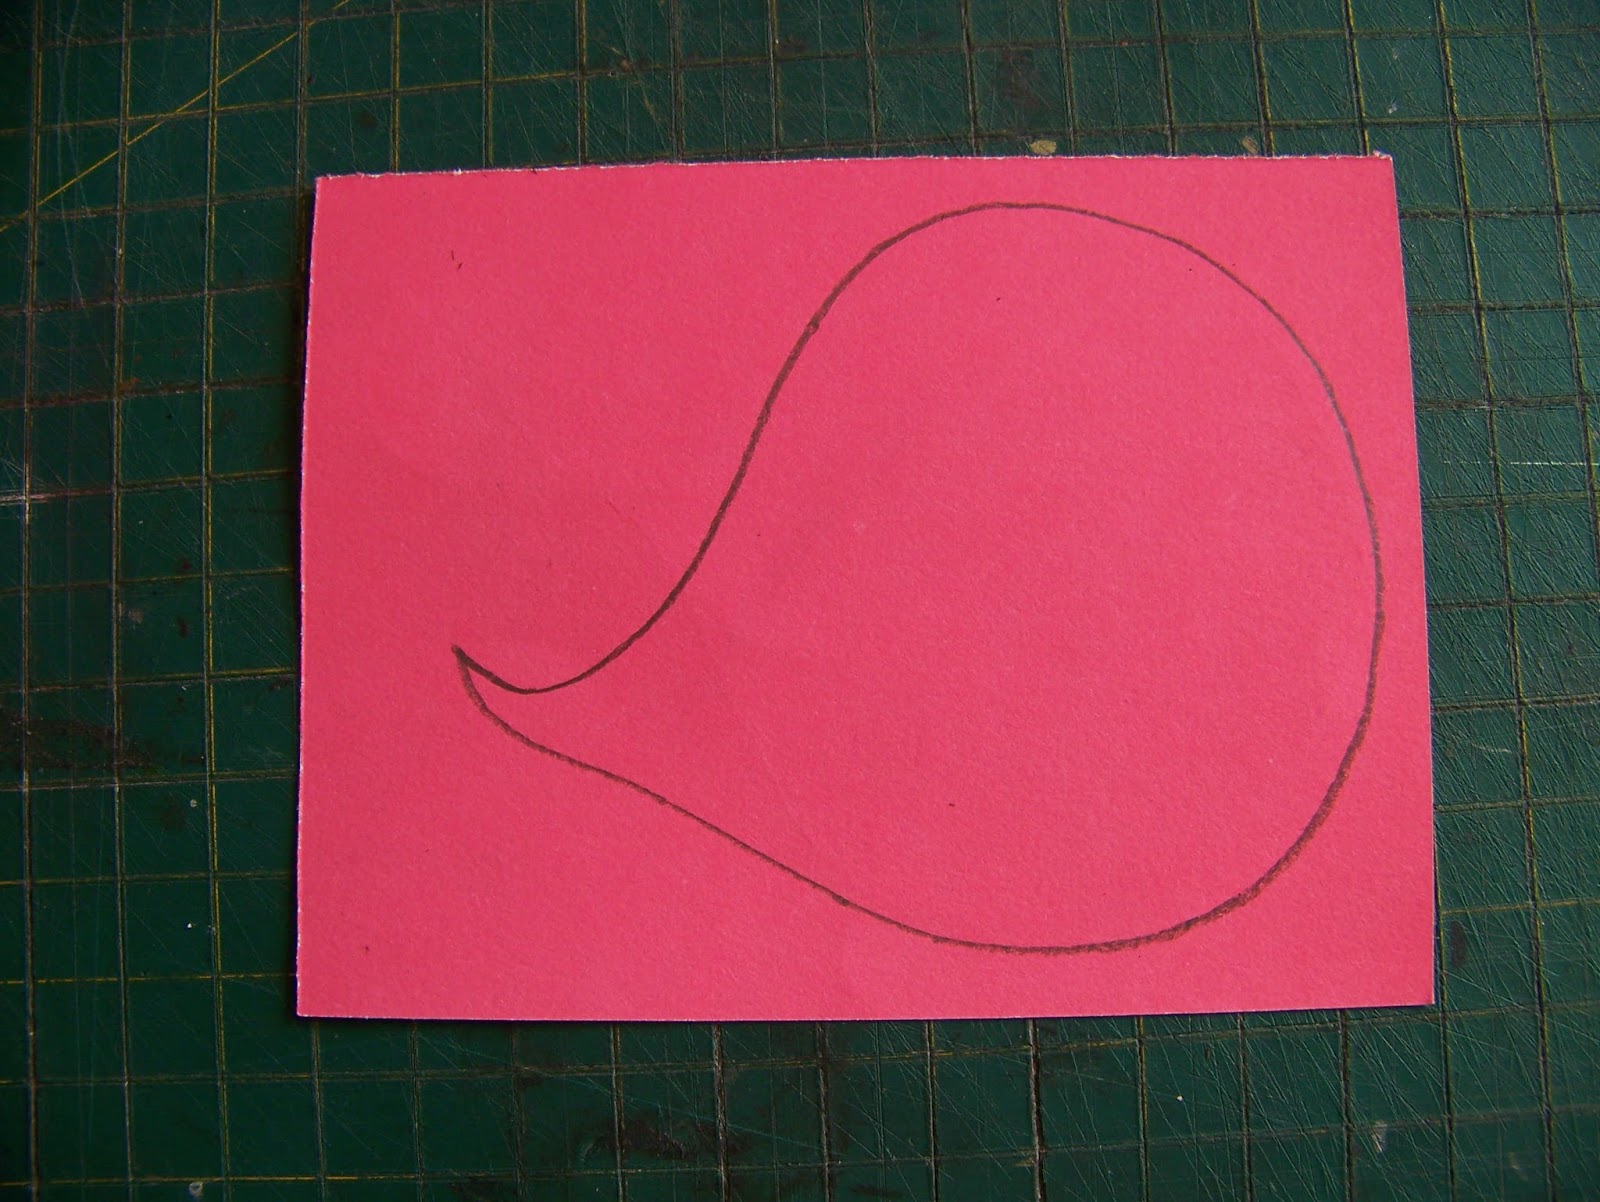
I draw a speech bubble on an off-cut cardboard in a coordinating pink.
The black Sharpie marker is used to outline the speech bubble. Minnie also have a special birthday wish for the recipient.

I use double-sided tape to glue the pieces down. A few quick lines are ruled to finish everything in an incomplete frame. Not completing the frame underscores the idea of informal playfulness.

A couple of off-cut cardboard pieces are used to create journaling blogs for the personal message on the right side of the card.

Remember to post pictures of your own drawings and/or cards. I'd love to see them!
For more crafty ideas and great products, visit APrettyTalent.com.
Remember to keep nurturing your TALENT for making PRETTY things.
You can subscribe to this blog and receive regular updates by email by simply registering your email address at the top of the current blog.
No comments:
Post a Comment