I was recently approached by someone who asked me to paint a specific photo for them. I do not know who the photographer is and wish I could give credit where it is due. There is something very characterful about abandoned wrecks and houses that seems to evoke a universal nostalgia with people. I also loved the setting hinting at wide open fields and skies. This was going to be fun to paint. The client was keen on having a textured painting on an A0 canvas. Lovely! I decided to do two different interpretations of the same photo. One would be painted smoothly and the other textured. This way I can show you some of the versatility of oil colors.
This is the photo I was given to work from.
I decided to work on an
A2 triple primed canvas.
For a long time I have discarded these corner units, but once I learned how they strengthened the structure of the canvas, I made sure to use them.
One groove in the corner is lower than the other and they slide over each other into the grooves.
I decide to drop the horizon a little as it is too close to the middle for my liking. Dividing your painting into thirds is always a good principle to maintain.
I use
charcoal to make a rather detailed sketch of the wreck. The front of the truck will be the focus point and deserves the most attention.
The back is added in as much detail as the front. I do not bother with drawing the clouds or the field as this can easily be painted in.
With the drawing in place, I now use a
mop brush with a full head of soft bristles to brush away the loose particles from the charcoal.
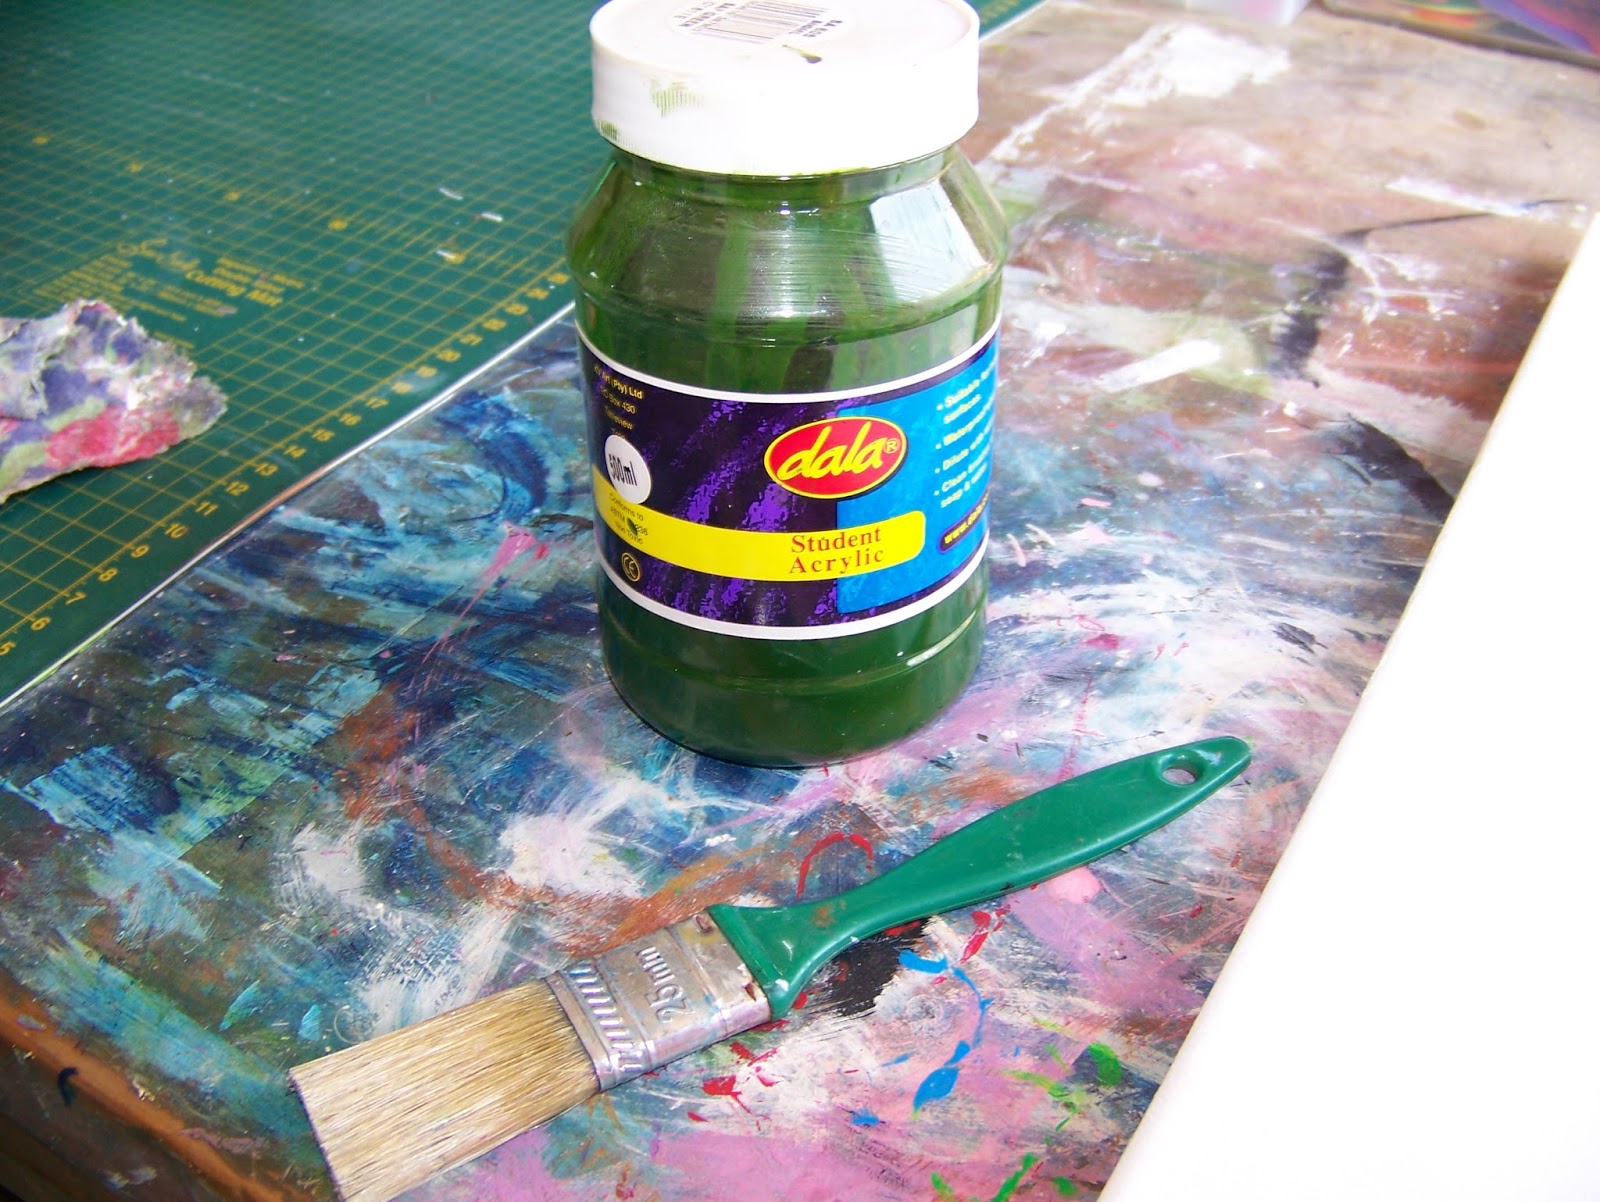
I almost always start by painting a base coat with acrylic paint. The acrylic paint serves as an extra layer of preparation to receive the paint, while the color choice you make influences the mood of the painting, even though often only on a subliminal level. This is usually monotone, but for this painting I will use two colors. I will be using a lot of white at the top of the painting and don't want another color to influence this. I therefore paint this part of the painting
Titanium White with a
wide flat brush.
Here you can see that the Titanium White has resulted in a much crisper bases to start from.
The lower part of the painting will eventually be very yellow. Adding a base coat of Sap Green will pick this up, preventing the grasses from appearing too dead and dry.
The Sap Green is transparent. This allows me to still be able to make out the lines of the drawing, but it has become much more subtle. This is perfect.
When I move to oil colors, I start by putting some Lacquer Thinners and Raw Linseed Oil in clip-on palette
Double Dipper bowls. These are used both to clean the brushes as well as to thin the paint so it applies more smoothly.
I use a
tear-off palette, keep a paper towel handy and clip my double dipper bowls onto the palette.
It is time to prepare the
oil colors. I now start squeezing a variety of blues onto the palette. This is Prussian Blue.
I use Phthalo Blue.
This is followed by French Ultramarine.
This is followed by a Cobalt Blue Hue.
The last of my blues is Coerulean Blue.
I will need lots of Titanium White.
I use a large
Filbert Brush which I dip in the linseed oil first.
I randomly dip into the different blues and paint it onto the canvas.
With the basis for the blue sky laid down, it is time to move on to the white.
I simply wipe the brush clean. No need for proper cleaning. I will be painting wet into wet, allowing the colors to mix on the canvas. Spending too much time cleaning the brush will be wasted effort.
I once again dip into the linseed oil first before loading the brush with Titanium White.
I go back and forth in large sweeps with the brush, allowing the colors to mix and blend as I paint.
I need to add a few dark stormy clouds and choose Payne's Grey for this. Payne's Grey has a blue undertone that will work wonders to achieve the result I am looking for.
Still working wet into wet, I paint the grey into the clouds and stand back. It is obvious that I need to blend some more. I now go back to the White and Blues and use these to blend the Payne's Grey into the scene until I am happy with the result.
This is a much friendlier sky with just a hint of stormy clouds. This is precisely what I was looking for. By the way, have you noticed how light I kept the horizon? The sky is always at its lightest on the horizon where the light reflects back from the earth.
I decide that I would like the lines of the drawing to be a little more prominent and redraw them with a
2B pencil.
I switch to a medium flat brush to paint the truck. I start with the blue, painting most of the truck in Coerulean Blue and only dipping into the other blues every so often. The deep shadows are achieved with Payne's Grey.
I squeeze some Brown Madder Alizain onto the palette.
I mix the brown and white together to get an opaque color. This is also when I start adding highlights by painting white into the wet colors.
I squeeze some Burnt Umber onto the palette as well.
I keep working on the rust, the bumpers and the wood, alternating the browns and blending the colors on the canvas as I go. I keep adding highlights as well.
Once I am satisfied with the truck, I move on to the grasses. I need Buff Titanium for the lighter grasses in the background.
I will use Naples Yellow as the base color for the dry winter grass.
I start by laying down the Naples Yellow. I use the original filbert brush that I painted the sky with again, but this time I turn it on its side so that I get longer and thinner strikes.
I the paint the Buff Titanium in the same manner in the background.
I use a
fan brush to dip into the browns from earlier. I add light touches of browns with the
fan brush to create shadows in the grass.
The grasses are lacking the warmth of South African grass and I turn to Venetian Red to achieve this.
Not only do I add Venetian Red to the grass, I also add it to the truck to create a more believable rust.
It is time to add detail to the painting. I will need a
rigger/liner brush for the rest of the painting.
I add detail to the grass with the rigger. I dip into all of the colors I used on the grass to add detail. Remember to paint your grass growing in different directions and guard against a pattern developing.
All of the foreground needs detail on the grass.
The absolute foreground sees me cross-hatching Venetian Red strokes to resemble trampled grass where the red of the earth is showing through. This also aids in creating the depth perspective in the painting. Warm colors advance while cool colors recede.
Detail of the foreground.
The rigger/liner is also brilliant for signing your name with.
At the last moment I remember that I have not added the wipers yet and add them with the rigger as well. I use brown with white highlights to paint the windscreen wipers.
The completed painting. This painting is available on
APrettyTalent.com in the
Gallery under
Miekie.
For more crafty ideas and great products, visit
APrettyTalent.com.
Remember to keep nurturing your TALENT for making PRETTY things.
You can subscribe to this blog and receive regular updates by email by simply registering your email address at the top of the current blog.