Read Part 1 here.
Read Part 2 here.

I started by looking at each pattern piece individually and deciding whether I wanted to keep it or loose it. If keeping it, would it still go in the same place? I kept all of the pieces, except the cellphone pocket. Some pieces remained unaltered, but some I would need to double up on. Instead of making a nonsensical list here, I will rather show you the adjustments as we make it so that it makes more sense to you. Suffice it to say for now that I cut the fabric according to my adjustments.

I start with the pattern pieces that remained the same. The zipper is sandwiched between the fabric and lining of the zipper flaps and pinned in place.

Sew as close as possible to the zipper.

Repeat the steps for the other side of the zipper as well.

The zipper needs to be ironed flat, but we will lay it aside and to the ironing in one go to save time.

The button flap remains the same as well. Lay the fabric with right sides facing on top of each other.

Sew at a foot width all around, except for the back end.

Cut away the excess fabric on the rounded end to make space when you turn it right side out.

Turn it right side out and lay aside to be ironed flat.

It is time to attache the pleats to the fabric. Pin in place.

Sew at 1,5 cm seam allowance.

Repeat the steps until both panels are constructed. Lay aside to iron flat.

The side pockets has a slight variation from the original pattern.I will attach two side pockets to both the inside as well as the outside of the bag. For this reason I have cut two side pockets from lining as well as two more from fabric. Fold over so the right sides are facing and pin in place. Sew the bottom only at 1,5 cm seam allowance.

Turn the four pockets right sides out and lay aside to iron flat.

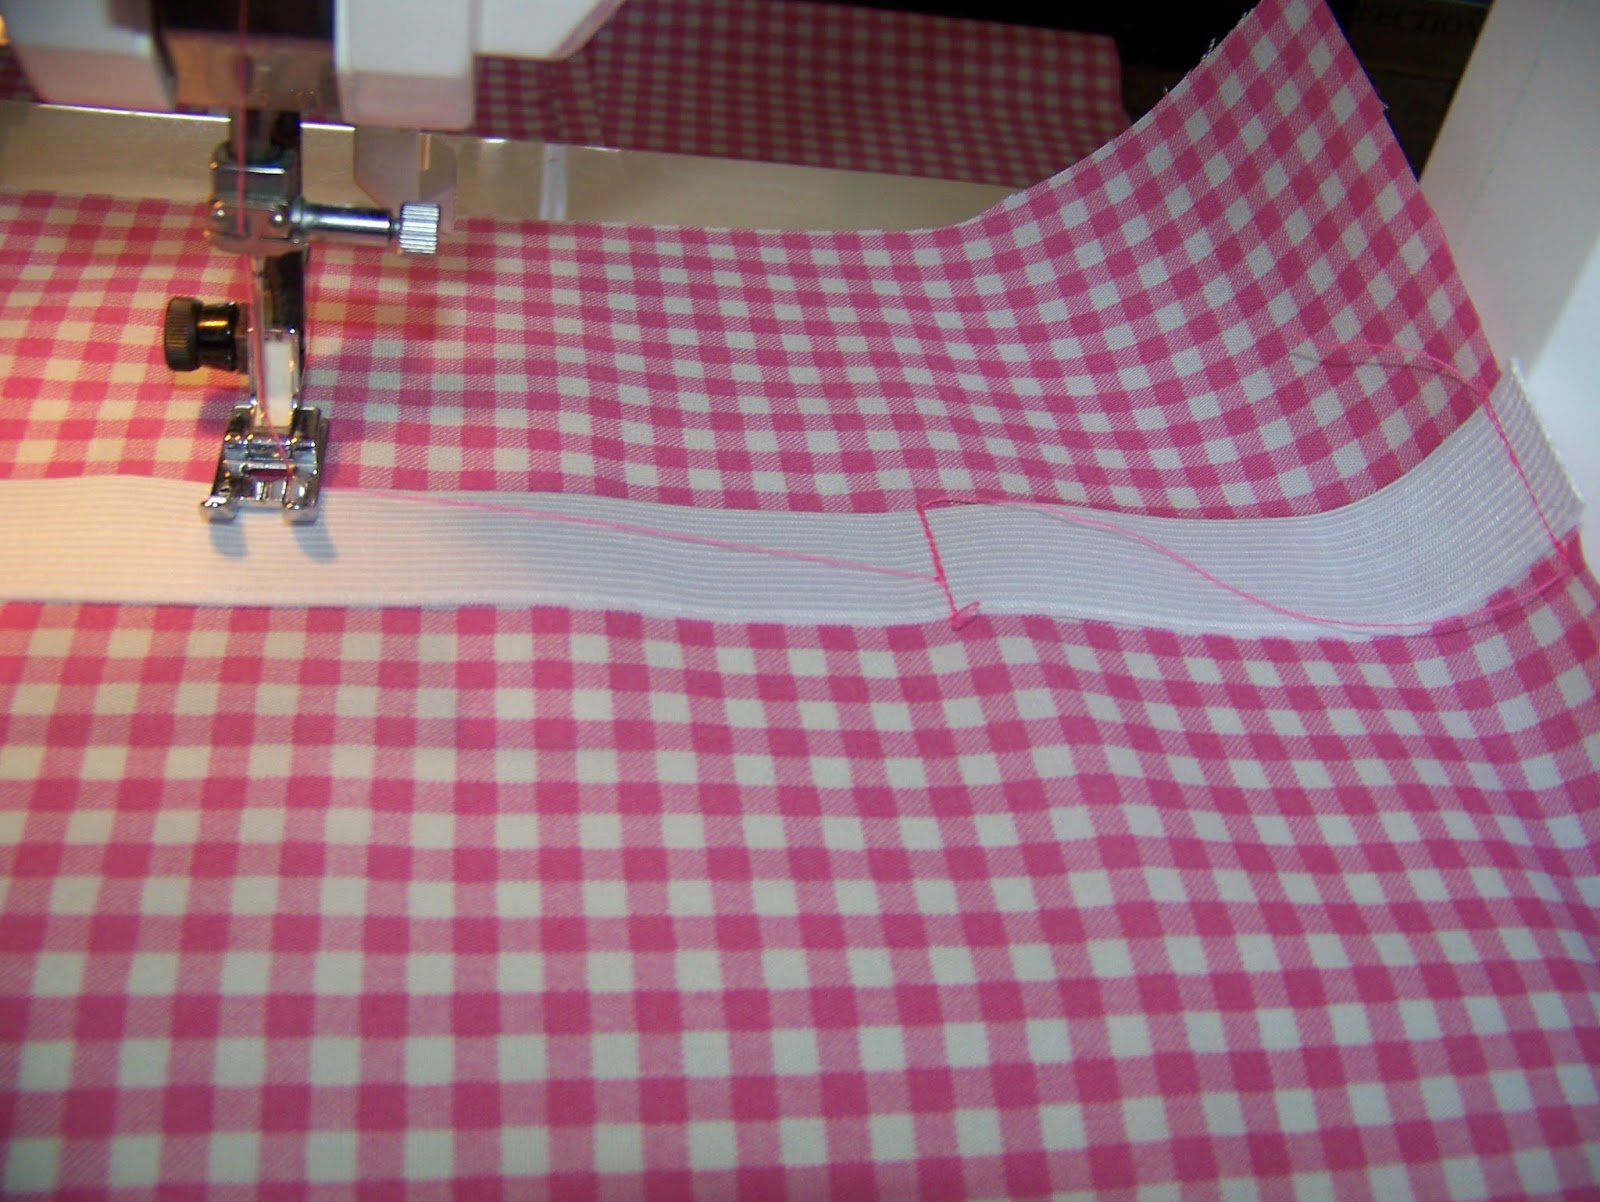
As I have mentioned earlier, I have not used the cellphone pocket. Instead, I have cut two 'iPad' pockets from fabric so they would be sturdy. I now cut four lengths of wide elastic the width of the pockets.

Babies have lots of items that come in round shapes and needs to be secured in a baby bag. For this reason, I add elastic segments on both the inside as well as the outside of the pockets. Since most bottles are rather big, I keep the segments big, dividing each elastic in three segments. Pin in place and mark the segments with pins.

Sew the elastic in place and create the segments.
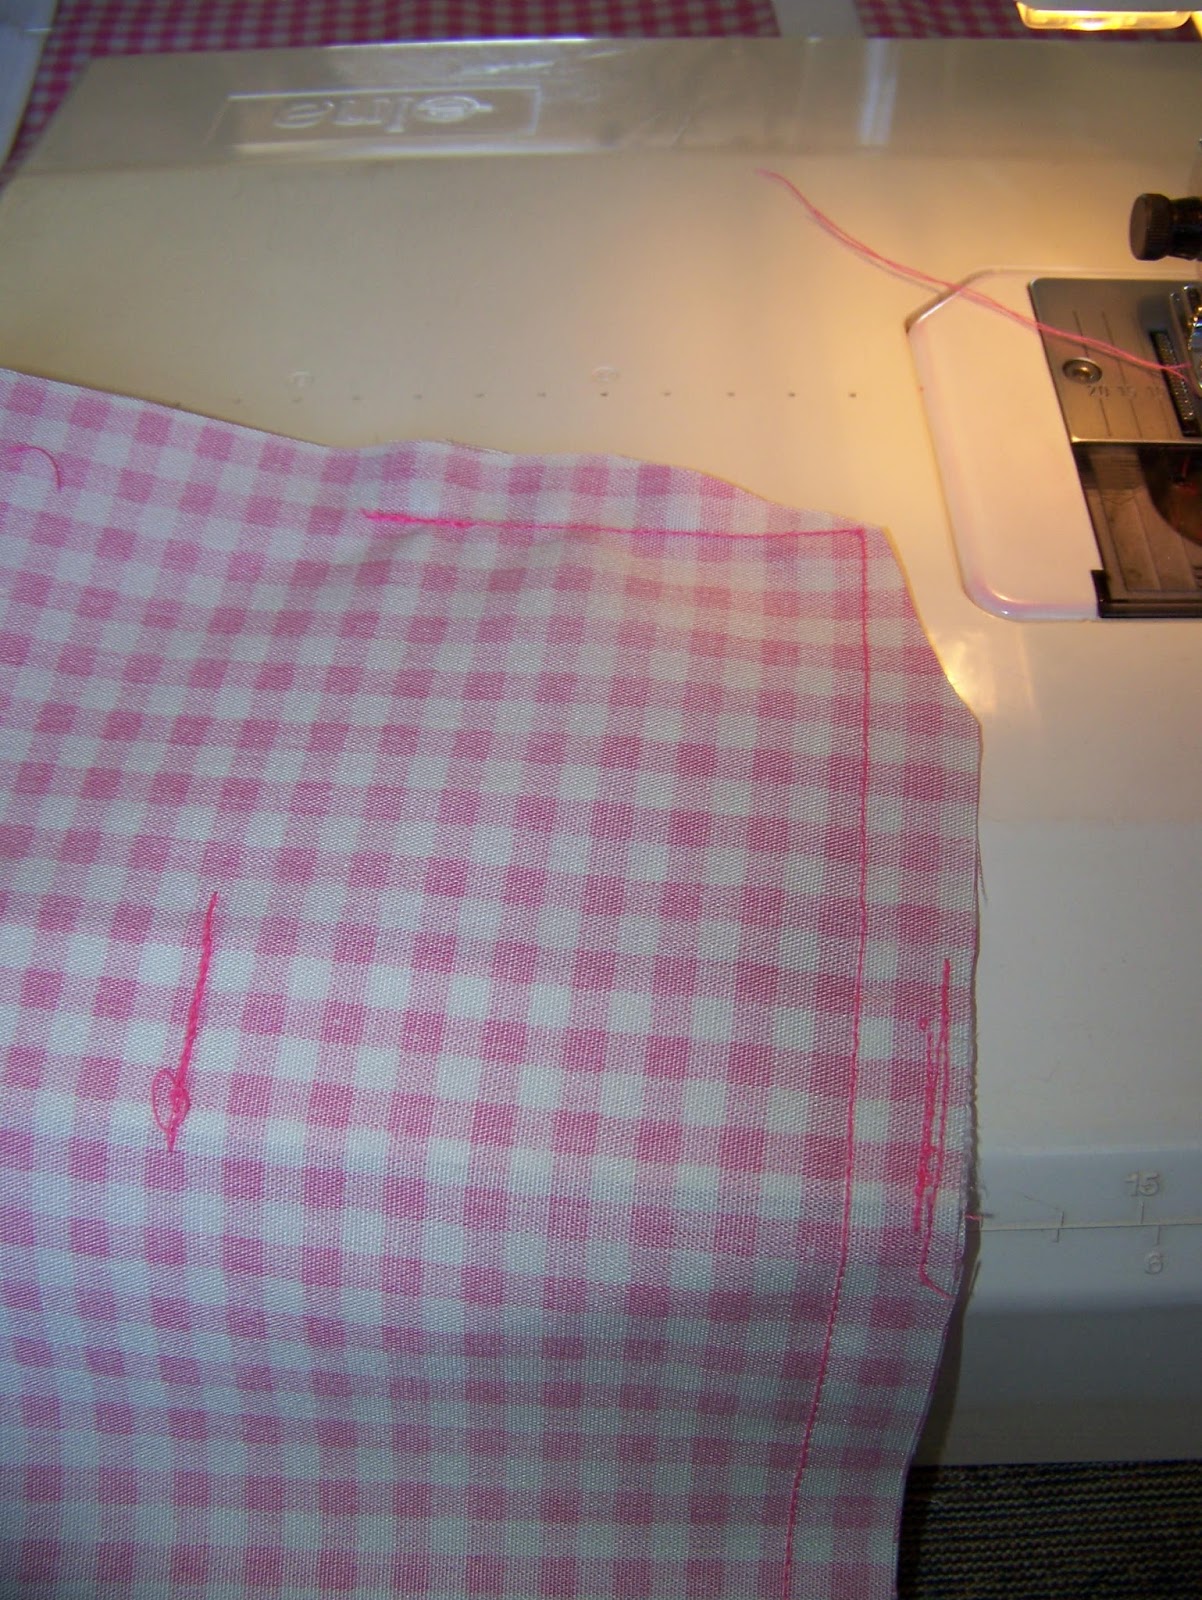
Fold the pocket over on itself so the right sides are facing.

Sew the sides closed, leaving a space to open to turn the pocket right side out.

Trim the corners.
Turn the pockets right side out and lay aside to be ironed flat.

With the first set of preparatory work done, it is time to iron the pieces. At this stage I make sure that I iron all of the pattern pieces, even the ones that I have not worked with yet. It will make the job much easier from this point on.

I also use this opportunity to iron the sling into shape. This pattern piece was also not adjusted and can be used as is. Fold the sling in half in its length and iron flat.

Fold the sling open and fold the sides in to meet at the middle. Iron flat.

Fold in half again on the original fold line and iron flat a second time. The sling is now ready to be sewn.

With the ironing done, we will continue with preparatory work before we iron a second time. When doing top stitching it always looks neater to set your stitch length slightly longer. I adjusted my sewing machine accordingly.

I sew along both long ends of the sling.

Some of the projects I do are very photo intensive. To speed up the opening process I prefer to divide these longer blogs into more parts. For this reason I have published the rest of the steps for making the bag in the next blog.

For more crafty ideas and great products, visit APrettyTalent.com.
Remember to keep nurturing your TALENT for making PRETTY things.
You can subscribe to this blog and receive regular updates by email by simply registering your email address at the top of the current blog.
No comments:
Post a Comment