Easily navigate between the three parts of this blog series by clicking on the links provided:

I start by laying out the pattern pieces on the fabric it should be cut from. (You will see pattern pieces for the Rocky Cuddle Cushion mixed in here as I cut the two patterns together).

I cut the tongue from a red polka dot fabric, completely disregarding the pattern and maneuvering the pattern piece to fit on the red.

The bow and hands are cut from pink and white squares.

Minnie Mouse has a lot of black and resultant a number of pieces are cut from black

I remembered to cut two more ears as I need four altogether.

Even though the back of Minnie's head should be black, I decide to cut it from pink as I know the little girl I am making it for will prefer more pink in her cushion. I also cut the arms from the same pink fabric.

I did not find flesh colored fabric in my stash and decide to cut it from white instead. I cut the whites of the eyes from the same fabric.

When I open the flesh Fabric Paint, I notice that I do not have enough to paint the whole face. I am undaunted as I have Peach to mix it with.

As there is no detailed painting to be done, I can use a wide flat brush to paint the fabric with. I paint as much of the fabric as possible with the Flesh.
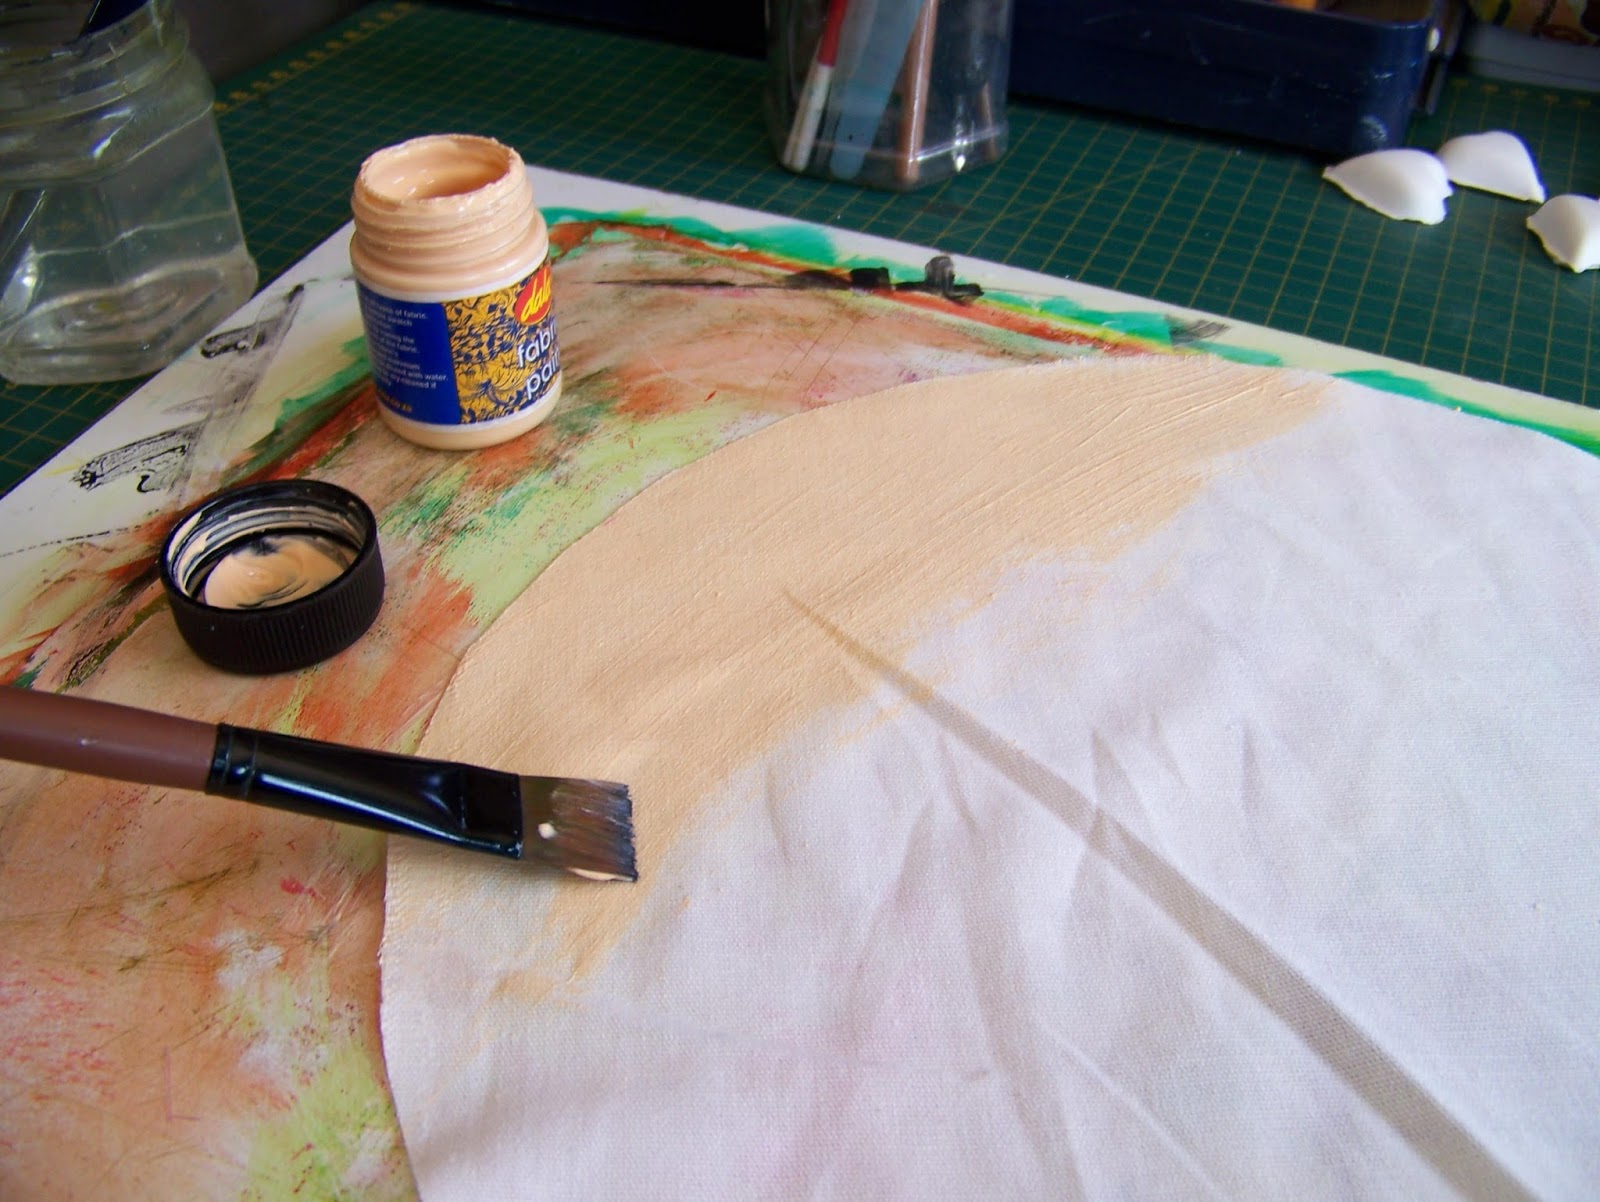
When I run out, I simply continue with the Peach, mixing the two colors on the fabric. The result gives me interesting tonal values.

I cut iron-on cotton stiffening for the face side of the head.

It is time to lay the different fabric pieces in place to see if anything needs adjusting. I am satisfied with the progress so far.

I now cut double-sided iron-on stiffening for the different facial features.

Ironing the stiffening onto the face I also make sure to set the paint with the heat from the iron.

I iron the hairline in place as it determines the position of the rest of the pattern pieces.

I now add the mouth and the whites of the eyes and iron them on.

The tongue and pupils are also ironed on.

I fold the bow over and sew three sides closed, leaving only a small space open to turn it right side out.

Trim the corners.

Turn the bow right side out and top stitch the opening closed, sewing as close as possible to the edge.

Fold and stitch the center of the bow in the same fashion, leaving only a small opening.

Cut away the corners.

Turn out and top stitch the opening closed.

Fold the arms over and sew at 1,5 cm seam allowance along the long seam.

Lay the ears upon each other. Sew all around except for the opening between the pins.


Trim away excess fabric so you can turn the ears right sides out.


Iron the seam on the arms flat. Iron the ears flat. Iron the center of the bow flat. Do NOT iron the bow flat as we will use its puffiness to give it shape.

Pin the hands to the arms.

Sew all around attaching the hands to the arms.

Turn the arms and hands right sides out.

Gather the bow in the center by folding it a couple of times.

Catch the folds by hand or with the machine. Only two stitches on the machine!

Wrap the center of the bow around the bow and sew it in place by hand. Catch the bow in the sewing as well so that it can't slip out of the center piece.

Lay the bow aside. I left the needle and thread attached as I will attach the bow to Minnie's head by hand when we are almost done. We will finish the cuddle cushion in the next blog of the series.

For more crafty ideas and great products, visit APrettyTalent.com.
Remember to keep nurturing your TALENT for making PRETTY things.
You can subscribe to this blog and receive regular updates by email by simply registering your email address at the top of the current blog.
No comments:
Post a Comment