Here are the links to the parts of the blog series:
Part 1 - Drawing and painting Goldilocks
Part 2 - Drawing and painting Papa Bear
Part 3 - Drawing and painting Mama Bear
Part 4 - Drawing and painting Baby Bear
Part 5 - Adding educational items to Goldilocks and Papa Bear
Part 6 - Adding educational items to Mama Bear and Baby Bear
Part 7 - Sewing the actual book bags

I found the inspiration for this character from the book Creative Scrapbook Piecing by Marina du Plessis.


All of our characters in has hats on this bag. You will note that this is also where I start every time. The heads are larger than they should be, just as you would find with babies. These bags are being designed for babies and it is therefore somehow fitting.

Add the flower detail to the hat.

Draw the detail for the mouth area.

Add the eyes and cheeks.

Add the feet and then fit the body in between then feet. Add the arms.

Draw in the detail for the feet.

Add the jewelry and polka dots.

I will once again use Acrilpen to block the colors in before I start painting.

Color blocking allows me to see beforehand where I will want to go with my color scheme which is a great aid when preparing the paint.

When I start painting, I use Dala Fabric Paint. Most of the design is painted with an angle brush, although I sometimes switch to a round no 2 brush for the finer detail. The background is painted with a no 10 Flat brush.Paint the details of the bear in Donnington Blue; hat, mouth area, tummy and the undersides of the feet.

I paint the outsides of these areas in blue to create depth.

The rest of the bear is painted red, as is the flower petals and the hat band.

The polka dots, the details on the feet and the areas surrounding the eyes are painted Watermelon.

I then paint the outer edges of the red areas in blue to create depth.

The whites of the eyes are detailed by painting it white.
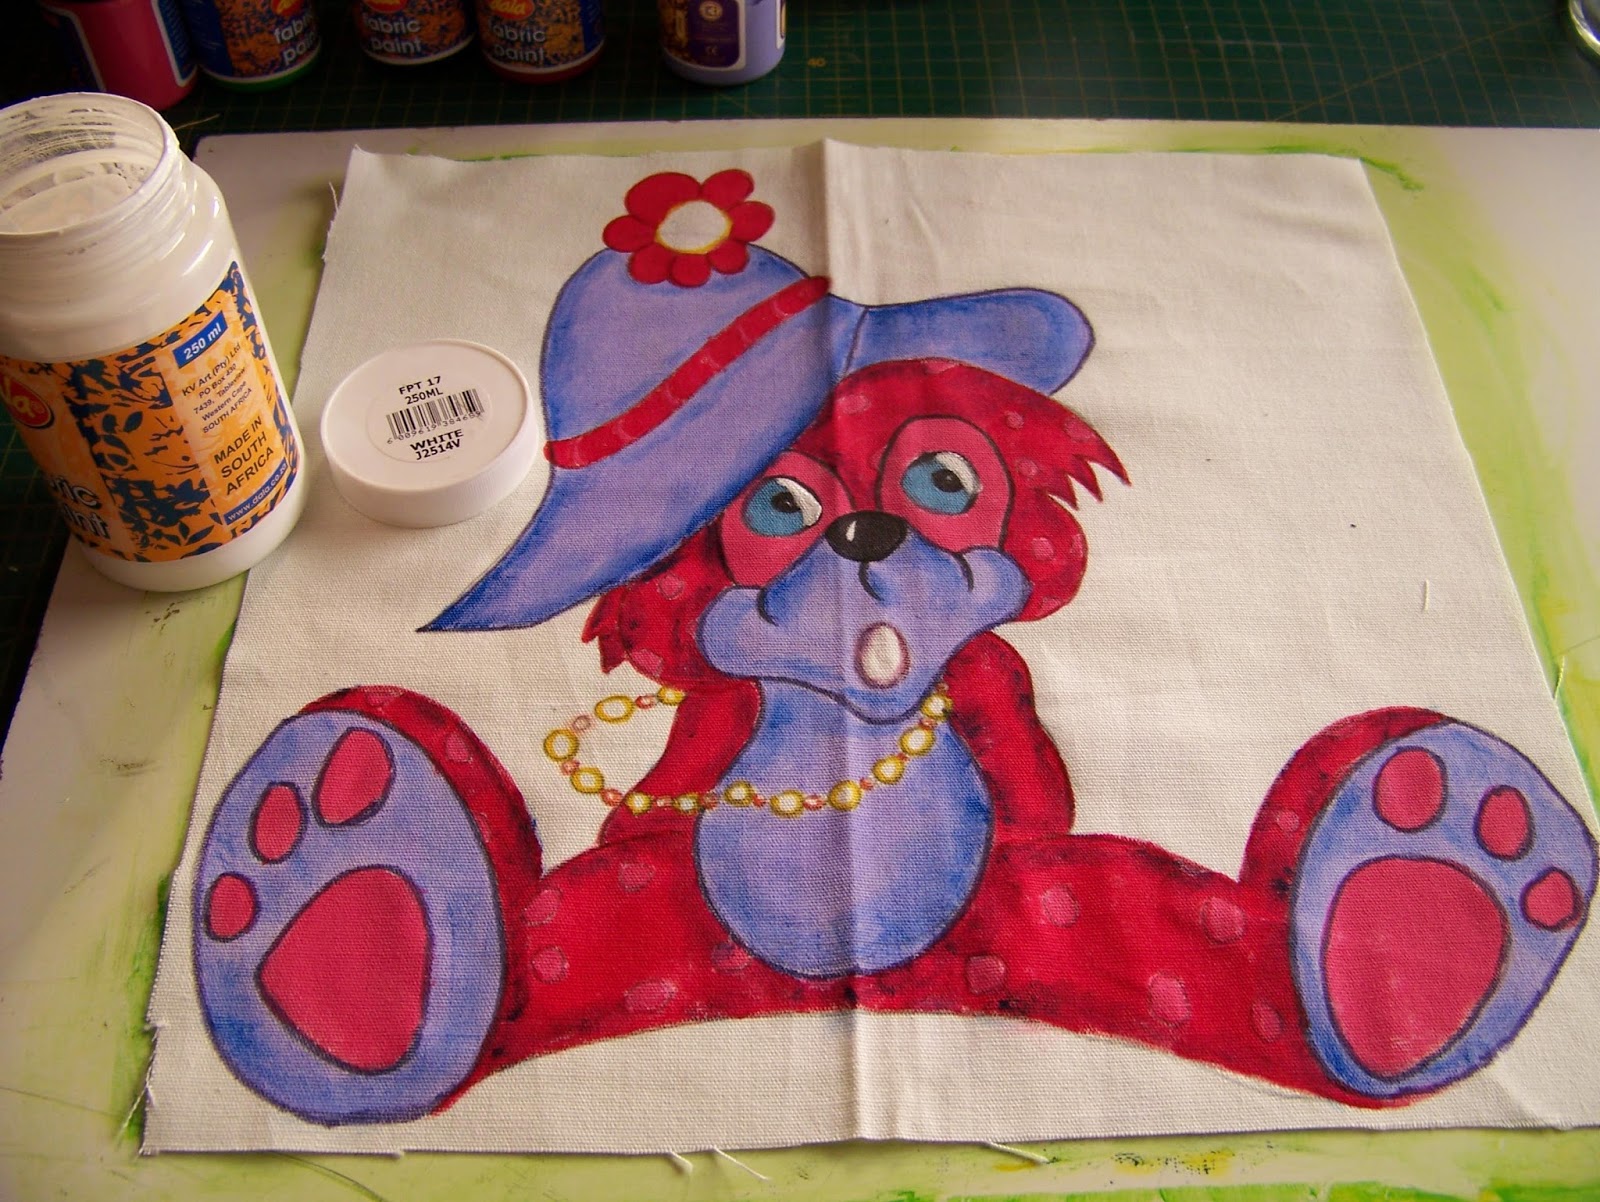
The mouth is painted with Fuchsia.

The inside of the flower and the bigger beads on the necklace is painted Yellow.

The Smaller beads are painted Scarlet.

The background is painted Jade. I then decide that I would like it better if I accentuated certain areas. I will use a black Acrilpen for this purpose.

I outline the polka dots, the bottoms of the feet and the facial area, as well as the striped in the hat band. In the next blog we will draw and paint Baby Bear.

For more crafty ideas and great products, visit APrettyTalent.com.
Remember to keep nurturing your TALENT for making PRETTY things.
You can subscribe to this blog and receive regular updates by email by simply registering your email address at the top of the current blog.
No comments:
Post a Comment