
This is what the original post, shared by Amke Fourie, with its accompanying photo looked like on Facebook:
"Jelly Cake 5 colour jellies made with only half the water. Leave to set. Cube all jellies and place into a silicone ring. Sprinkle 24g of gelatine over 250ml of water and leave for 1min. Meanwhile place 300ml of condensed milk, 300ml of heavy cream and 1t of vanilla in a blender. Stir in 250ml of hot water to gelatine. Stir until dissolved the add to blender. Gently pour creamy mix over cubed jelly. Place into fridge to set completely."

On day one, we only made four color jellies. Here are the steps for those of you who have not made jelly yet:
Empty the contents of the packet in a heat resistant bowl. Add a cup of boiling water and stir until all the sugar and gelatine is dissolved. Add a cup of cold water. Pour into a square container to cut into square blocks once set. Leave in the fridge until set.

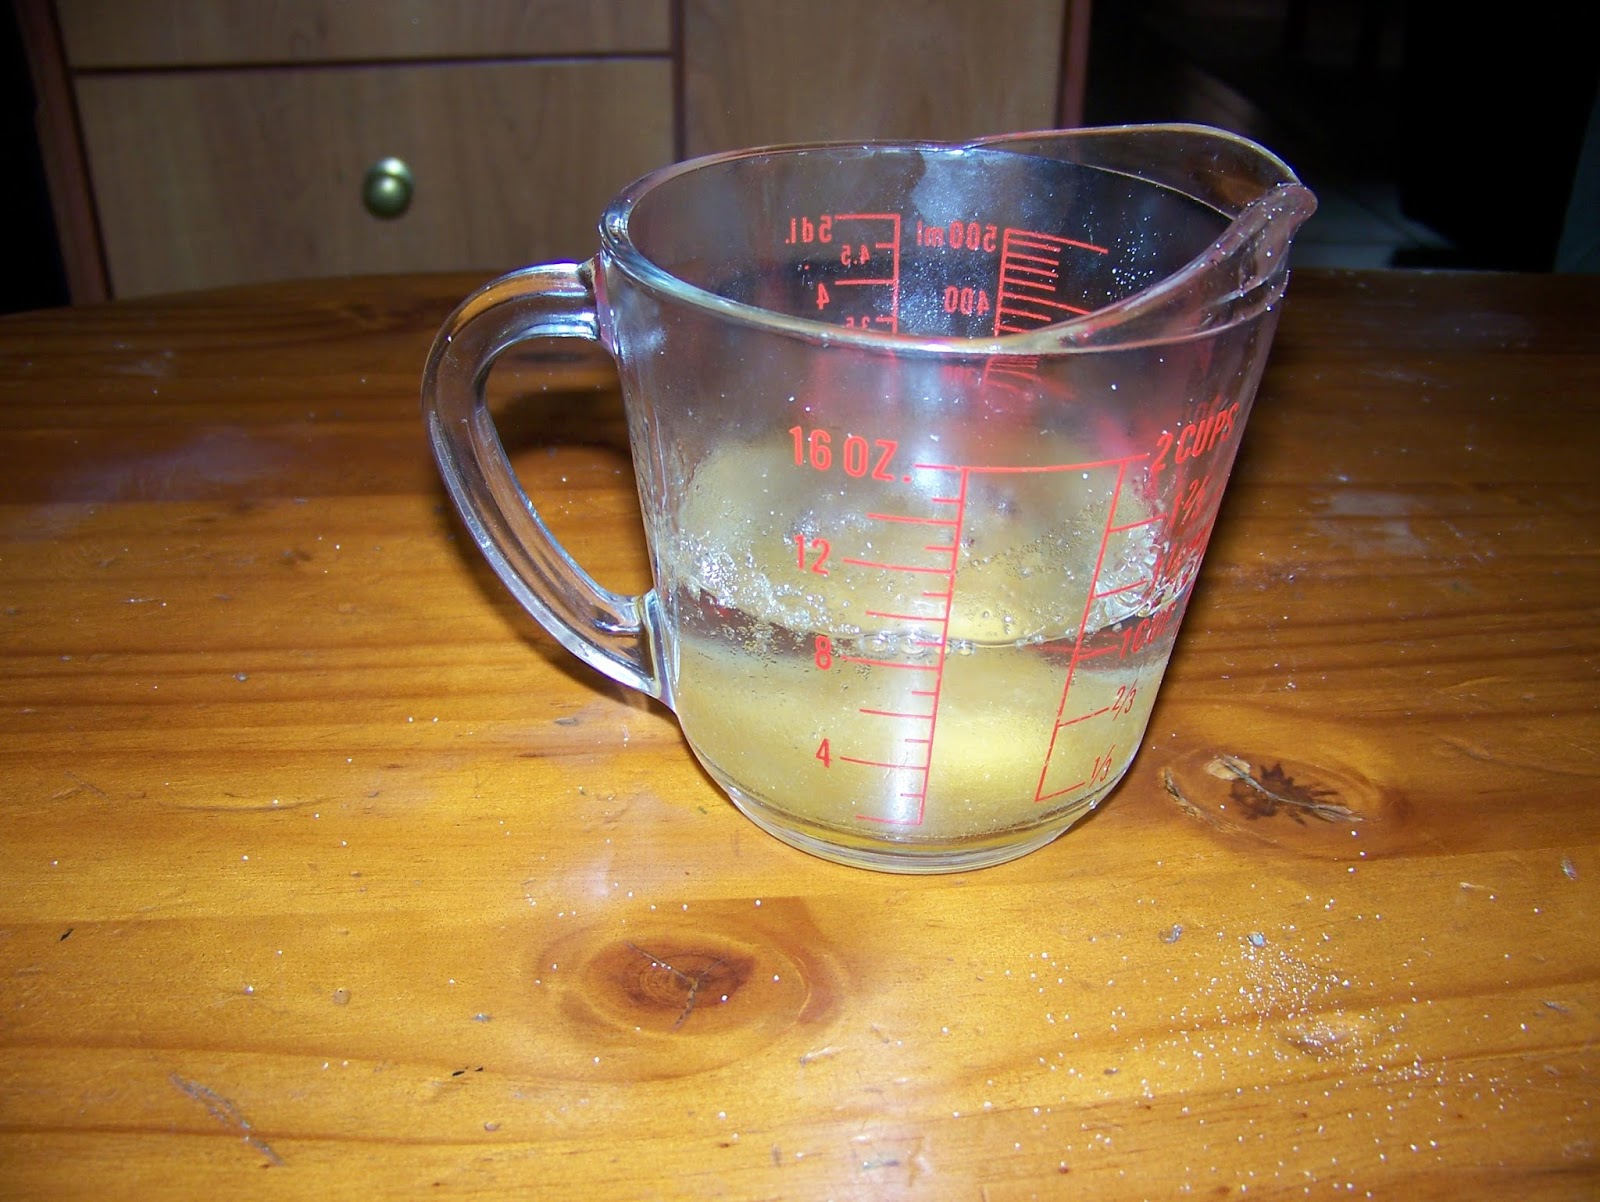
Measure 45 g gelatine.

Measure a cup (250 ml) of boiling water in a measuring jug. Add the gelatine and stir until fully dissolved.
I strayed from the recipe when it came to the rest of the ingredients. The recipe calls for 300 ml full cream. I had a container of 250 ml and wasn't prepared to open a second for the extra 50 ml. I therefore reduced the cream to 250 ml and this is what I added to a mixing bowl.

The recipe also called for 300 ml condensed milk. I was happy to add a full tin of 385 g, not bothering to measure what that worked out to in ml.

I then added a teaspoonful of vanilla essence (5 ml).

Everything was whisked together in a bowl.

We next cut the jellies into squares and started adding them to a mold treated with non-stock spray.

We then stirred the dissoved gelatine mixture into the cream/condensed milk mixture and whisked it together. This was then slowly poured over the jelly squares to that the mixture would run into and under the squares. The mold was then placed in the fridge to set overnight.

Once the 'cake' is set, remove it from the mold.

I was very impressed with how this experiment came out!

The pudding proved to be very delicious and light, leaving no sign of the rich creaminess that went into the ingredients. When I make this again, I will beat the cream first and fold it in. This should assist in getting a fluffier texture. This is quite solid. I also discovered that it would be a simple matter to swap the cream out for ideal milk, especially the lighter kind. This will make it a much better alternative for those counting calories. Another discovery I made was that this is not at all too sweet. This means that if you do not have gelatine in the house, you would be able to use a packet of jelly instead. This will make it sweeter, but I believe it will still be acceptable to the average palette.

For more crafty ideas and great products, visit APrettyTalent.com.
Remember to keep nurturing your TALENT for making PRETTY things.
You can subscribe to this blog and receive regular updates by email by simply registering your email address at the top of the current blog.
No comments:
Post a Comment