

The steps for painting the pots, the background and the flower stems are a repeat of what we did in the previous blog. Follow those steps to get this design to that stage.

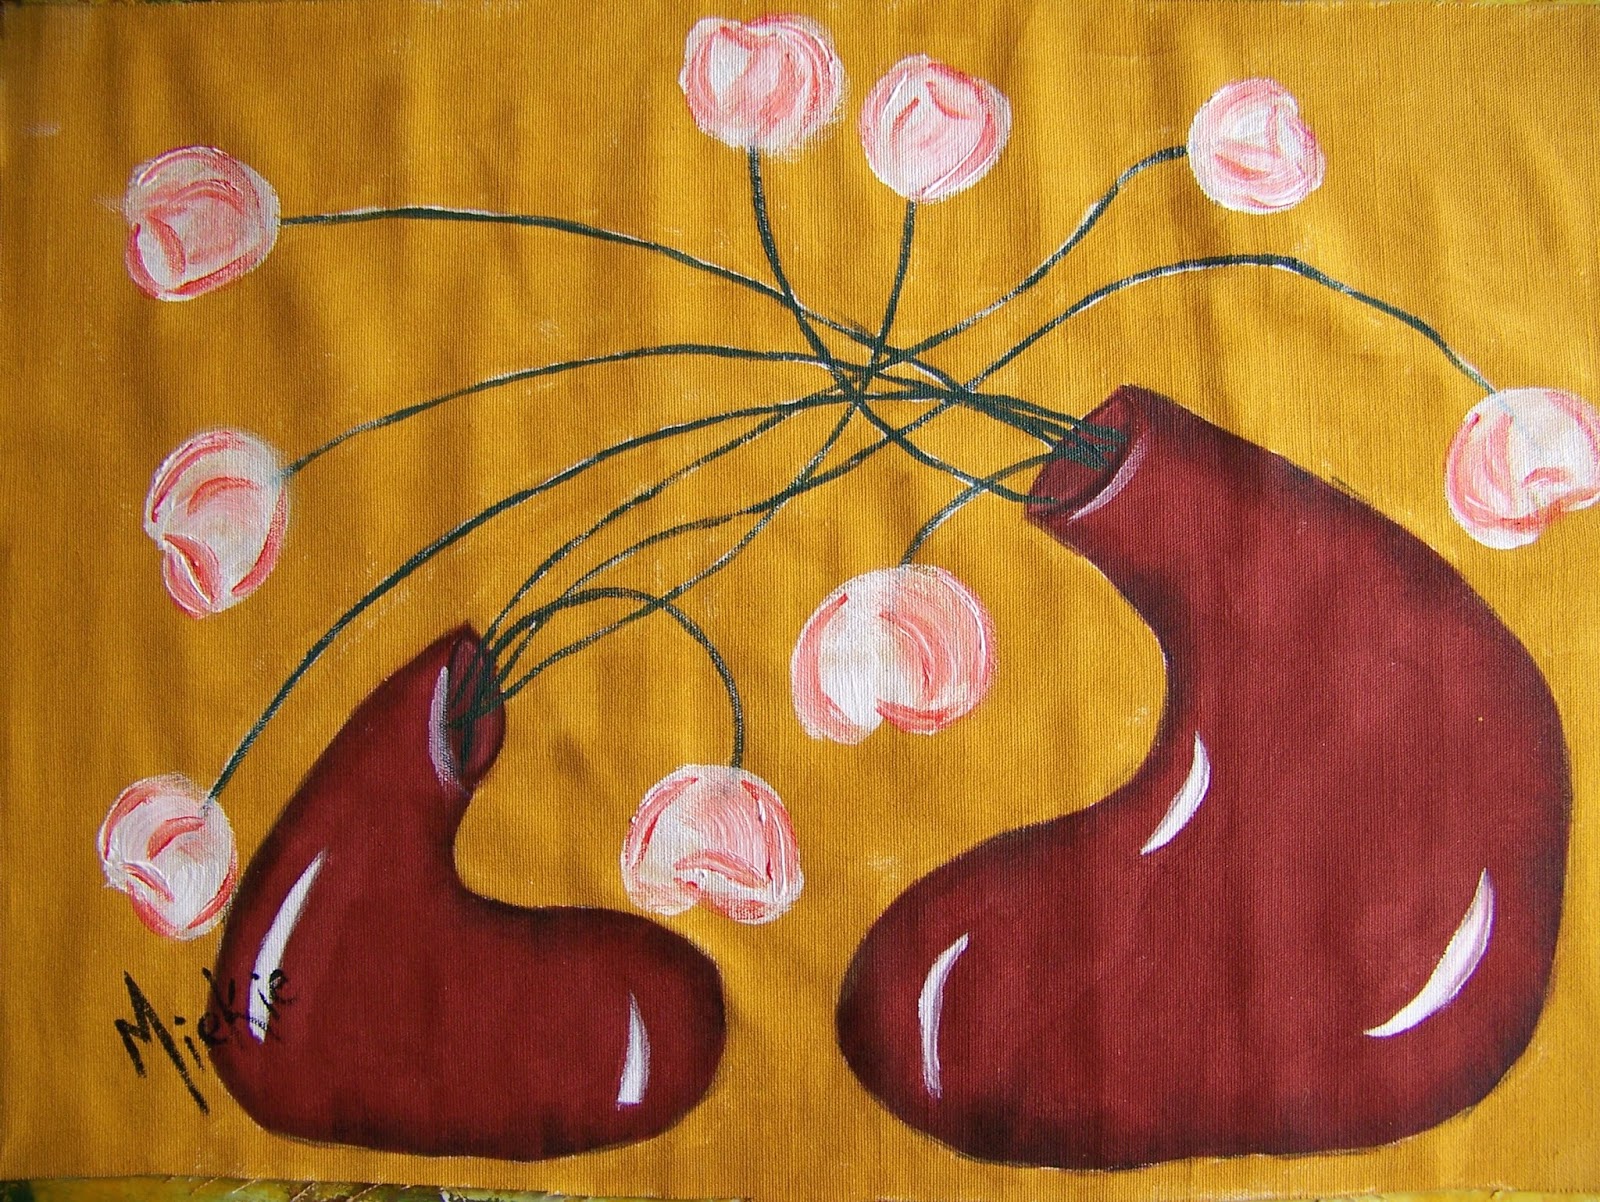
I use a color I mixed from Dala Fabric Paint's White and a drop of Scarlet to paint the flowers a warm White. I use a large Filbert brush that I dip in the paint so it is quite fully loaded. I then put above the stem of the flower and twist. I re-position the brush on the other side of the flower and twist in the counter direction.

This gives me flowers with a shape that reminds one of tulips.

I add some Scarlet smudges to the flowers with the same brush, but this time working only with the tip of the brush.

I then use a small Filbert brush to define the flowers a little more.

Finally I paint the Scarlet smudges with the warm White to tone the brightness down a bit and to blend the colors. The three designs are now ready to be incorporated into a single table runner.


Going through my fabric stash I find a couple of meters of denim that matches the design beautifully. I measure the width of the design to find how the length of the side borders I will need to cut. It is 30 cm.

I will need 4 side borders of 30 cm x 10 cm each. They will eventually be 7 cm wide, but I need to add 3 cm for seam allowance. I use a long ruler to ensure accuracy.

Before I cut, I lay the designs next to the side borders to double-check that I measured correctly.

Next, I measure the length of the designs to calculate the length of the top and bottom borders. The borders are calculated like this: (length of the design x 3, plus 4 x 10 cm), minus 12 cm for excess seam allowance.

I once again use a long ruler to draw the borders on the fabric with dressmakers chalk before I start cutting.

I lay the designs and side borders out to double-check that the top and bottom borders are measured correctly. I am now ready to start cutting.

Before I do anything else, I need to set the color on the painted designs. Heat and salt is used to set color. This is why I iron the designs with a very hot iron. I use a press cloth to protect the iron and the ironing board against paint transfers.

I can iron directly onto the back of the panel.

Lay the side borders and the panels, with right sides facing, on top of each other. Sew at 1,5 cm seam allowance. Do this with all three panels and all four borders.

Iron the seams open.

Pin the top border to the connected panels. Sew at 1,5 cm seam allowance. Repeat for the bottom border.

Return to the ironing board once more and iron the seams open.

With the panels and borders attached, lay the whole panel on top of a backing fabric of your choice. I opted to use the same denim as backing fabric. The right sides should be facing each other. Pin the overlay to the fabric and cut it out. Doing it this way ensures a perfect fit.

Leaving one side open, sew right around the three of the four sides at seam allowance 1,5 cm.

Cut away the excess fabric in the corners.

Turn the whole thing inside out and iron the sides flat. Fold the opening in and iron it flat as well.

Set your stitch length longer for a neat top stitch. Stitch right on the edge all around the four sides of the piece. This will have three functions: it closes the opening, it flattens the sides and it is decorative.

You now have a piece that is neat and tidy at the back, inside as well as at the front.

This can be used as a table overlay, or it can be hung on a wall (simply attach loops), or it can be used as a table cloth for a server/sideboard.

I rather fancy using it as an overlay at the foot end of a bed (I did not have bedclothes that matched the design). The options are open to explore.

These designs can be downloaded in digital format from APrettyTalent.com. Click here.
For more crafty ideas and great products, visit APrettyTalent.com.
Remember to keep nurturing your TALENT for making PRETTY things.
You can subscribe to this blog and receive regular updates by email by simply registering your email address at the top of the current blog.
No comments:
Post a Comment