
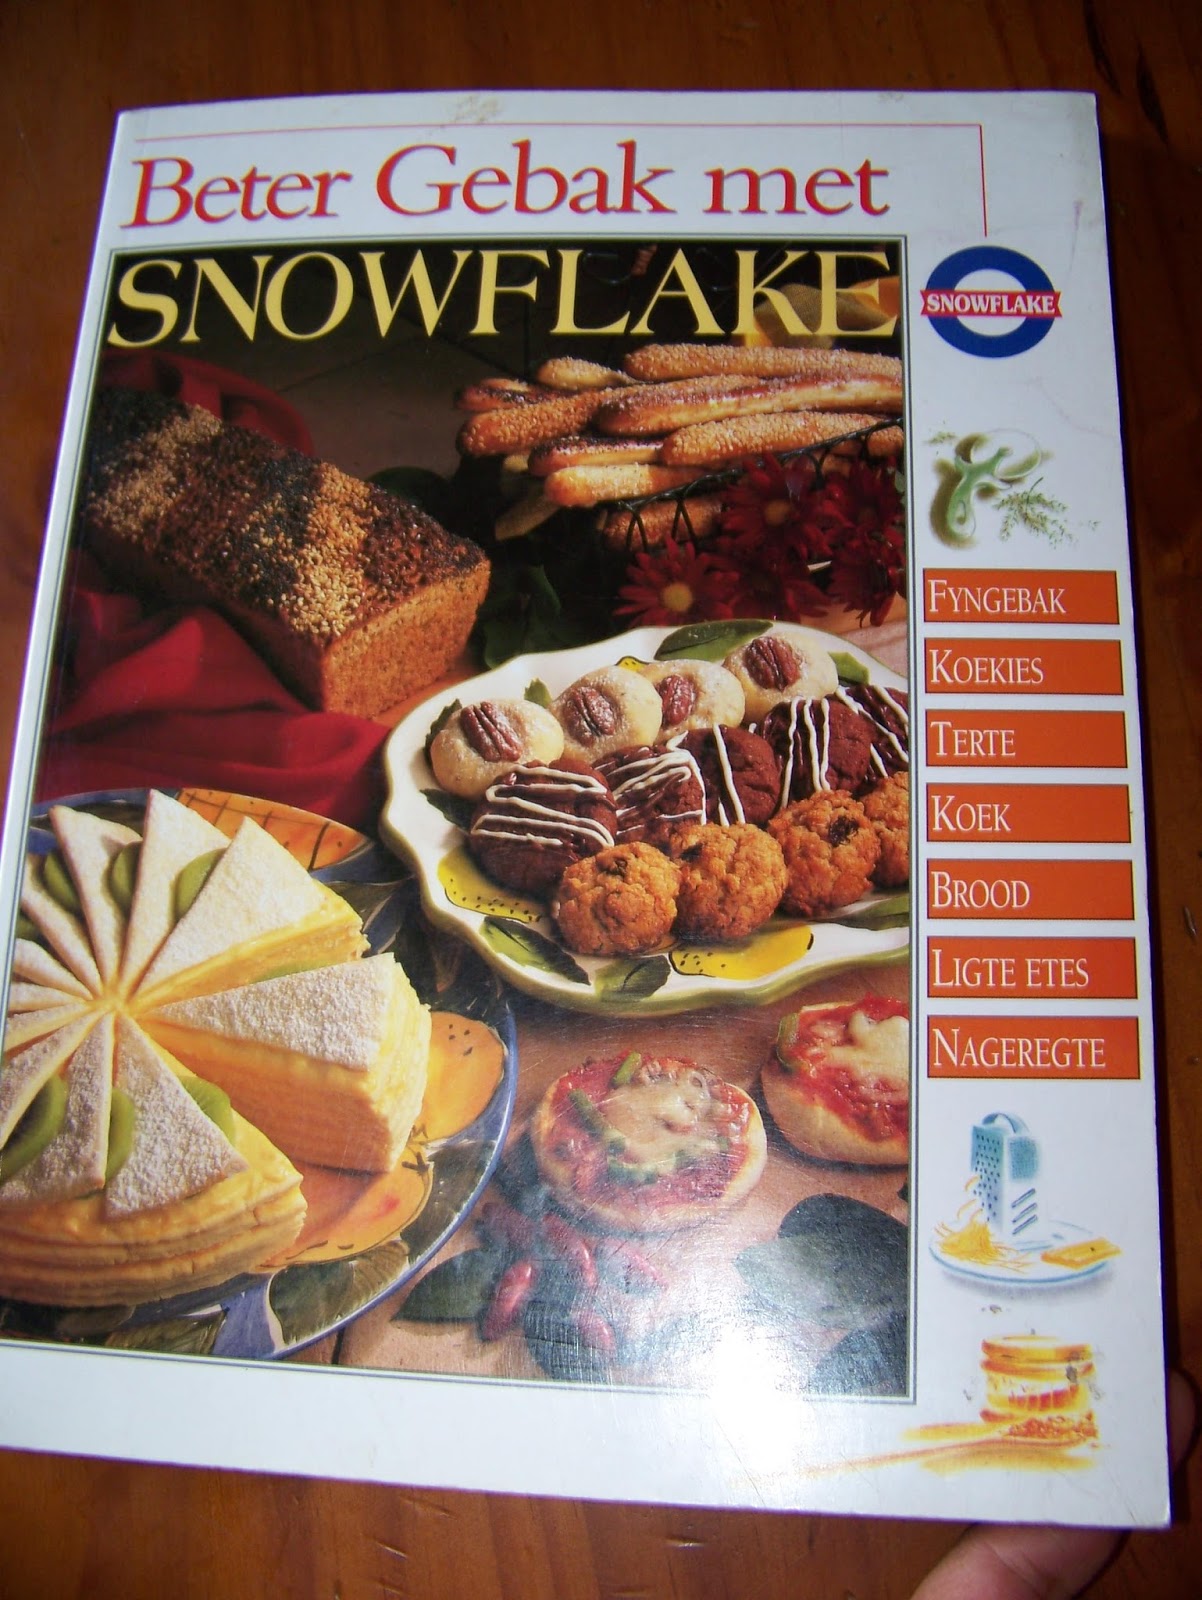
This very basic cake recipe can be found in this fabulous book. It is also available in English as Better Baking with Snowflake, although the two books are not exactly alike.
This is the recipe I followed: Warmmelk-Sponskoek. It is for a sponge cake made with warmed milk.

Start by mixing together 4 eggs and 300 ml (250 g) castor sugar. I don't bother with castor sugar and use normal sugar instead.

Sieve 500 ml (280 g) flour and 15 ml baking powder.

Add the dry ingredients to the wet ones and fold it in. My niece insisted on helping and as a result mine was simply stirred in. No problem. This recipe is very accommodating and hard to mess up.

Put 100 g butter (or margarine) in a pot and melt it. Add 250 ml milk and warm the milk. Do not boil it.

Add 5 ml vanilla essence to the milk and butter. Adding food coloring is optional, but not if you are baking for a little girl. If course it had to be pink! About 5 ml should do the trick depending on how intense you want the colour to be.

I was still waiting for the milk to heat up and sprayed two tins with non-stick coating. I also measured wax paper to line the bottoms of the tins.


Add the milk mixture to the rest of the mix.

Mix well.

Pour the mix into the tins. Drop the tins on the table top to force big bubbles to the top. Bake for about 25-30 minutes in a preheated oven at 180°C.

Leave in the tins for about 5-10 minutes when finished baking. This will make it easier to remove the cakes from the tins.

Remove the cakes from the pans and carefully remove the wax paper.

Allow the cakes to cool on a wire rack for an hour or more.

Once the cake is cold you can start shaping it. Cut the coneshaped tops off.

Shape the head by trimming the sides away where the ears will go.

From the second cake, use a large cookie cutter to cut two circles for the ears and a small crescent shape for the chin.

Hmmm. My chin seems a little off-center, but Minnie is starting to take shape.
The leftover and off-cut cake is saved in a container and put in the fridge. Since the birth of this little girl, her leftover cake has become the base for our Christmas trifle and this time would not be the exception.

Cover the cake and set it aside to decorate the following day. Day-old cake is much better to work with when decorating and the tastes develop more fully in this time.

For more crafty ideas and great products, visit APrettyTalent.com.
Remember to keep nurturing your TALENT for making PRETTY things.
You can subscribe to this blog and receive regular updates by email by simply registering your email address at the top of the current blog.
No comments:
Post a Comment