
For this project I fall back on the tried and trusted Kook en Geniet that generations of women (and men) have used.

I use the recipe for the original Mosbolletjies. I will half the recipe and accordingly, my amounts will differ from those in the book.

At the start I already adapt the recipe. I measure only 150 g of raisins, instead of the 250 g required.

This is chopped up and added to a pot with 750 ml boiling water.

I then pick some fresh catawba grapes from the vine in the garden. Again I use approximately 150 g.

This is also chopped up. Retain the pips!

I opt to add 2 tablespoons (25 ml) sugar as the grapes are not quite as sweet as the raisins.

I measure 2 1/2 cup sourdough starter into a bowl.

Once the raisins have cooled down, I add this to the sourdough starter. If you add it while it is too hot, it will kill the cultures that makes the dough rise.
Option 1: Active dry yeast - Add this to the raisins once it has cooled down. Let it sit for 10 minutes to develop.
Option 2: Instant dry yeast - A packet (10 g) is mixed in with the dry ingredients.

Cover the yeast and raisin mixture with a plastic and leave it in a warm dry place to start bubbling and rising. This may take a few hours.

Once it is bubbling ans rising, add 2 cups (500 ml) of cake flour.

Mix everything together.

Cover with plastic and once again leave it in a warm dry place to double in size. Again, it can take a couple of hours.

This is what it should look like when ready.

Melt 250 g butter/margarine.

Add some boiling water to the butter and leave it to cool down.

Mix the remaining flour of 2,5 kg of flour (minus the 2 cups used earlier), 2 cups (500 ml) white sugar and 7 g salt (1/2 tablespoon) in a large mixing bowl.
(Remember to mix the instant dry yeast in with the dry ingredient, if you are using this option).

Adding Aniseed is optional, but if you are using it, it should be mixed in with the dry ingredients.

Get your wet ingredients ready to add to the dry ones; the sourdough starter, the butter/water mixture and about a litre of lukewarm water.

Mix everything together. Keep adding water until you can bring all of the ingredients together.

Knead for about 10-15 minutes until the dough forms and elastic ball that pulls away from the bowl and your hands.

Cover with plastic.

Wrap the bowl in a blanket.

Leave the dough to rise to double it's size in a warm dry place. This may take a couple of hours.

Once the dough has risen, knock it down and knead for a few minutes.

Rub some butter/margarine on your hands to keep the dough from sticking to your hands.

Roll the dough into small balls and place them in a tin that has been prepared with non-stick spray.

Pack the balls tightly, but not overly so.

Cover the pans with plastic.

Wrap the pans in the blanket again and leave to rise.

I left mine overnight (along with the sweet white rusks) and it completely overflowed the pans when I returned the next day. By rights I should have knocked it down and rolled the balls again, leaving to rise all over again, but I was pushed for time and it was for personal use (not for selling). As a result, I decided to bake it anyway. I would not get the distinctive ball shapes that could be separated by tearing. Instead I would have to cut it apart, similar to slicing bread. No problem.

Extra: I scraped all of that dough together that spilled over and stuck to the plastic.

These were shallow fried in a pan with hot oil and made for some very good vetkoek!


Bake the dough in a preheated oven at 200°C for about an hour. Once baked, brush some sugar milk onto the warm rusks.

Dissolve 25 ml (2 tablespoons) sugar in 1/2 cup milk for brushing on.
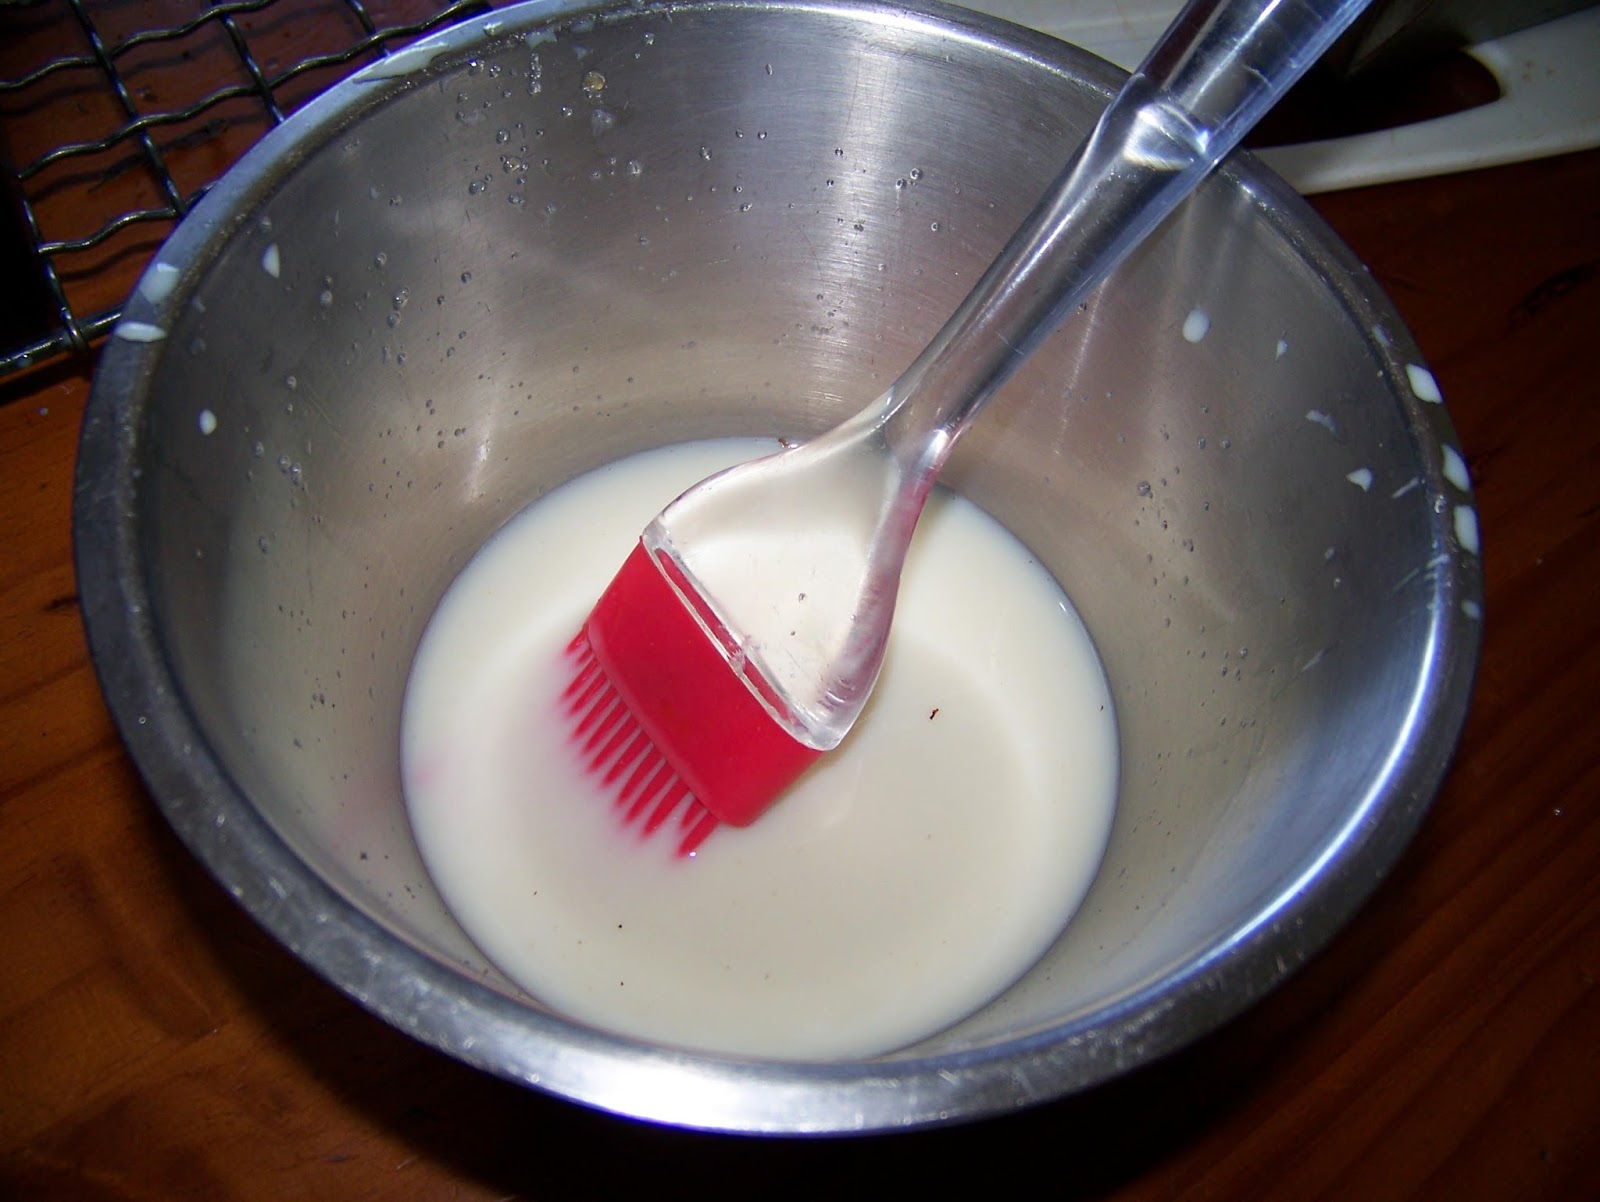
The milk and sugar mixture gives the mosbolletjies a nice shine and sweet top.

If yours has the distinctive balls, you simply separate them along the lines by tearing gently.


Mosbolletjies are eaten 'wet', but can also be dried to turn them into mosbeskuit/rusks.
Arrange the rusks on the oven rack, separating them so the air can travel freely through them. Dry the rusks in the oven at 100°C for a couple of hours. Once dried, the mosbolletjies has turned into mosbeskuit and will last for months at room temperature at in a sealed container.

For more crafty ideas and great products, visit APrettyTalent.com.
Remember to keep nurturing your TALENT for making PRETTY things.
You can subscribe to this blog and receive regular updates by email by simply registering your email address at the top of the current blog.
No comments:
Post a Comment