
You can use any old box you have around the house for this project. An old shoebox would work wonderfully as you can see from how I have arranges the toilet roll inners in the box.

I wanted something slightly larger and opted for this flat box that had arrived as packaging for a mailed parcel a while ago.

I did not have quite enough toilet rolls to fill the box, but I did not let this put me off my game. Instead, I found some discarded medicine boxes and an old cellphone box to fill the remaining space and pack everything tightly.

I used a craft knife to cut the flaps off the box.
I then painstakingly removed all the stickers and tape from the box.

I used the craft knife again to cut the flaps off the medicine boxes and the cellphone box as well.

The next step is to paint everything with gesso. You can use either black or white, depending on what result you want to end up with. I decided that white would be better for my project.

Most of my empty toilet rolls were already white on the inside and I left them as is, asode from painting the exterior white. The rest of the boxes were painted white on the inside as well as on the outside. Allow the gesso to dry completely.

I then found myself some acrylic paint and a soft brush to paint the primary colour of the project.

The toilet rolls and medicine boxed were painted blue on the outside only. The cellphone box was painted blue inside and outside. The big box was only painted on the inside. Leave to dry.

My second colour would also be acrylic paint, but this time I opt to use red.

Only the outside of the big box is painted red. Leave it to dry.

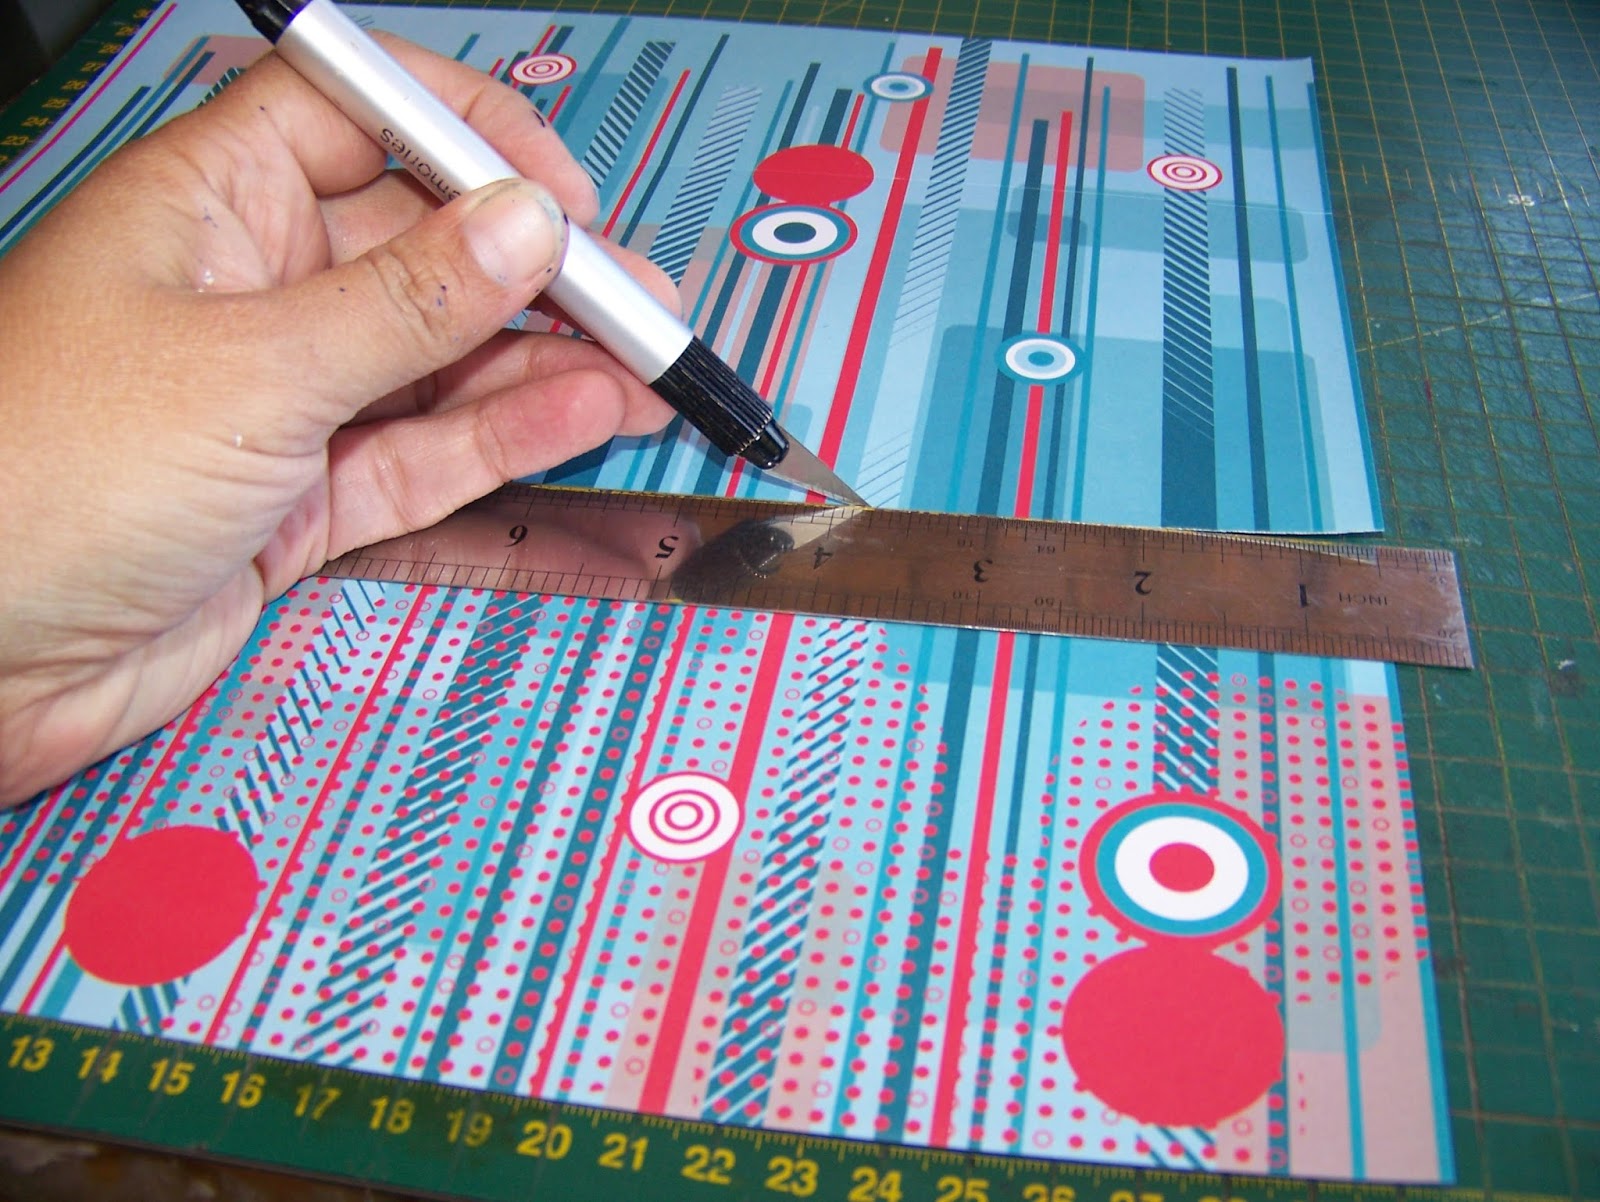
I then use a craft knife, cutting mat and metal ruler to cut a 12"x 12" craft paper the height of the box. Mine measured 11,5 cm x 12". I cut two of these strips.
I painted the back of the strips with a thick layer of Acrylic Gel Medium.

I then very carefully folded the strips around two opposite corners of the box, sticking them to the box with the acrylic gel medium.

Once dry, I paint another layer of Acrylic Gel Medium over the paper as well to form a protective layer over the paper. Let it dry.

I then find a roll of wide bias binding and my Tombow craft glue.

I squeeze a line of glue all around the top edge of the box.

I then stick the bias binding to the box on the line of glue. Then I squeeze a second line of glue on the inside of the box.

The bias binding is folded over the edge and pinned to the box with washing pegs. The glue dries very quickly, but the pegs will make sure the bias binding stays in place while I wait for it to dry completely.

I then squeeze a line of glue onto the bias binding.

I stick some ribbon onto the bias binding to give it a pretty finish.

The same clothes pegs are used to stick the ribbon down while I wait for the glue to dry.

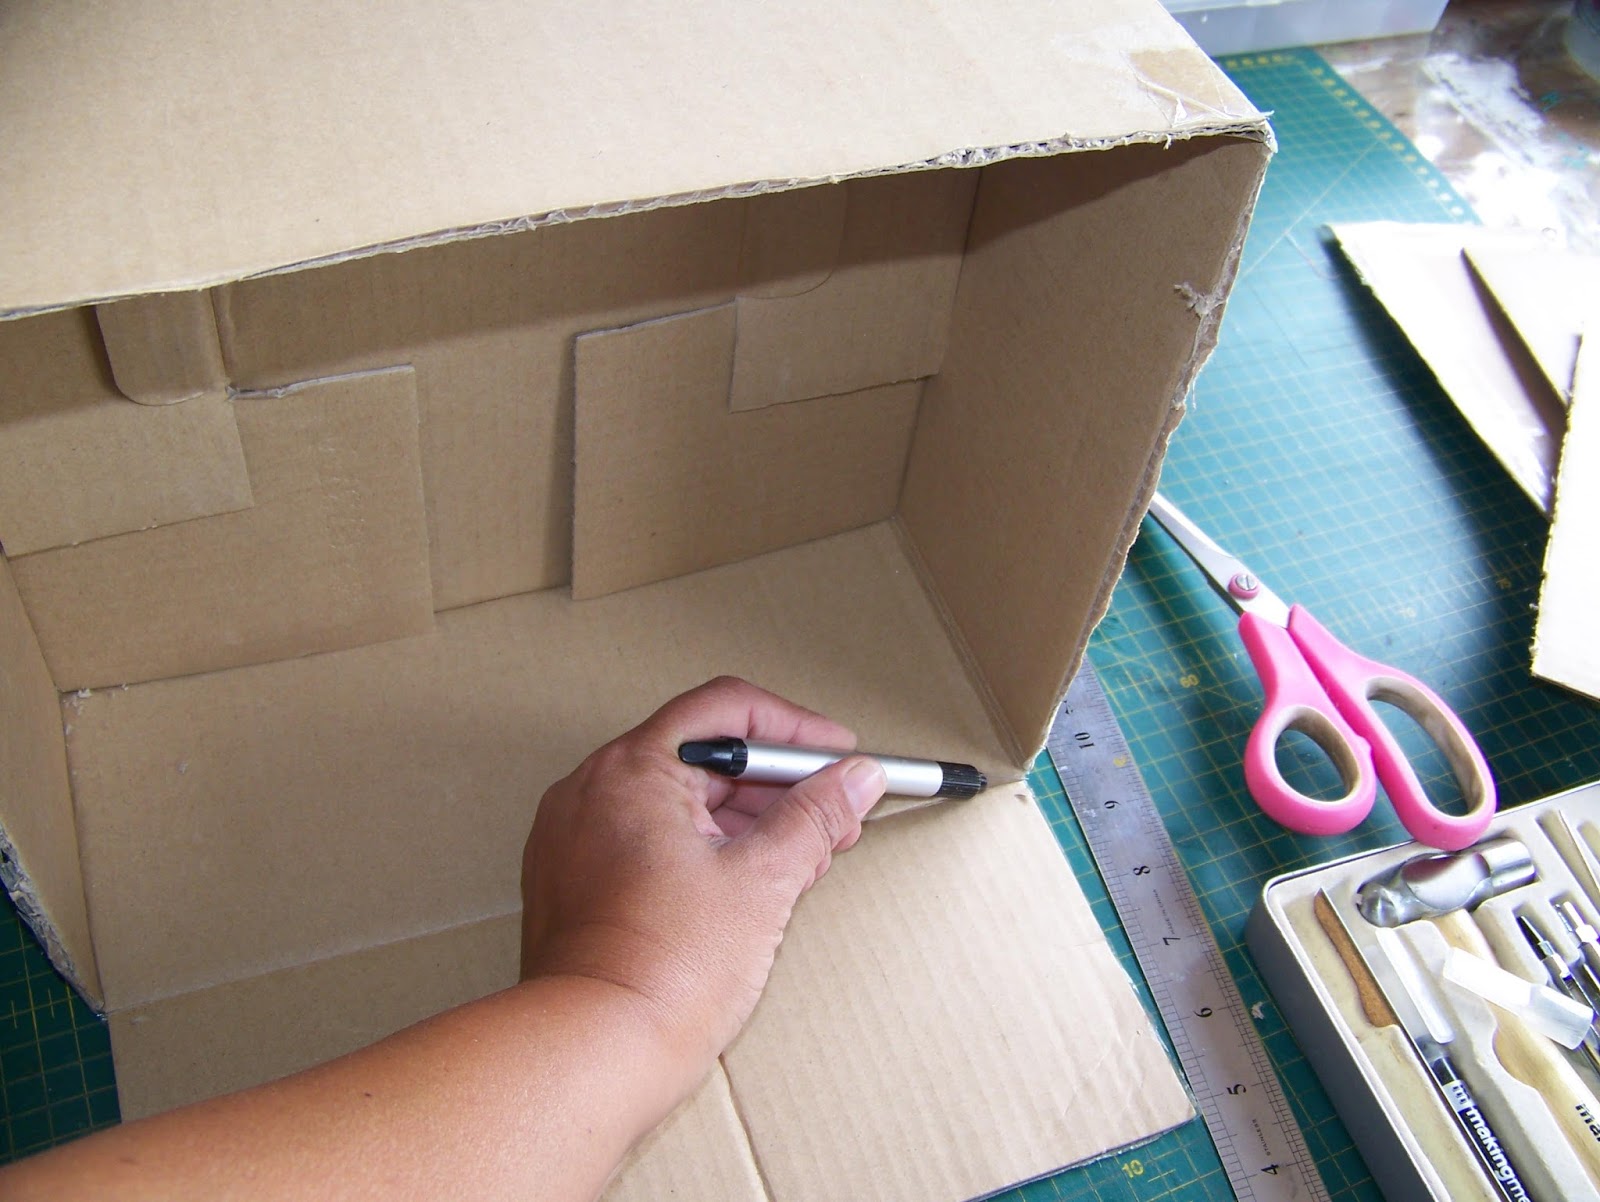
I now arrange the empty tissue rolls and boxes inside the box.

When gathering the materials I want to keep in the box, I realize that I have actually created more space than what I needed. This is a bonus! You can now see how handy those square boxes and the cell phone box was for the things I wanted to keep in the organizer.

What I love about this box, is that I can pick the whole thing up and stash it in a cupboard, or I can cart it off to my work table in one easy movement. The strong box manages the weight of the materials without wobbling or bending. Fabulous!

Very handy, tidy, pretty, convenient and space saving. What more could one ask for?

For more crafty ideas and great products, visit APrettyTalent.com.
Remember to keep nurturing your TALENT for making PRETTY things.
You can subscribe to this blog and receive regular updates by email by simply registering your email address at the top of the current blog.
No comments:
Post a Comment