
Day 1
To start your sour dough, you will need some heavy flour. Bread flour is great for this, as it has a higher gluten content than all-purpose baking flour. You will also need some lukewarm water and a natural product, such as the apple that came from our tree in the back garden. I like the idea if using a home-grown apple as I know that it has been organically cultivated and that no unnatural additives will therefore get into my dough. You can also use grapes, raw potato, or even sugar. Basically, anything that will activate the fermentation process.

Put 250 g flour in a mixing bowl and grate the apple, with its peel, into the flour.

Mix the apple with the flour.

Add a cup of lukewarm water to the mix (250 ml).

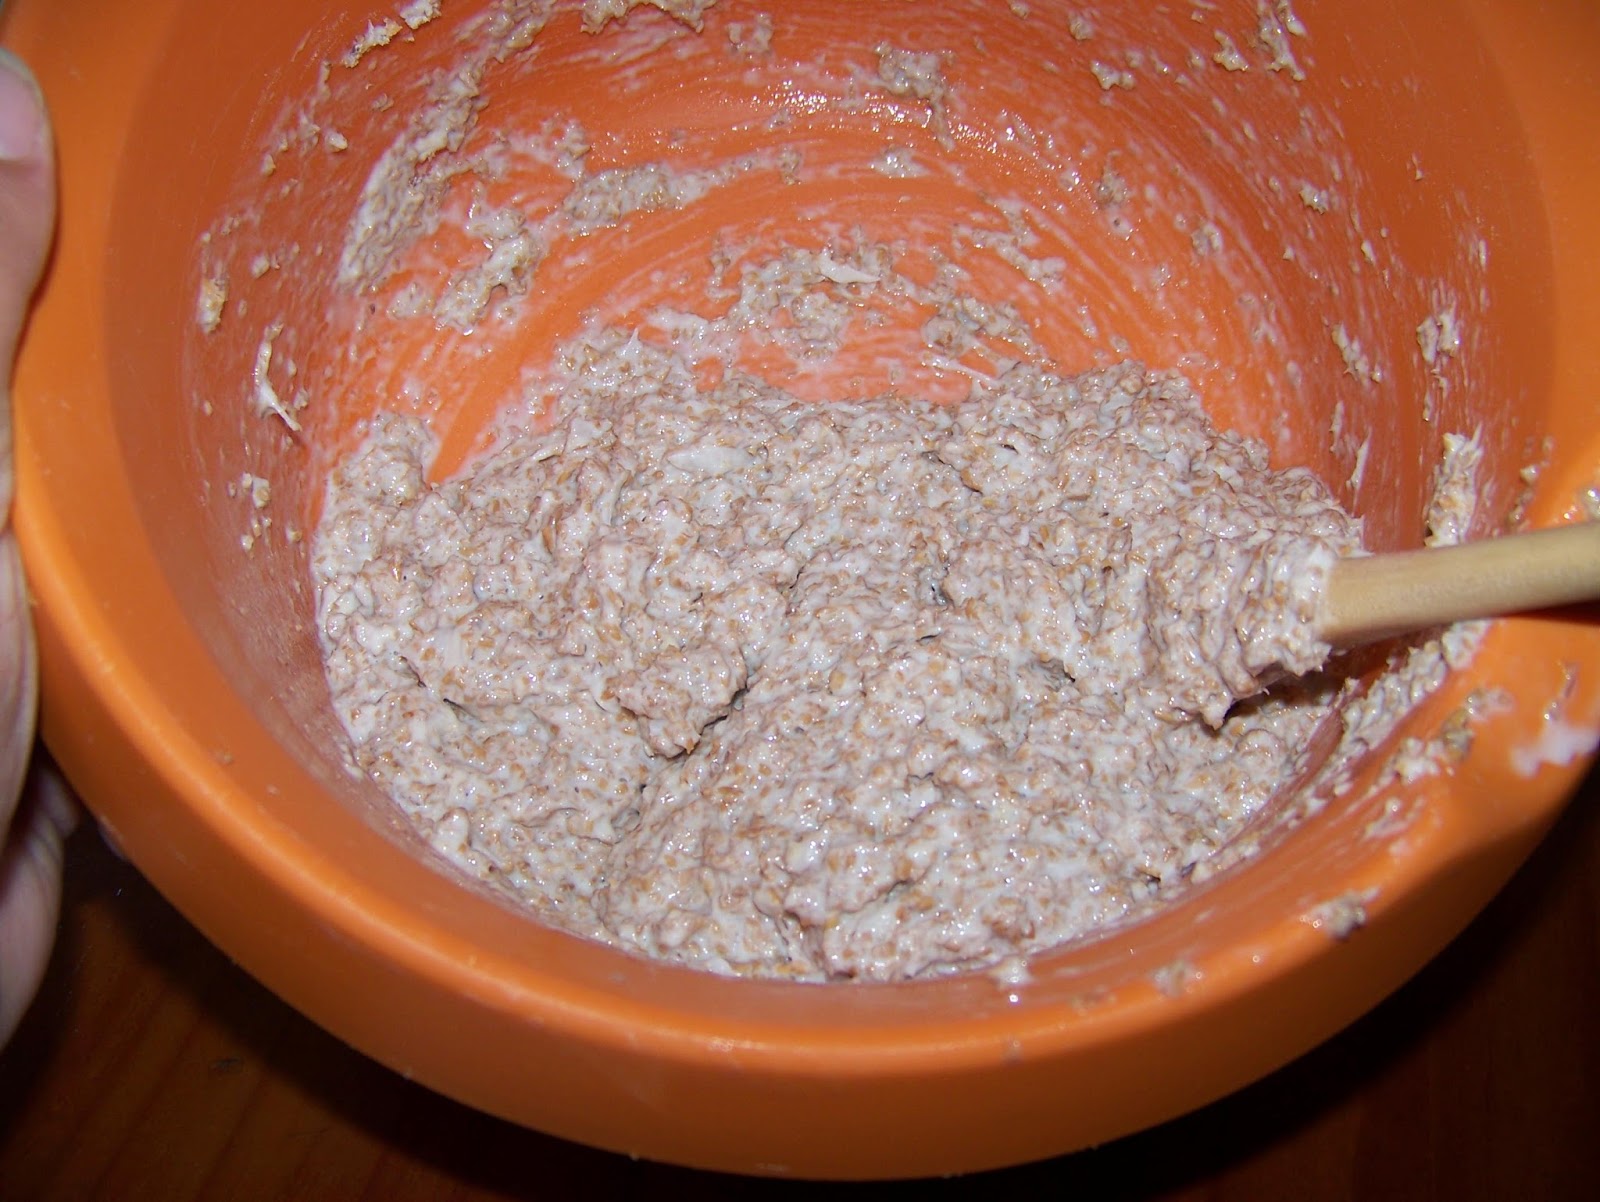
Mix well.

Pour it into a bottle. When I stood back to take the photo, I realized that I needed to add more water.

I added a little more water, trying to work it into the dough with a spatula. The fermentation process can not take place in a dry environment and the liquid is essential. Seal the jar air tight and set it aside for about three days. In warmer weather the process may be faster, so check it daily.

Day 2
24 hours later the dough had started to come alive. I was beginning to suspect I may not have used a large enough bottle to develop it in.

About 6 hours later my suspicions were confirmed. My dough was seeping from the bottle.

I poured about half of the mixture into another bottle and wiped the first one clean. This was starting to feel like a science experiment. Very exciting!

Day 3
24 hours after mixing my starter, it was evident that it was ready to be fed. Normally this would take 3 days, but we've had two exceptionally hot days which sped up the process.

As I was planning a lot of baking with my sour dough, I kept all of, emptying the contents of both jars into a mixing bowl. Normally you would discard half the dough and carry on with only half, as it multiplies so quickly.

I measured 200 g of heavy flour/white bread flour. If you have discarded half of your mixture, you can work on 100 g. Add it to the sourdough starter.

I added 200 ml water as well. Having discarded half, you should add only 100 ml. I then use a knife to mix the dough.

Knowing to expect some real growth, I divided my starter into three jars and sealed them with lids.

The starter now has to ferment for another day when it should be ready for use.

Day 4
I only got to my starter again about 36 hours later and it did not seem very alive to me.

When I opened it, however, I found it bubbly and lively. I could hardly wait to get baking the next day.

Day 5
When I got to my sourdough starter the next day I was very obvious that I would not get much from it. I would have to kickstart it again. If I were to guess, I would say that it was probably due to the extremely hot temperatures of the first two days. I have no real idea. All I know is that I simply did not trust this almost lifeless glob to give my bread the rise it needed. I needed to make a decision; would I dump it and start over, or carry on with what I had started? I decided to carry on. I fed it 100 grams strong flour (white bread flour) and 100 ml tepid water. This was mixed into the starter.

I then decided to go out on a limb and to grate a second apple into the starter.

This also was stirred into the mix.

I then refilled and sealed the jars again and put them aside to see what would develop.

Day 6
Looking at the jars gave me no clear indication of what was happening on the inside on Day 6. I would have to open them up.

Some small bubbles had formed, but it was far from the bubbling mixture I was hoping for. I decided to give it some more time.

Days 7 & 8
There was no difference at all on Day 7 and by Day 8 I decided to admit defeat. I would simply have to start over. Yet, I was not ready to simply discard the first attempt. I went online and read all about the science behind sourdough starters, as well as to research a variety of recipes. Interestingly, the largest number of these used yeast to activate the starter. I was still determined to try mine without the yeast. First I threw all three jars of the first starter into one bottle.

I had learned, through my research, that the bacteria that would activate the starter were in the air. I would therefore leave the lids off my starter is future, opting to rather cover them with a cloth.

I still had some hope for the first starter. I had read that wholegrain flour was a better base for promoting the growth of the bacteria. I therefore measured 250 g of the original starter into a bowl.

To this, I added 100 g of Nutty Wheat flour with a high bran content.

I also added 100 ml of tepid water ...

... and stirred everything together with a wooden spoon.

This was transferred to a clean jar and would be left open under a cloth.

Starter 2 - Day 1
I then started with a whole new starter dough., I measured 250 g Nutty Wheat flour into a bowl.

To this I added 250 ml lukewarm water.

As the research suggested that the bacteria was attracted to starches, I opted to grate a smallish potato into the starter this time around.

Everything was mixed together with a wooden spoon. It seemed a bit dry to me, but I decided to trust the quantities specified by the majority of recipes.

The second starter was spooned into a clean glass jar.

Day 8 & 1
I now had three sourdough starters going under the cloth and decided it would be wise to mark them. On the left is the new potato starter, in the middle the unfed/discarded original starter, and on the right is the newly fed original apple starter.

I waited 6 hours and then decided that I was being silly for not adding water to the starters when everything I had read suggested they wanted a wet environment to ferment in. I therefore added 100 ml of tepid water to both bottles on the ends, leaving only the one in the middle as is.

The potato starter with the water added.

The apple starter with the water added.

I used a wooden spoon to mix the water in and covered the bottles with the cloth. I would check on it again the next morning.

Day 9 & 2
Today was a really busy day for the starters and at one point I felt a little overwhelmed. The original Apple starter came alive with the treatment of wholegrain flour it received the previous day. The potato starter was threatening to overflow. Only the discarded starter, that had not received any feedings the previous two days, remained stagnant.

I discarded half of the original Apple starter and fed the remaining starter a cup of wholegrain flour and a cup of lukewarm water.

This was mixed in with the starter.
The starter was then returned to its bottle.


With the feeding done, the potato starter was returned to the shelf. By the end of the day, It was obvious that the original starter was ready to be used and the potato starter was well under way to being ready. In the meantime, the discarded starter mix had become so much in quantity that it was time to use it for something. As I had been adding ready starter to the mix when halving the apple starter for its feeding, I decided that I might as well try turning it into a loaf of bread. I'll tell you more about this in an upcoming blog.

Day 10 & 3
When I reached my sourdough cultures on this morning, it was evident that both starters was doing well and would be able to keep on growing, provided I fed it regularly. I therefore discarded half of each of the starters, fed each with a cup of wholegrain flour and a cup of tepid water, and left them under the cloth to 'graze'.


I had more or less made up my mind that I would be using the discarded starter for my baking. With this in mind, I fed this mixed starter as well. After all, that loaf I baked from the previous discards turned out so incredibly delicious that I could never get myself to simply throw it away. Let me know about your own successes and failures with this as well. I'd love to hear what you did and how well it worked.

For more crafty ideas and great products, visit APrettyTalent.com.
Remember to keep nurturing your TALENT for making PRETTY things.
You can subscribe to this blog and receive regular updates by email by simply registering your email address at the top of the current blog.
No comments:
Post a Comment