
The easiest way to cut large circles is to find a round object in the house with a similar size as what you require. Few compasses can manage truly large circles. I used the lid from a laundry hamper to trace the circle for the lining of the bag.

I then cut along the lines.

The same lid was used to trace and cut the outer fabric.

I laid the fabric out with the RIGHT sides facing each other and pinned all around the sides. Use lots of pins!

I then sewed along the outer edge, leaving only a small gap to turn the fabric right sides out.

I trimmed the seam line.

I also cut notches all along the seam to give me a smooth finish once I turned it inside out.

Time to turn it inside out.
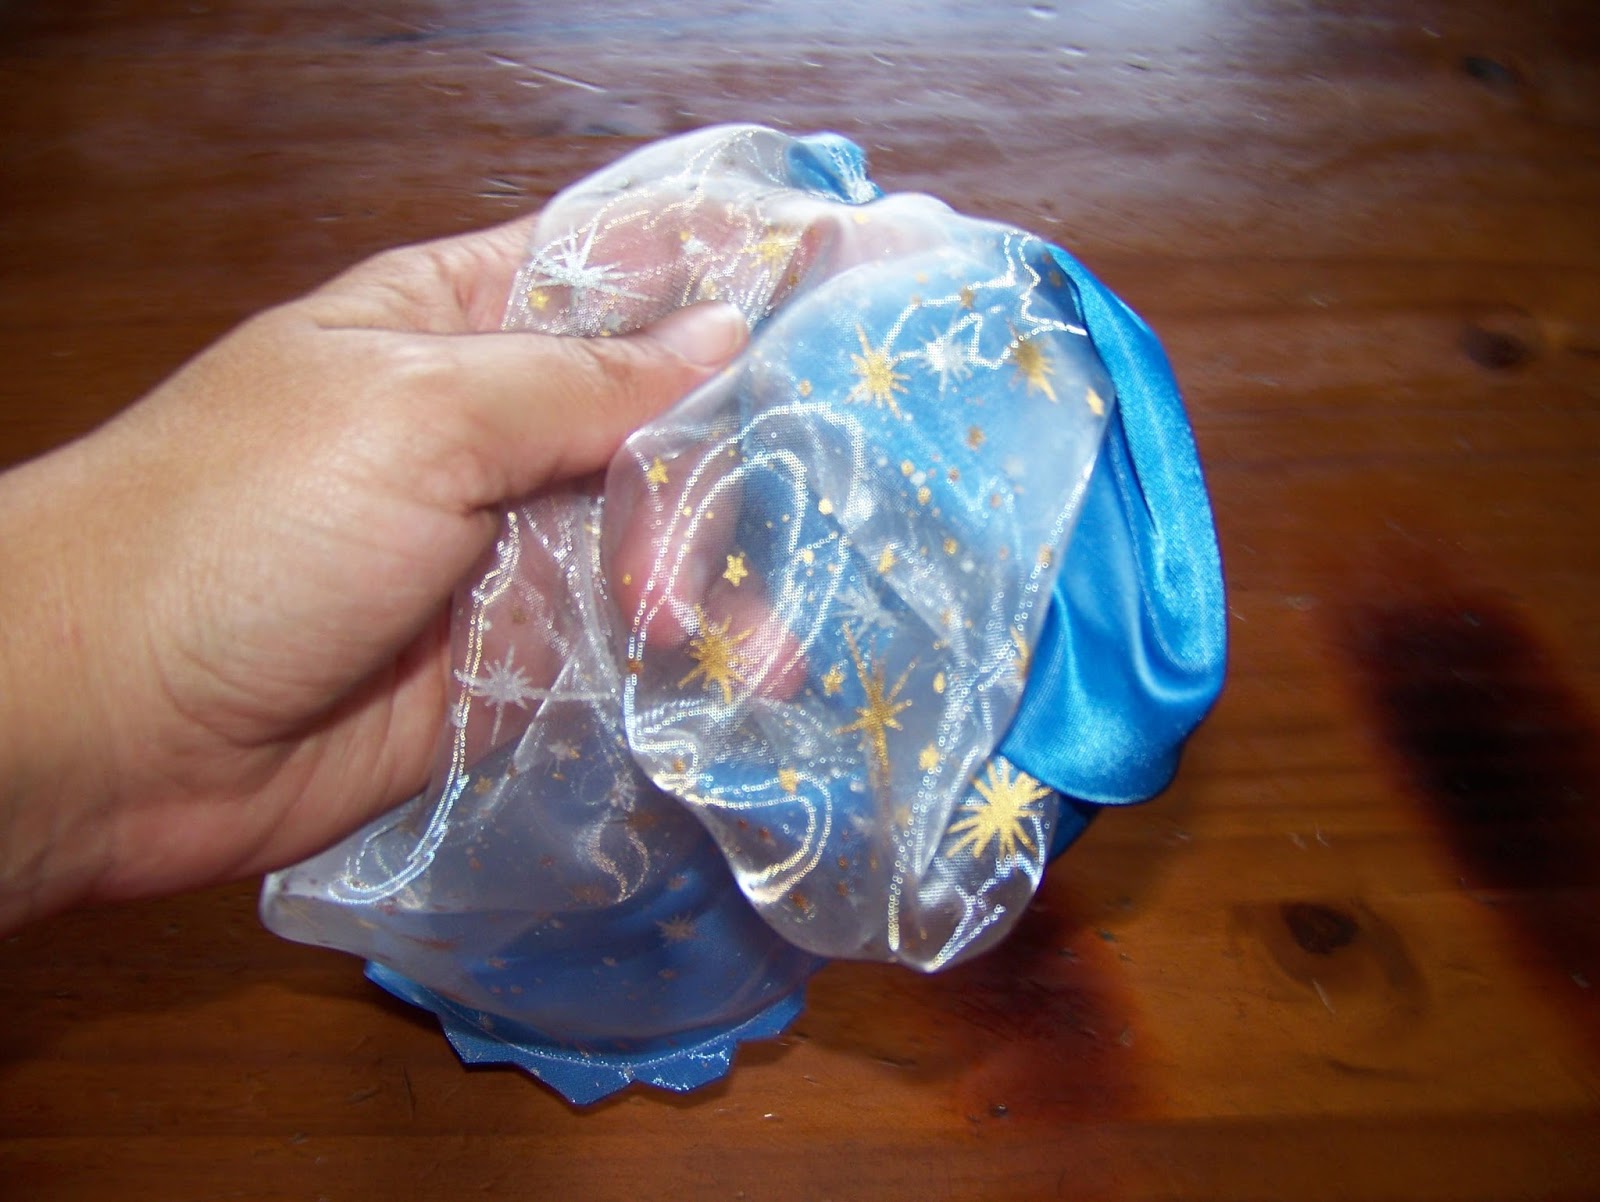
Handstitch the opening closed.

Very carefully and meticulously iron the ends flat. You will need to do small sections at a time and keep rearranging the fabric.

Fold the circle in quarters to find the center of the circle.
My machine makes it easy to sew circles. It has holes in its sewing table where you can place a pin and the fabric then rotates around this pin. If yours does not have this function, you will need to draw the circles on the fabric with dressmaker's chalk and then stitch them with the machine.

The pin is placed in the center of the circle. The foot is a distance from the edge. This can be bigger or smaller, depending on how much of a frill you want on the drawstring bag. Sew the outer circle.

I then reposition the pin into another hole, 2 cm closer to the needle and sew a second circle.

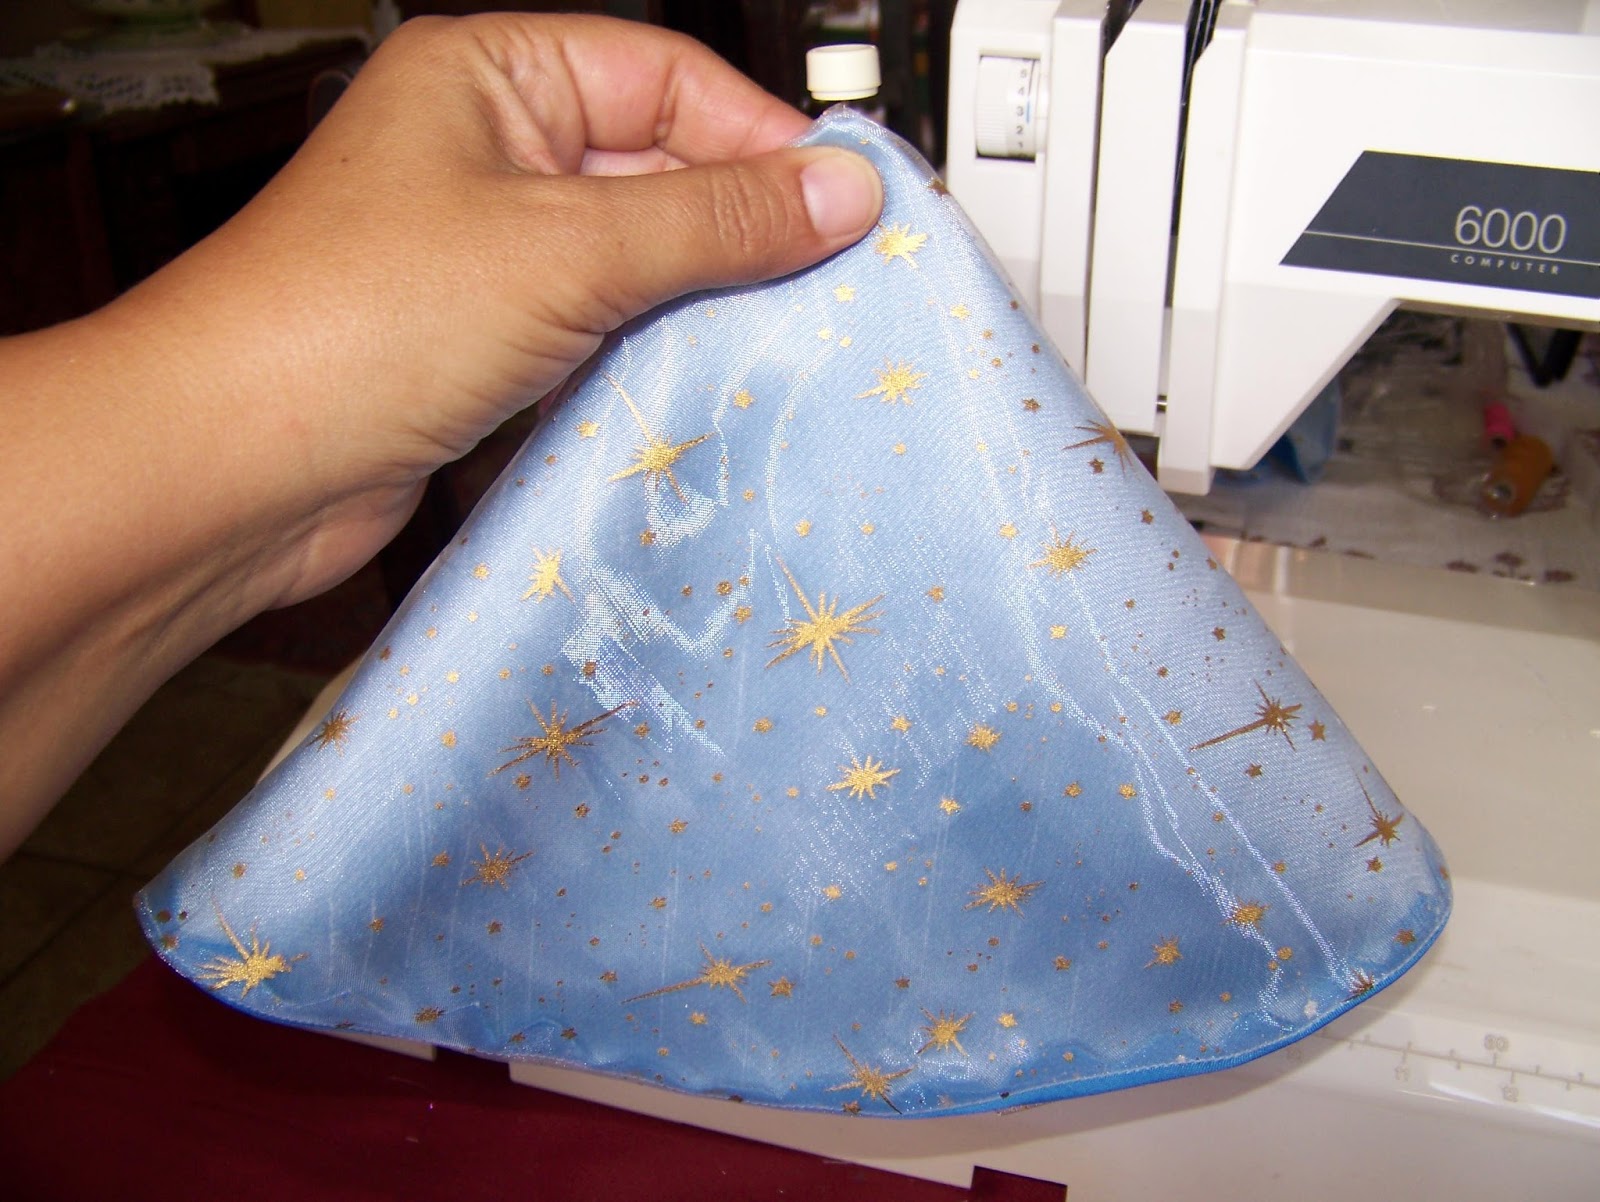
This is what the purse should look like at this stage.

Cut two small openings into the tube between the two stitch lines.

I wove the scissors through the openings so you could see that I have two very closely spaced together.

Organza is an extremely flammable fabric. I very carefully melt the two openings that I cut with the heat of the flame, not putting it directly in the flame. This is the same technique you use when burning the edges of ribbons when trying to prevent them from fraying. Be very careful not to scorch the rest of the fabric!

I now use a tool called a Bodkin to string the ribbon/string through the tube. Clamp the string/ribbon between the teeth of the Bodkin and pull the shutter down to tighten it.
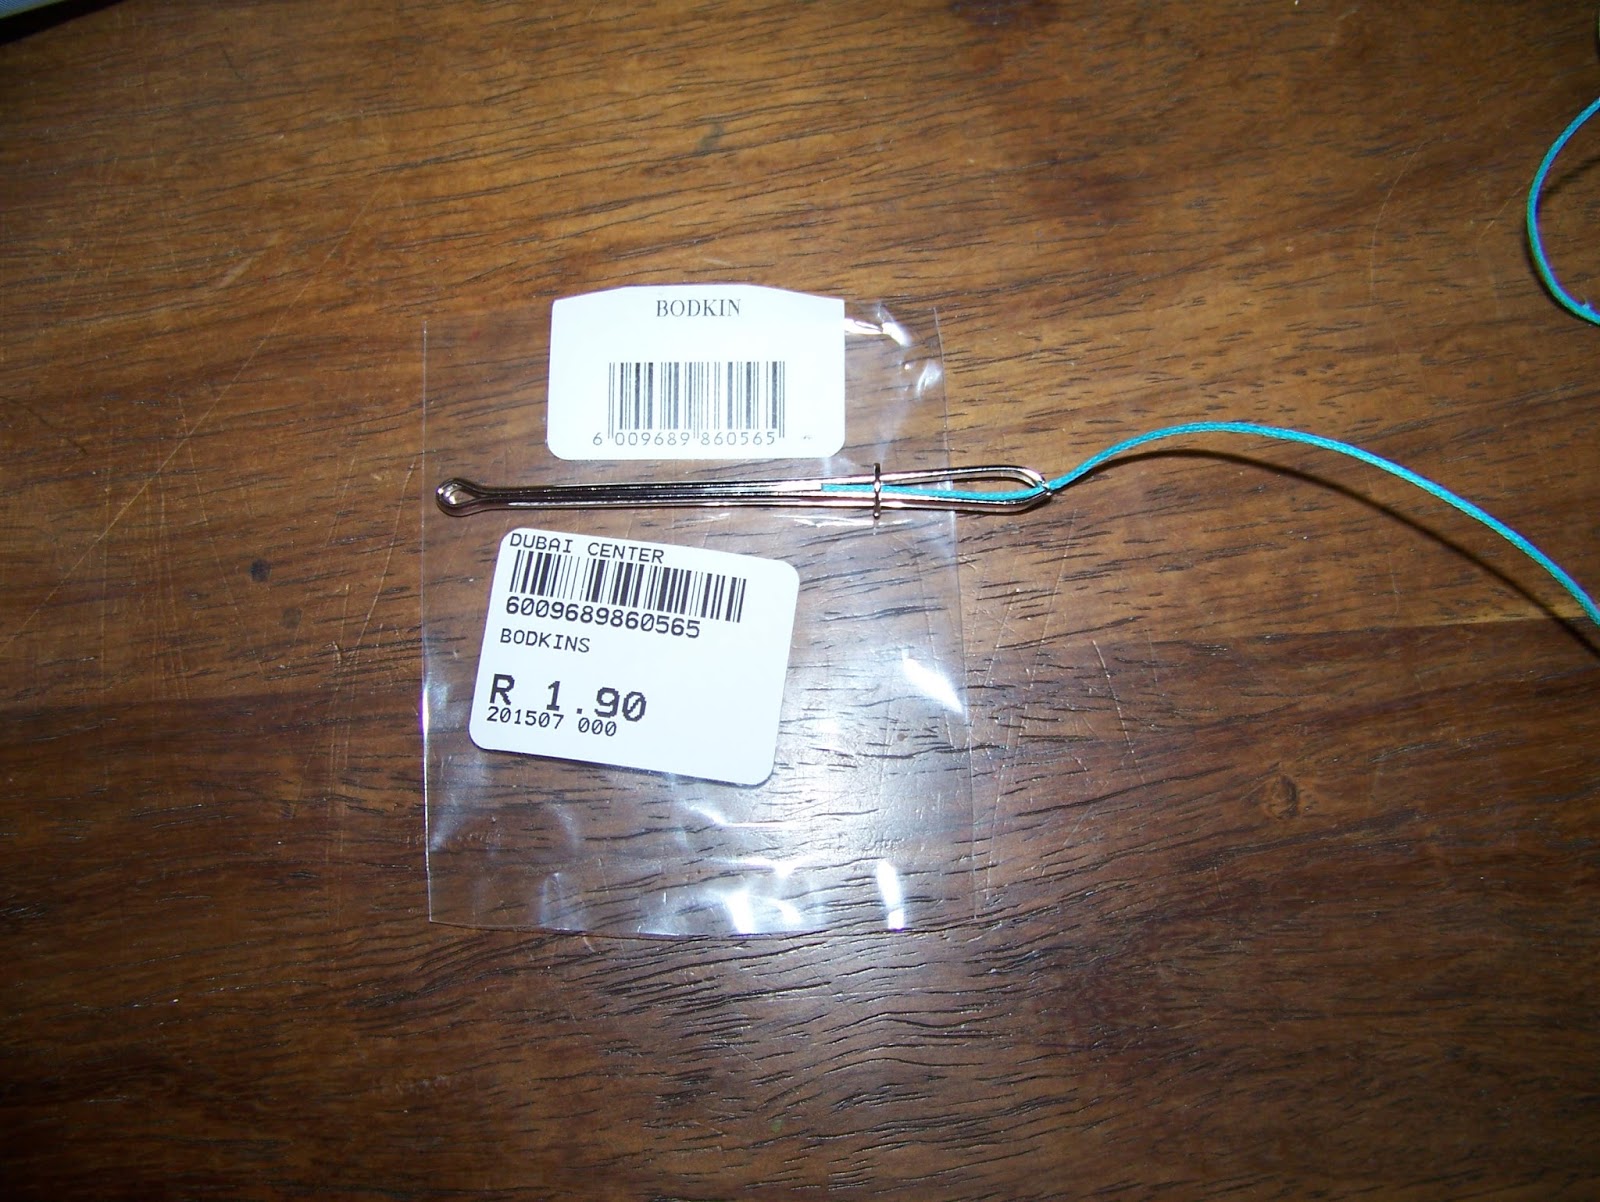
Maneuvering the Bodkin through the tube is much easier than trying to get the string through.

Allow some extra length at the ends.

Pull the strings closed and you have a cute little drawstring bag. The extra length on the string allows it to double as a sling/handle.
For more crafty ideas and great products, visit APrettyTalent.com.
Remember to keep nurturing your TALENT for making PRETTY things.
You can subscribe to this blog and receive regular updates by email by simply registering your email address at the top of the current blog.
No comments:
Post a Comment