
I took this recipe from one of my favourite recipe books and adjusted it only ever so slightly.


Add 25 ml butter.margarine to a mixing bowl.
Option 1: If you are not using a sourdough starter, you need to start by combining 60 ml water with 1 package of active dry yeast and 12,5 ml sugar. Let this sit for about 15 minutes to develop and get frothy.

Add 25 ml sugar to the butter.

Add 10 ml salt to the bowl.

Now add 500 ml lukewarm milk to the bowl. Stir to dissolve everything in the milk.

Add 500 ml sourdough starter to the mix. As my sourdough starter is grown with wholewheat flour, it will result in something less than white bread. For a fully white bread, I would have to painstakingly grow the starter from White Bread Flour. I won't bother as I prefer brown bread, but you may want to do this.

Now add 6 1/2 cups (6 1/2 x 250 ml) White Bread Flour to the wet ingredients.

Bring the dough together.

You need to knead the dough. Normally I do this on the table top, but I will let the dough rise in this bowl and therefore I dust the bowl with flour to knead inside the bowl. This restricts the mess in the kitchen, which is always an added benefit.

The dough is ready when it loosens from the side of the bowl and your fingers. This will require about 10 minutes of kneading.

Cover with plastic and leave in a warm dry place to rise.

A couple of hours late the dough has risen. Knock it back by kneading it again.

Prepare your pans (you will need two) with non-stick spray and a light coating of flour.

Divide the knocked-back dough in two.

Flatten the dough and folds the long ends in.

Lay the dough in the pan with the folded ends at the bottom.

Cover with plastic and allow it to double in size.

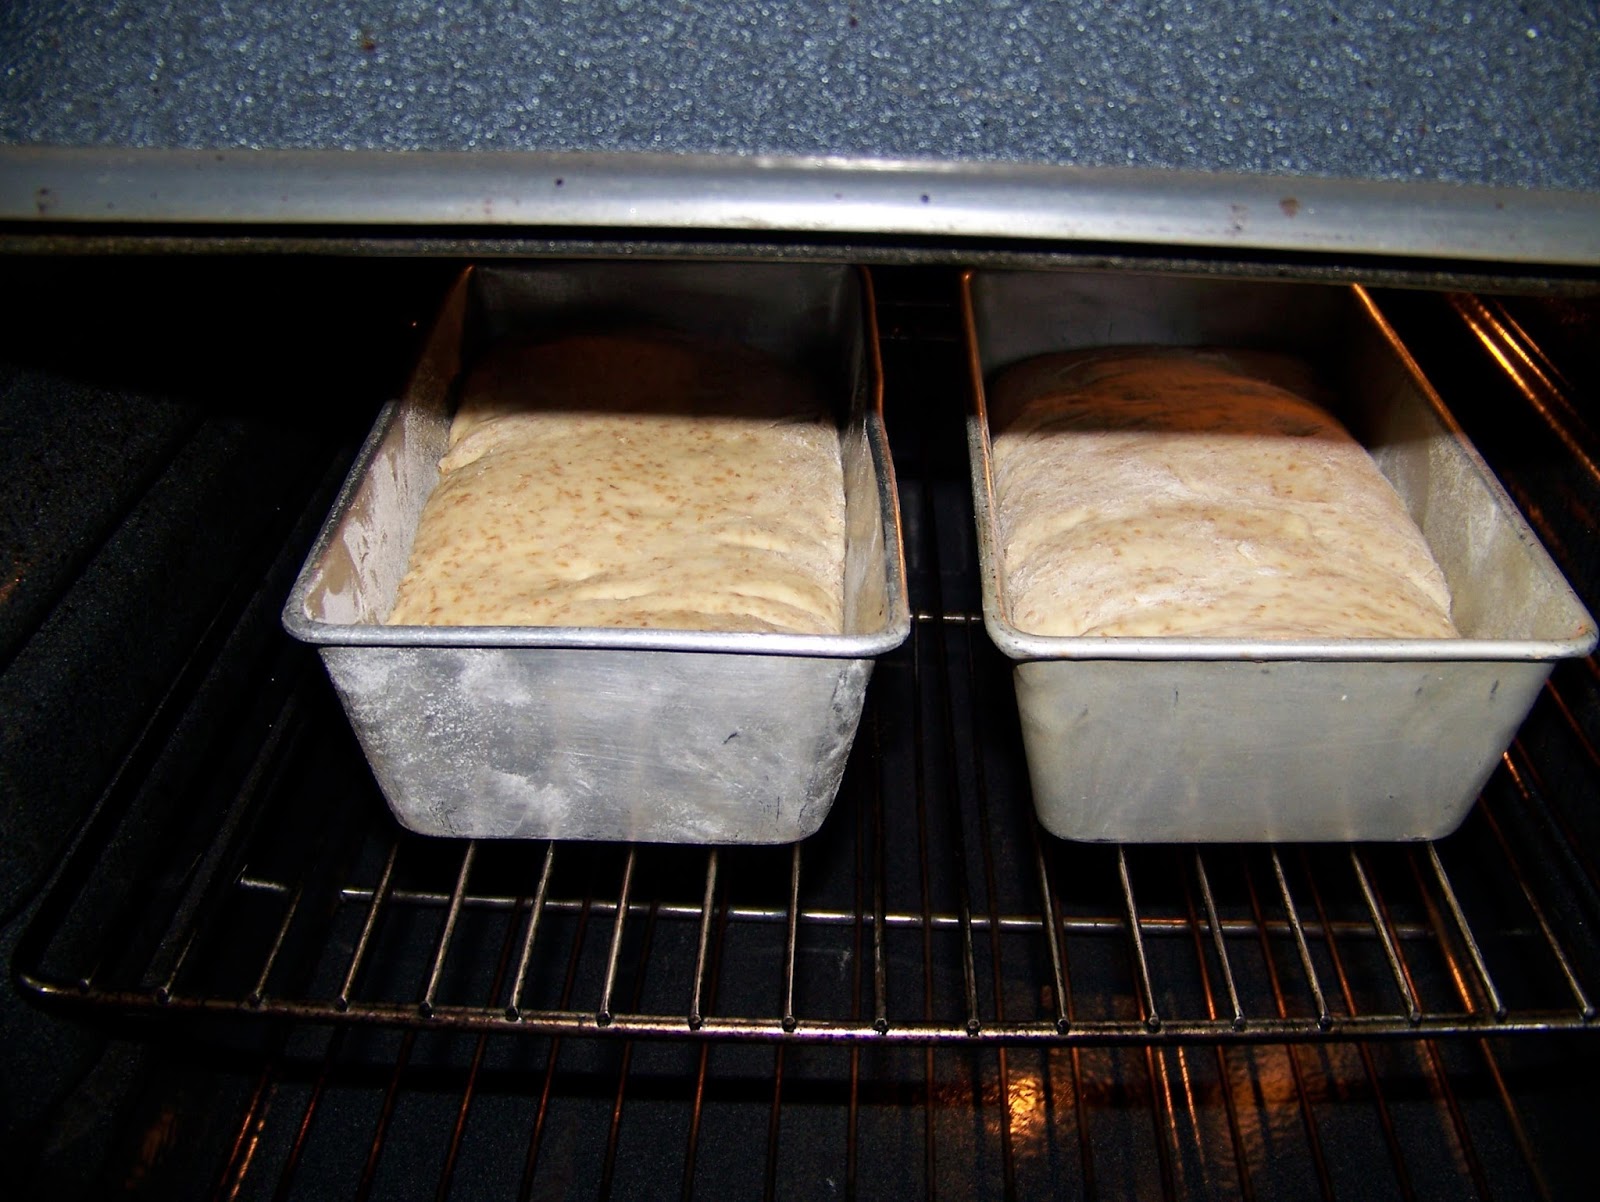
Once the dough is risen, stick the pans in a preheated oven at 180°C and bake for about 45 minutes.
In the meantime, you can mix some milk and sugar to coat the top of the bread with when it comes out of the oven. This will give the tops a nice shine and a slightly sweet taste.

Remove from the oven when the sides pull away and the bread sounds hollow when you tap on it.

Turn out on a wire rack to cool and immediately brush with the milk and sugar mixture.

To avoid a hard and crisp crust from forming, dampen a clean tea towel and cover the hot bread with it.

Once it is cool enough to handle with the hand, you can slice into it, lather it with butter, and enjoy!
For more crafty ideas and great products, visit APrettyTalent.com.
Remember to keep nurturing your TALENT for making PRETTY things.
You can subscribe to this blog and receive regular updates by email by simply registering your email address at the top of the current blog.
No comments:
Post a Comment