
This is the serviette I was handed with such great ceremony. I folded it open to see what I had to work with. Essentially I had two Anna's and two Elsa's.

I rummaged through my masonite stash and found this plank that I had prepared a long time ago, but never used.

The masonite was prepared with a coat of gesso. This was left to dry and then the background was painted Cerulean Blue (Hue) acrylic paint.

The first thing I did was to cut the four pictures apart with my scissors.

Even though I loved the frame, it made no sense to keep it and this was cut off and discarded.

I then separated the top layer of the serviete from the white layer at the bottom.

I now needed to test the layout on the masonite board. I liked this one with alternating faces, where all of the princesses are facing in.

You can use one of two products to decoupage the serviettes onto the masonite; Acrylic Gel Medium, or Modge Podge. Both work equally well. Use a nice big brush for broad strokes when you decoupage.

Paint the background for the first picture with the medium.

Carefully lay the serviette in place. Then paint another coating of the medium over the serviette.

Do this with all four pictures in turn.

I then found some Light Green acrylic paint and a medium sized round brush. This brush will be used for all of the paint work in the project. As the medium I used is a water based medium, that is used to mix with acrylic paints, I do not need to wait for it to dry, but can continue working, even painting over the wet medium.

I paint random 3-leafed flowers at the corners of the pictures.

I put the brush down and pant inward, lifting the brush quickly away to make a slight tail on the inside of the flower.

Loading the brush with paint, I stand the brush on its tip and paint the curved line in one continuous sweeping motion.

The dots are made by barely touching the board with the tip of the brush.

Progress photo of the painting job.

For the next step of the painting, I mix Titanium White and Deep Rose acrylic paint with a palette knife, to give me a deep pink color.

That looks just about perfect. The reason I add the white is to turn the transparent Deep Rose a little more opaque, or it will not show on the blue background.

The petals of the flowers are done similarly to the leaves earlier. This time I only use the tip of the brush, rather than the length of the bristles.

Paint some centers for the three-leaved leaves.

Make tiny dots with the very tip of the brush at the green curved line.

I am now ready to step away from the board, allowing everything to dry properly before continuing work on it.

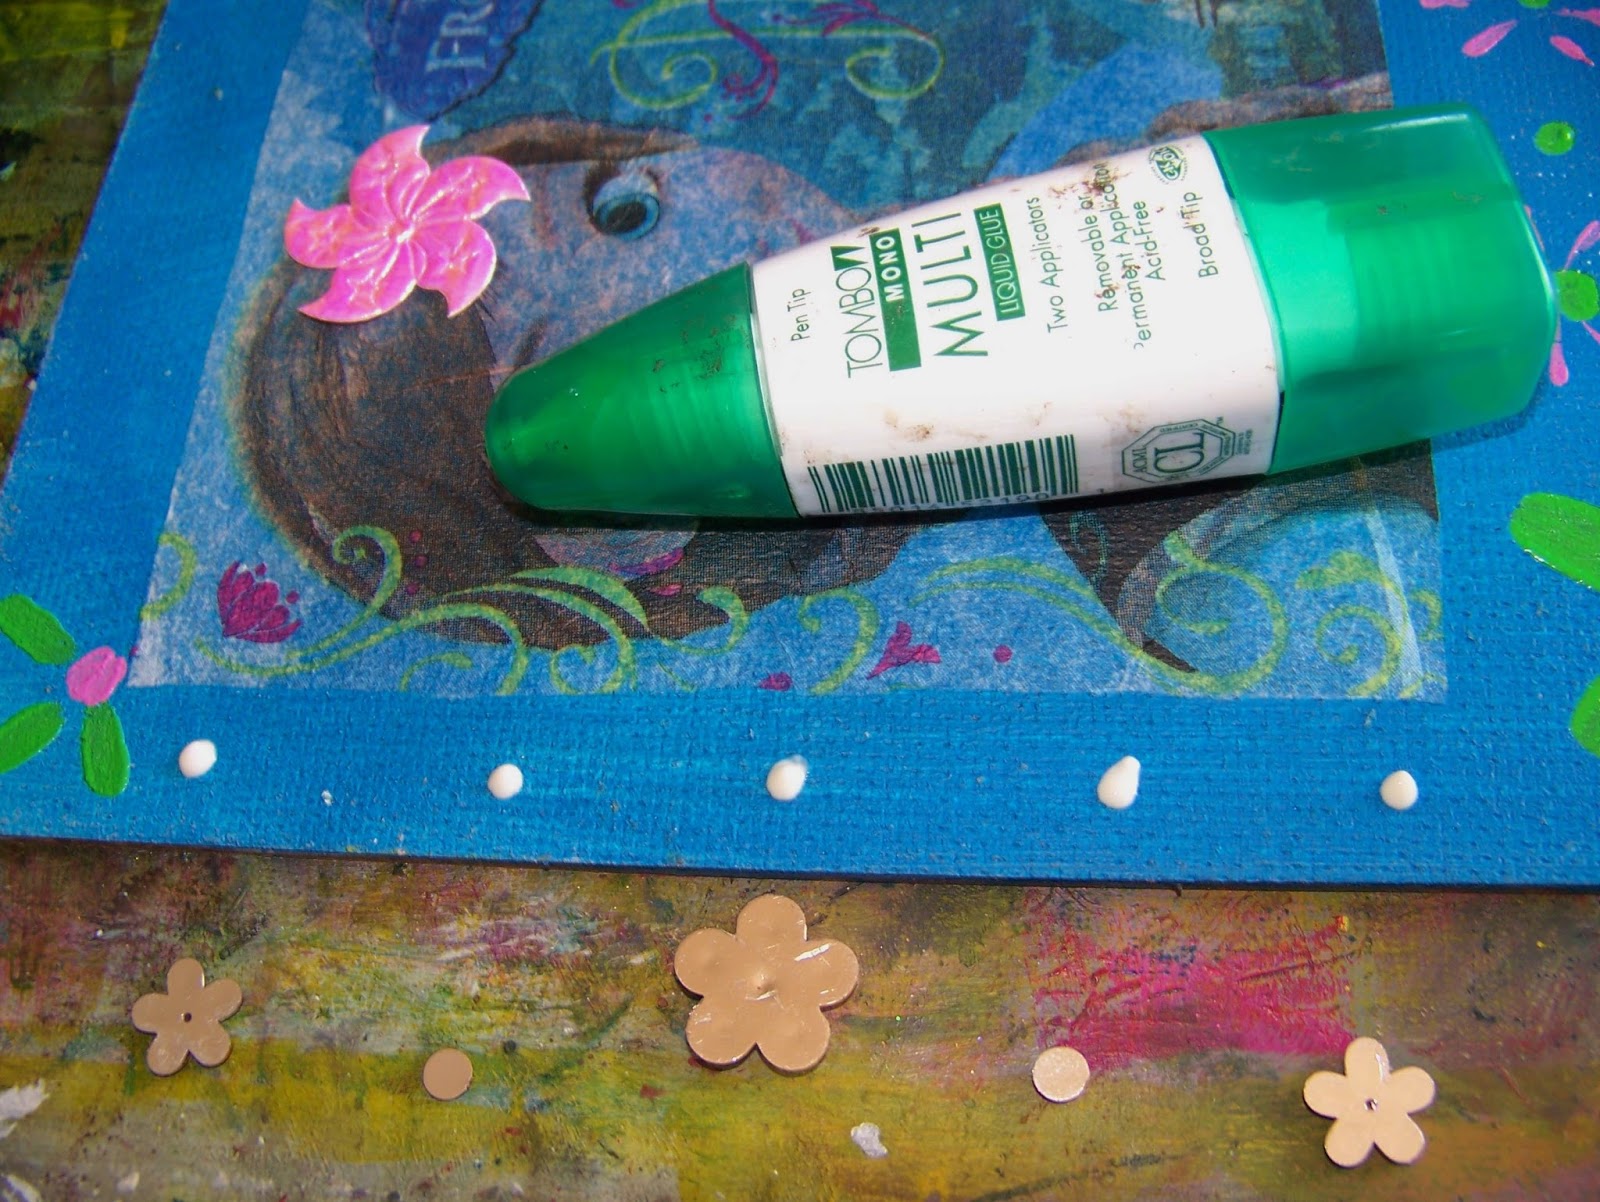
When the paint is dry, I return with some girly embellishments and my trusted Tombow glue. Each of the figures get something different added to her hair.

As I am not going to spend money on a frame, I 'cheat' the eye, by creating a 'frame' with some rhinestone embellishments.
This project once again cost me almost nothing, but in just a few short hours, I was able to gladden the heart of a little girl.

For more crafty ideas and great products, visit APrettyTalent.com.
Remember to keep nurturing your TALENT for making PRETTY things.
You can subscribe to this blog and receive regular updates by email by simply registering your email address at the top of the current blog.
No comments:
Post a Comment