
I have a number of really precious photos to work with in today's project of where this little baby meets her grandparents for the very first time. I would like to use circles, as this will help to focus the attention on the people, largely cutting out the background, but I need to make sure it will be possible to include all of the faces in the circle, without accidentally cropping any of them. For this reason, I search for a circle of the appropriate shape and place this over each of the photos in turn, to make sure my intended layout will work with these photos. I am in luck!


I then cut each circle out with a pair of scissors.

Next, I set the compass to a radius of 0,5 cm larger than the circles were and describe circles on coordinating matting paper.

These circles are also cut out and the photos are mounted on the matting paper.

This is what my hands look like when I start attaching photos to mats or borders, etc. I found this so funny that I could not resist sharing the photo with my fellow crafters. I am sure you will be able to relate.

The circles are now in the process of being matted.

I fetch my trusted Walnut Stain Distress Ink by Tim Holtz.

I use the distress ink to ink the edges of the matting.

A close-up of what the inked edges look like.

I now decide on the final layout of my photos before starting to add the remaining elements.

I have had this hanger-shaped die-cut by Creative Talents for ages and can hardly contain my excitement at finally finding the right layout to use it with.

I will be using the Milled Lavender Distress Ink to ink the hanger with.

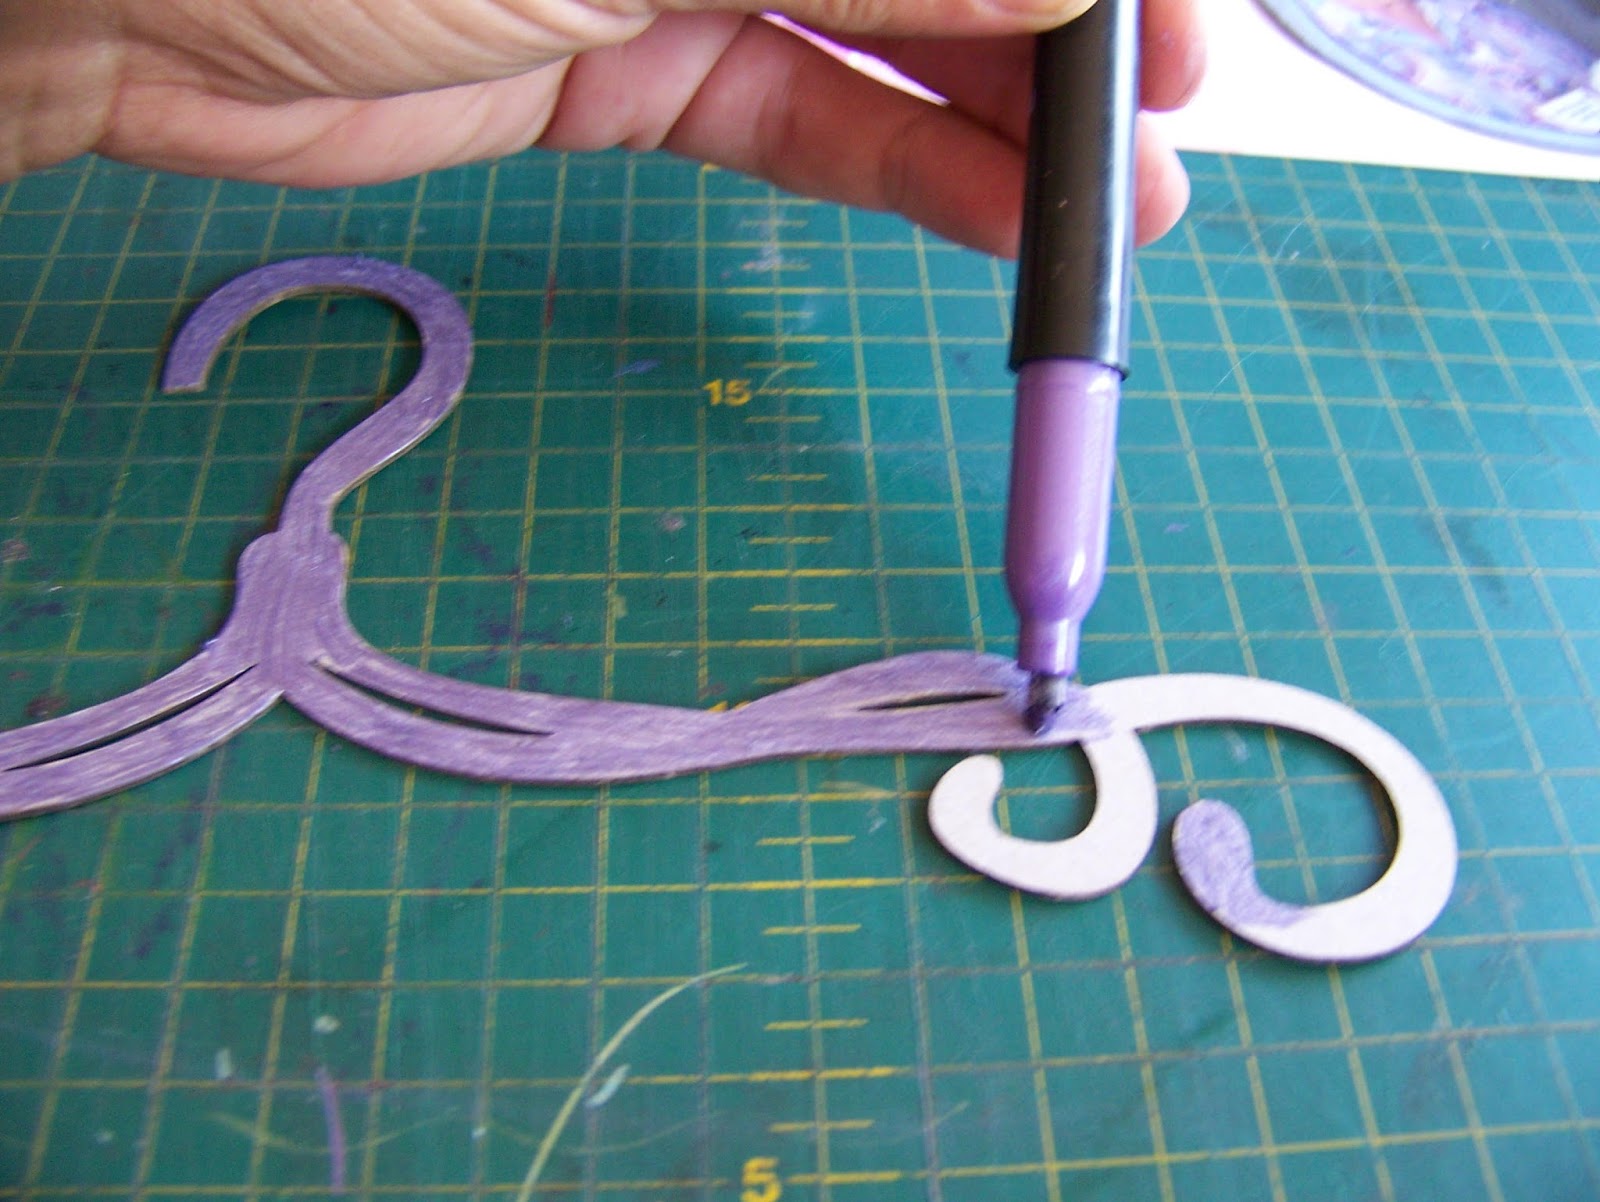
But first, I will color it with a purple metallic marker.

I am looking for a streaky color that will not look too finished when done.
I then 'smear' the distress ink pad over the hanger to add more uneven color.

I am not sure that the photo shows this clearly, but the left side of the hanger has been inked, while the right side is only colored with the marker still. Can you see the difference? It is perhaps more obvious in the actual product.

I now want to add some eyelets to the smaller circles. Position the eyelet on the photo.

Carefully turn it over and put the eyelet tool on top of the eyelet with the paper wedged in between the two.

Tap lightly with a hammer to secure the eyelet.


In order to let the photos hang from the hanger, I need some pretty string or raffia.

Pull the string through the eyelets and tie into a small not.

Maneuver the knot to be hidden behind the photos and secure the knot in place.

Test the lengths of the rope to make sure the baubles hang at the correct height.

Glue the back of the hanger.

The baubles should be hooked onto the hanger before you stick it down.

Now you can secure the baubles to the page with double-sided tape.

All that is left to do now, is to add journaling and embellishments.

I had this lovely sticker set with perfect journaling at hand and the colours matched my layout perfectly. I was definitely going to use these!

I stick the small flowers from the sticker sheet down in one corner.

Then I start journaling across the layout.


I decide to punch some tags from coordinating paper and vellum.

The tags are inked with the Milled Lavender distress ink.

I also secure the vellum tags to the cardstock tags with eyelets.

I use the same raffia as before to add to my tags. This time I fold the raffia double and stick it through the eyelet from the back of the tag.

Pull both ends through the loop.

Pull the raffia tight for a neat knot.

The other tag had it's raffia pushed through from the front of the tag. You will see the difference it created in the appearance of the knot. I did this on purpose so it would be easy for you to decide which you like better, if any at all.

Secure the tags to the layout with double-sided tape and trim the raffia where it sticks over the edge of the page.

Some more journaling was added.

I then found some flower embellishments and pulled three out of the bunch, arranging them at different heights in my hand.

I trimmed the long stems and secured the bunch to the layout with a strip of double-sided tape.

The tape was then hidden by adding some butterfly embellishments.

Not wanting to crowd the photos, I decided to stop here.

For more crafty ideas and great products, visit APrettyTalent.com.
Remember to keep nurturing your TALENT for making PRETTY things.
You can subscribe to this blog and receive regular updates by email by simply registering your email address at the top of the current blog.
No comments:
Post a Comment