
This is what the original dress looked like when it was handed to me.

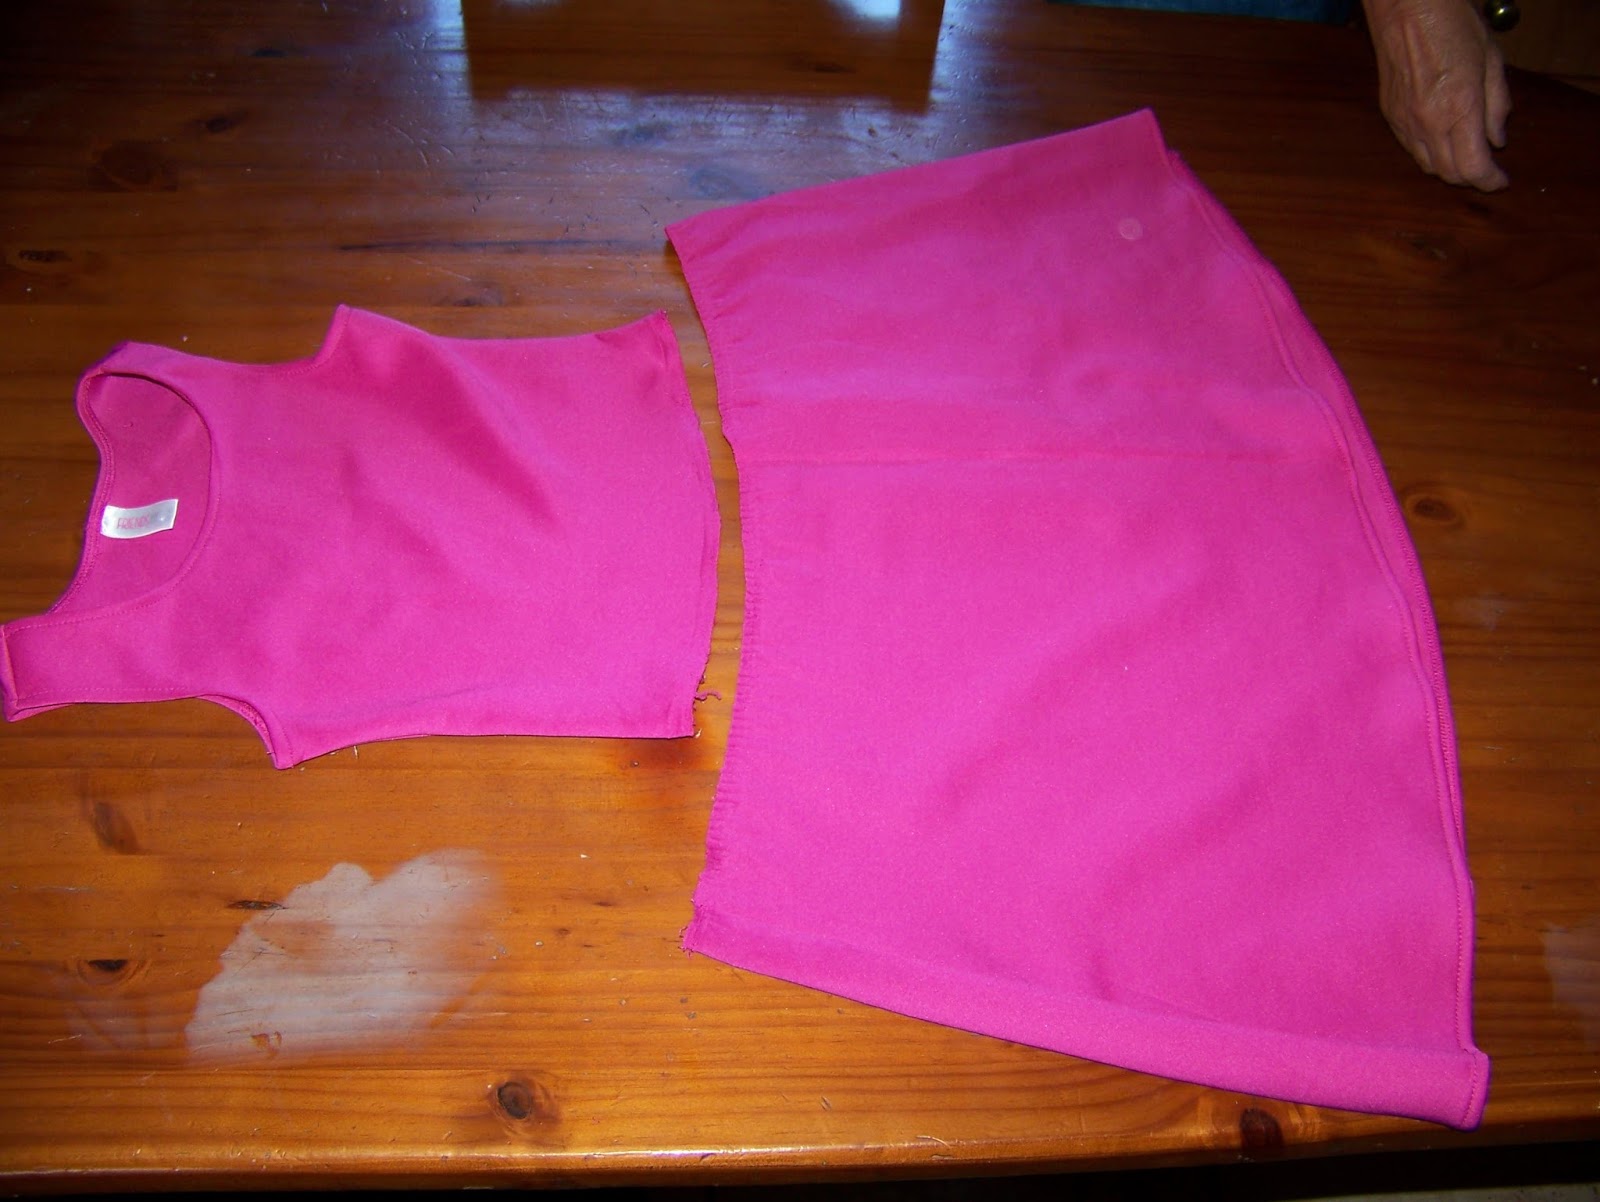
My niece had stipulated that she wanted to put netting over the skirt. I therefore started by unpicking the seam securing the skirt to the bodice.

Once the dress lay in two pieces on the table, I called my niece over and asked her if she wanted me to continue as she had instructed, or whether I should not turn this into a top and skirt instead. She loved the idea of a two-piece and that was how we would continue.
Sewing the Top
I decided to use some matching satin with the dress. I now laid the top on the fabric and lengthened it with 10 cm, seam allowance included. I made it a little wider at the sides as the satin, unlike the original fabric, is not stretchable.

I then cut along the measurements, taking care to keep the shape of the top balanced on both sides.

I use the extra length to cut two more pieces from the netting she liked so much.

I then lay the satin with wrong sides facing each other and sew the side seams.

I lay the netting with right sides facing on top of each other and sew the side seams.

I then lay the satin and the netting on top of each other. The wrong sides should face out (the seamed sides should face out). I then sew the bottom hems together. Turn the extension right side out (with all the seams on the inside) and iron flat.

Lay the netting side against the right side of the top and pin together. Sew the extension to the top.

This is what the altered top looks like.

Sewing the Skirt
I cut a waistband from the satin fabric for the skirt.

I then lay the skirt out carefully on the netting and cut a second skirt from the netting. Remember to add seam allowance!

I will not be hemming the netting, as that will make the net very heavy and stiff at the bottom, but I cut extra length anyway as I like the idea of the netting hanging over the hem of the skirt.


Sew the side seams of the netting together.

Pin the netted skirt to the original skirt at the waist.

Pin the waistband to the skirts and sew.

Measure the proper length for the elastic and sew the two ends together.

Put the elastic in the waistband and fold the seams in, pinning them in place.

Finish the waistband by hand.

You now have a brand new outfit that bears very slight resemblance to the original dress.

And here is our very satisfied model.

For more crafty ideas and great products, visit APrettyTalent.com.
Remember to keep nurturing your TALENT for making PRETTY things.
You can subscribe to this blog and receive regular updates by email by simply registering your email address at the top of the current blog.
No comments:
Post a Comment