
First I had to make sure that the pigs would actually fit onto the covers that I intended to make. I accordingly matched each of the pigs to an appliance. You can read more about how I painted these pigs in a previous blog I wrote. Click HERE to navigate to that blog.

I then went in search of some rulers, paper and a pencil to take proper measurements. When measuring, make sure to measure the outermost points. In this case that meant including a protruding plug socket.

As we are working with three-dimensional objects, we need to get three measurements in each case; length, width and height. Make yourself a crude drawing and indicate where each measurement fits to make it easier to keep track of where all of those numbers belong. These are the measurements for the TV Grill.

These are the measurements for the pop-up toaster.

A close-up of these measurements. Once the measurements are taken, add together: (the height x 2 + the length across the top + 3 cm seam allowance), by (Width + 3 cm). You will need one panel in these dimensions. For the front and back panels, add together: (Height + 3cm), by (Width + 3 cm). You will need two of these panels.

The measurements for the sandwich press.

A close-up of the sandwich press. Do the calculations exactly the same as before for all of your appliances.

I then summarized all of the measurements on a piece of paper to make it less confusing when cutting the fabric.

It is best to find yourself a stiff and strong fabric to work with. Alternatively, you will need to stiffen the fabric with Vilene or stiffening. I drew the sizes onto the denim I was going to work with to get the best layout. Note how I marked each panel to keep track of where it belonged.

Once the panels were cut, I used them to cut the same sizes and panels from lining.

I then held the panels up to the appliances as a quick check to make sure that my measurements were correct. This is the pop-up toaster.

This is the sandwich press.

This is the TV Grill.

The panel for the pop-up toaster was slightly smaller than my painted panel and I would have to cut the painted panel to size. I started by appliqueing the painted panel at the sides, to the fabric panel.

I then cut the excess fabric away at the top and bottom.

The other two painted panels fit properly and could simply be appliqued onto the fabric.


It was now time to take the long panel and fold it in half to find the center.

Also find the center on the appliqued panel.
Line the centers up and pin together, right sides facing. Pin to the corners. Now pin the bottom corners together and pin back up to the top corners. Cut into the top corners to create the necessary bend in the fabric.

This what the pinned panels should look like.

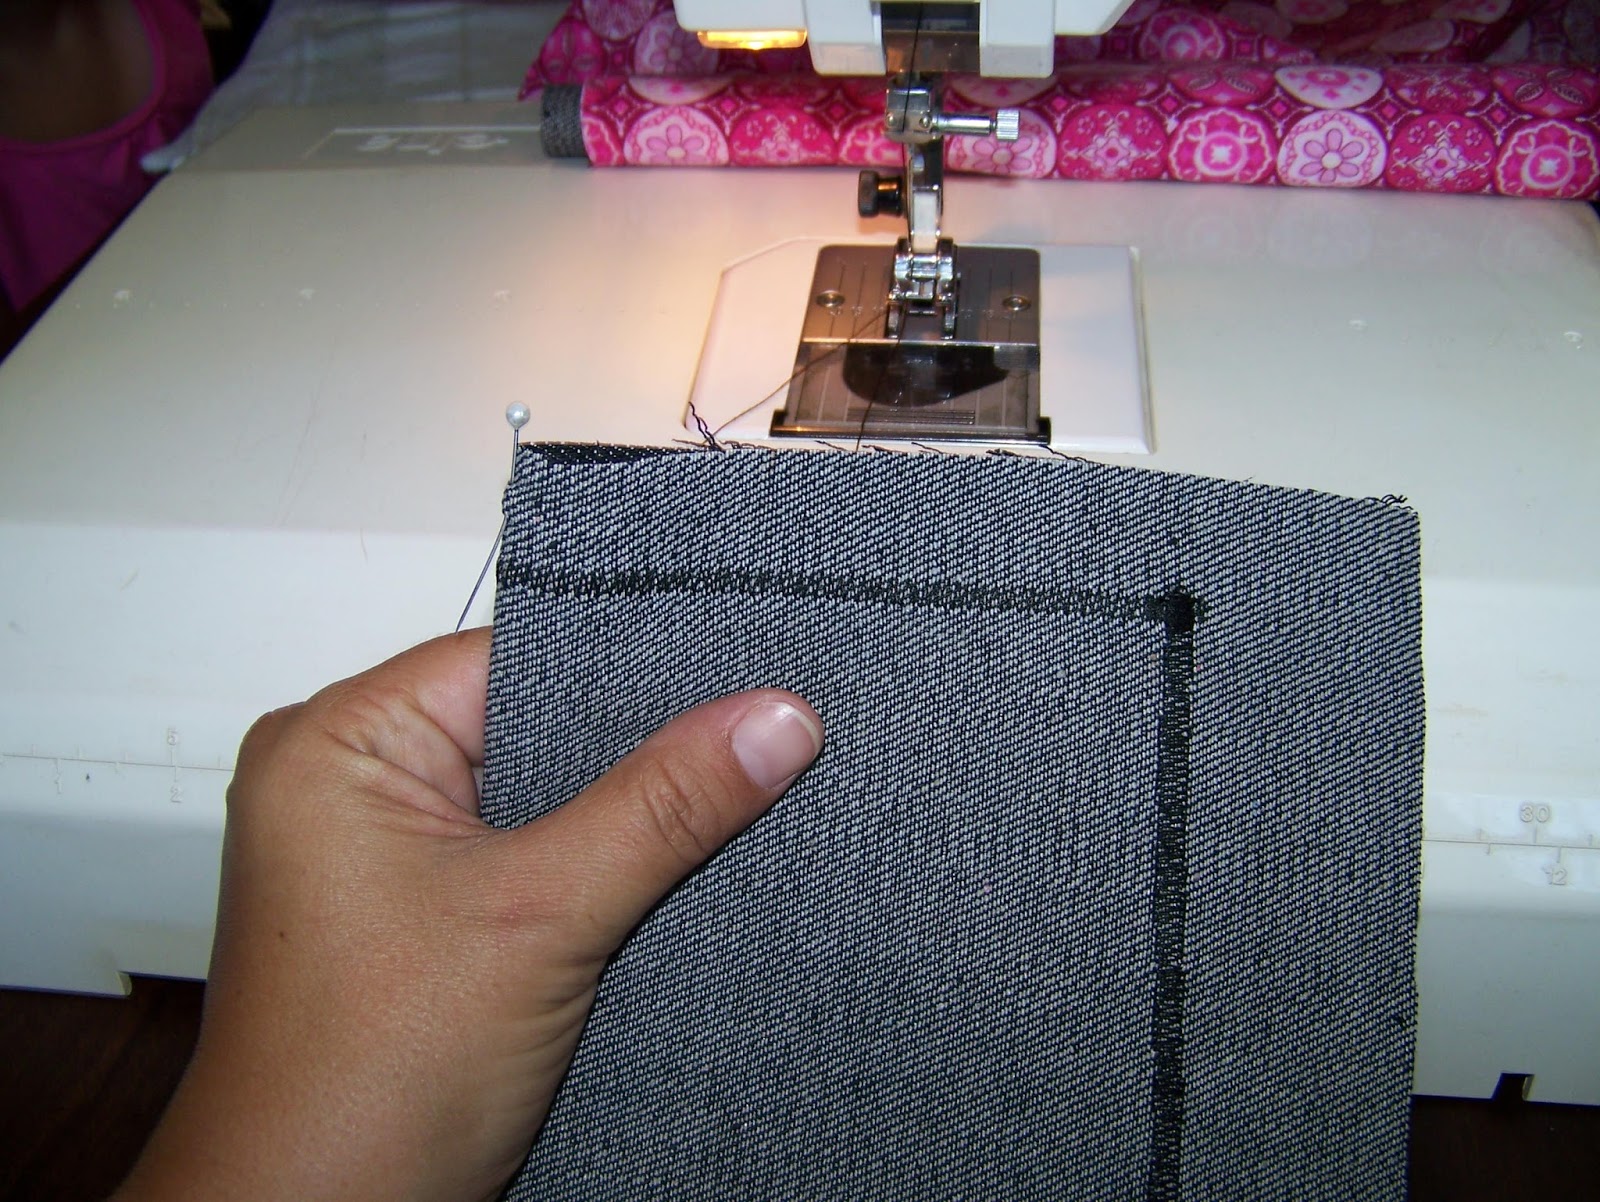
Now start at the bottom and sew all the way around. Drop your needle at the corners. Lift the foot and turn the fabric. Drop the foot again and continue sewing.


You should now have the start of a square fabric box.

Again, find and line up the centers. Attach the back panel exactly the same as you did the front panel.

Cut away the excess fabric in the corners.

Turn the fabric right side out and fit onto the appliance to make sure it fits properly.

You will now construct the lining in the exact same way as the fabric. Find the centers and line them up.

Pin all the way around, exactly as before. Cut open the corners.

Sew all the way around, exactly as before.

There is no need to cut the fabric away at the corners of the lining as the lining is not going to be turned out. Simply fit the lining inside the fabric. Line the matching corners up and pin them together.
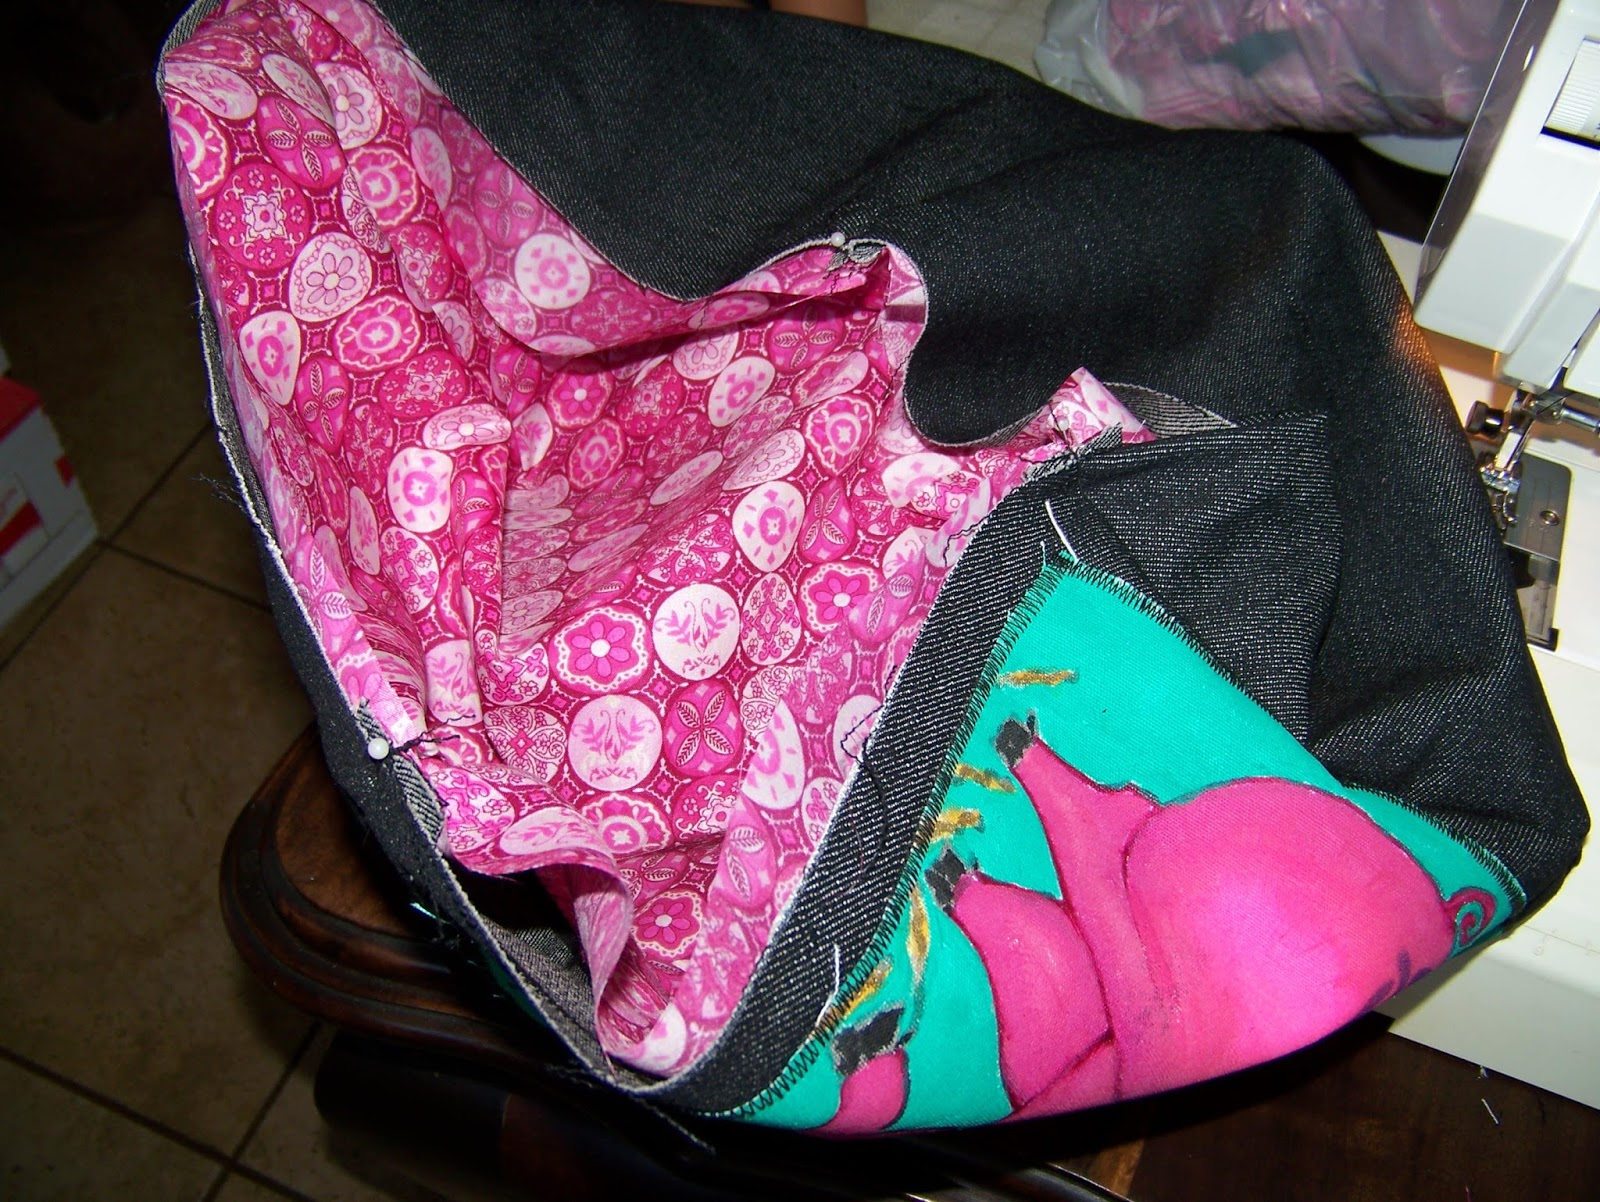
Now fold the hem in and pin it in place.

Sew the hem by hand, all the way around.

The first of your appliance covers is now done. For me it meant that the TV Grill had a cover.

The pop-up toaster was made exactly the same way, except that the picture was caught in the seams, instead of being appliqued on, like the others. This is because of the size of the picture in relation to the toaster.

The sandwich press' cover was also made in exactly the same way.

By the end of the project my mom had covers for three of her appliances and was making plans for redoing the kitchen in this colour scheme as she liked it so much. I may just share some more kitchen ideas in future then ;-).

For more crafty ideas and great products, visit APrettyTalent.com.
Remember to keep nurturing your TALENT for making PRETTY things.
You can subscribe to this blog and receive regular updates by email by simply registering your email address at the top of the current blog.
No comments:
Post a Comment