
I start this card from a patterned A4 cardboard that is printed on one side only.

The carboard is trimmed to fit inside the envelope I will slip the card into.

The cardboard is then scored down the center where the fold will be.

The card is folded over a ruler to ensure a neat fold line.

Make sure to test the fit of the card in the envelope before continuing. Changes can easily be made at this stage, but may require more effort at the end of the project!

Not liking the idea of a plain white card on the inside, I trim an A4 paper to measure 0,5 cm smaller than the card in width as well as length.

This paper will be placed inside the card, breaking the monotony of the white paper.

Fold the paper in half and put some double-sided tape along one side of the fold.

Stick the paper inside the card. You now have a much more interesting surface to write your message on.

I found this off-cut piece of paper in my paper stash and promptly trimmed it to fit on top of my card. It was attached with double-sided tape.

I then laid a plain paper rectangle in place, sticking to the colour theme selected.

Another shade of paper was added, going ever smaller to the top to ensure the bottom layers remain partially visible.

This was followed by a piece of vellum paper.

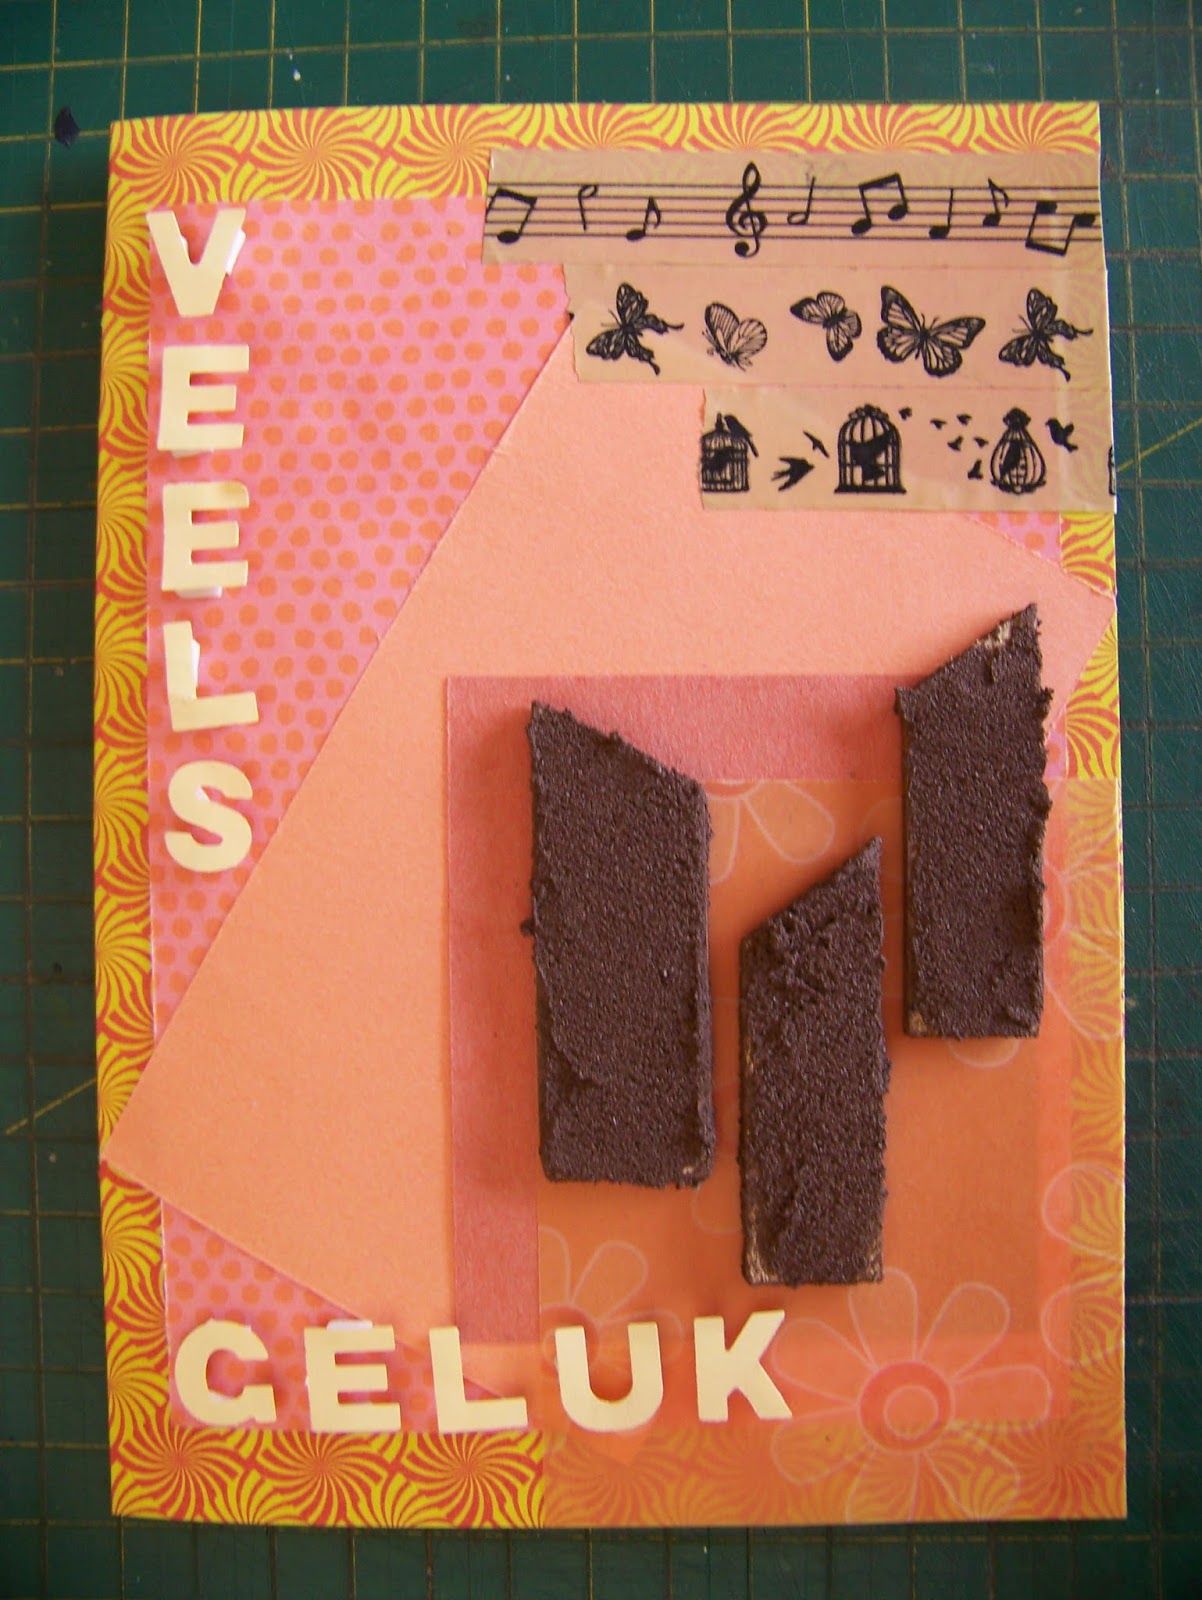
Now came three random lengths of Washi Tape.

I then used the off-cuts from the inside paper to punch out a birthday message.

These letters were mounted on 3D double-sided squares.

This close-up shows how the squares are actually cut in half to mount the letters on.

The message is placed in the empty spaces of the card.

I had these three objects left over from an earlier art project. These are the frame supports that go in the back of stretched canvasses. Many people don't put these in an I often get these donated to me. I mixed some Dala Fine Art Sand with Dala Acrylic Paint and used a palette knife to paint these with. I would now use these to simulate candles on my card, as well as to add interesting texture to the card.

Wood glue is perfect for fixing these embellishments to the card.

Leave these to dry.
I then found some Dala Foam Rubber that I had punched flowers out of. I kept these, thinking I could use the negative flowers in another project. I now had another use for the foam rubber. The leftover pieces were just large enough to cut three flames from for my candles.

The flames were mounted on 3D squares.

With the candles all lit up, the card was finished, and I only used left-over discards to make it!

Marietjie Uys (Miekie) is a published author. You can buy the books here:
You can purchase Designs By Miekie 1 here.
Jy kan Kom Ons Teken en Verf Tuinstories hier koop.You can purchase Designs By Miekie 1 here.
Jy kan Kom Ons Kleur Tuinstories In hier koop.
Jy kan Tuinstories hier koop.
For more crafty ideas and great products, visit A Pretty Talent on Facebook.
Remember to keep nurturing your TALENT for making PRETTY things.
You can subscribe to this blog and receive regular updates by email by simply registering your email address at the top of the current blog.
No comments:
Post a Comment