Search This Blog

Wednesday 31 August 2016

Homegrown Stirfry

There are some veggies that are truly South African and probably available in every house at just about any give time. In today's blog, I show you how to make a delicious stirfry with these everyday vegetables, without compromising anything on the quality or taste of the dish.


Finely chop 2 onions. I want to state right at the start of this blog that I love veggies and probably add a little more that the average person would. If you like your stirfry with a little more meat and a little less veggies, feel free to adapt the quantities to your liking.


Fry the chopped onion with 2 teaspoons (10 ml) crushed garlic.


Add roughly 500 g minced meat and fry in a wok or frying pan.


Add 1 teaspoon (5 ml) each of the following: salt, black pepper, thyme, mint, sweet basil and cinnamon.


Peel 2-3 fresh carrots.


Roughly grate the carrots and add it to the frying pan.


Peel 4-5 medium sized sweet potatoes.


Roughly grate the sweet potatoes. Add this to the frying pan.


Roughly chop a green pepper and add it to the frying pan.


Slice some baby narrows and add these to the frying pan. I used about 6-7 of these.


Shallow fry everything in an open pan until the veggies are softened but still slightly crunchy. Do not put a lid on the pan as this will cause steam to build up, altering the cooking process and the outcome of the dish.


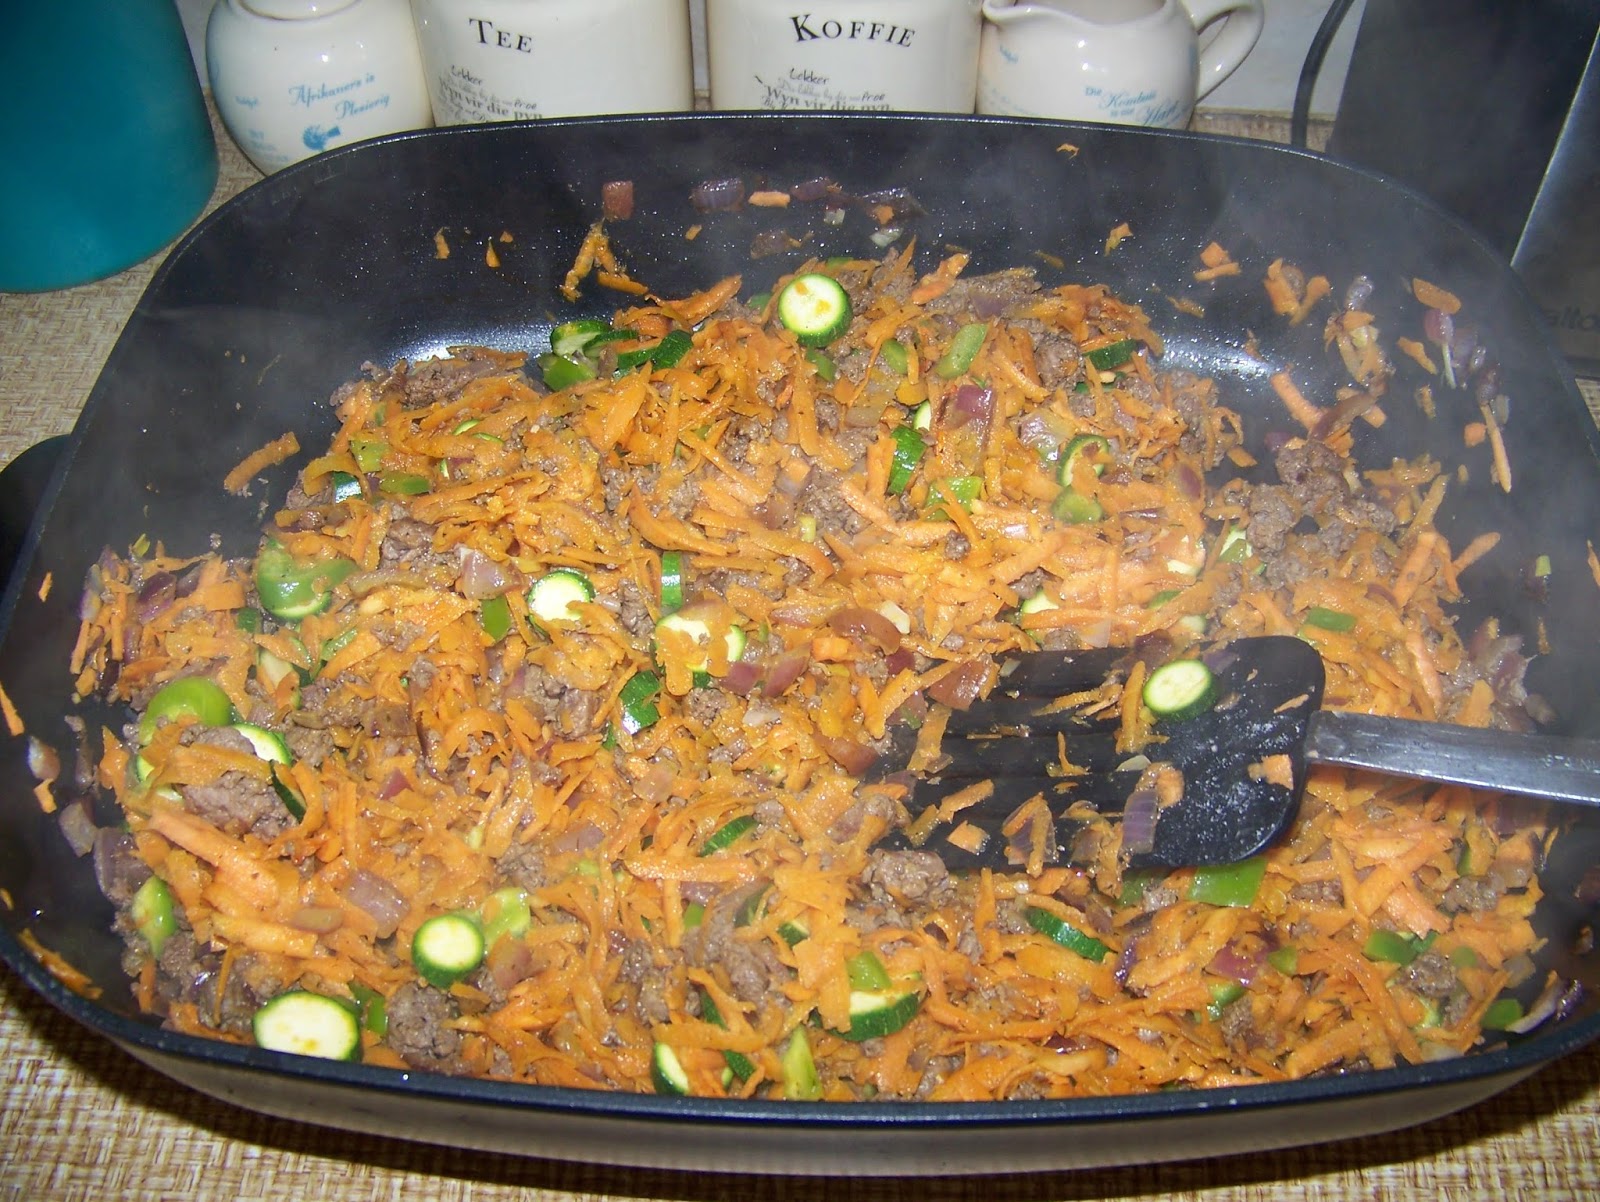
Add 30-50 ml sweet and sour sauce.


Continue frying until done.


This dish is delicious when served on rice or noodles.


Marietjie Uys (Miekie) is a published author. You can buy the books here:
You can purchase Designs By Miekie 1 here.
Jy kan Kom Ons Teken en Verf Tuinstories hier koop.
Jy kan Kom Ons Kleur Tuinstories In hier koop.
Jy kan Tuinstories hier koop.
For more crafty ideas and great products, visit A Pretty Talent on Facebook.
Remember to keep nurturing your TALENT for making PRETTY things.
You can subscribe to this blog and receive regular updates by email by simply registering your email address at the top of the current blog.

Tuesday 30 August 2016

Slow-Cooked Mediterranean Beef Stew

It is not always possible to make a wholesome meal when we are living such rushed lives. This is when a slow-cooker comes in very handy. I share a lovely recipe for making a slow-cooked beef stew with tastes reminescent of the mediterranean, in today's blog. The beauty of this dish is that you can put it in the slow-cooker before you leave for work, and will be ready to serve when you walk back in the door.


Put approximately 1,5 kg of stewing beef in a pot, along with a cup (250 ml) water.


Finely chop 2 onions and add it to the pot.


Chop 3 large tomatoes and add it to the pot.


Add 1 tablespoon (12,5 ml) sugar, 1 teaspoon (5 ml) fine cinnamon powder, 3 bay leaves, 1 teaspoon (5 ml) pimento (all spice) and 6 teaspoons (30 ml) crushed garlic to the pot.


Add 4 tablespoons (50 ml) red wine vinegar.


Set on high and cook for 4-6 hours, or set on medium and cook for 7-8 hours. If the sauce is very runny at the end of the cooking time, thicken with cake flour and water paste.


Serve on a bed of macaroni or risotto.


Marietjie Uys (Miekie) is a published author. You can buy the books here:
You can purchase Designs By Miekie 1 here.
Jy kan Kom Ons Teken en Verf Tuinstories hier koop.
Jy kan Kom Ons Kleur Tuinstories In hier koop.
Jy kan Tuinstories hier koop.
For more crafty ideas and great products, visit A Pretty Talent on Facebook.
Remember to keep nurturing your TALENT for making PRETTY things.
You can subscribe to this blog and receive regular updates by email by simply registering your email address at the top of the current blog.

Monday 29 August 2016

Painting A Modern Bunny in Oils and Acrylics

Yesterday I told you about the special little girl that was born to friends of mine. This little girl's mommy is a modern lady who loves doing things a little differently. She is also fascinated by an enchanted forest. This inspired me to paint a bunny for the baby room, but with a bit of a twist on the background. I show you step by step how to do the background and the textures on this painting in today's blog.


I start on a canvas that has already been prepped with gesso.


Paint the whole canvas with White Acrylic Paint.


Once the paint is dry, draw zebra stripes on the canvas, alternating from top and bottom. Keep them at unequal lengths. I used charcoal for the drawing.


Paint these stripes with Black Acrylic Paint and allow to dry.


This is what the background looks like  when it is done.


Now draw the bunny on the canvas.


I used Raw Sienna in Acrylic Paint to paint the whole rabbit. This serves as a base for my oil colours and masks the contrast of the white and black under the bunny slightly. Let the brush strokes follow the direction of the hair on the bunny's pelt.


I now finish the eye with Ivory Black, Titanium White and Naples Yellow.


I now switched to oil colours. I then use a palette knife to paint the whole bunny in Raw Umber. Pay attention to the direcion of the strokes. It should coincide with the direction the hair follows.


At this point I switch to a fan brush and use Burnt Umber to paint the darker shadow areas. The brush will pick up the wet paint at the bottom and slight mixing of colours will occur. This is great! It will look more natural, but avoid over-mixing the colours. Keep your brush strokes in line with the direction of the hair. Make sure to include longer and shorter brush strokes for different lengths of hair.


I switched to Naples Yellow and, still with the fan brush, added the highlights on the bunny.


All that was left to do, was to sign my name.


This cute little critter will be making its way to a little girl's room as soon as it is dry.


Marietjie Uys (Miekie) is a published author. You can buy the books here:
You can purchase Designs By Miekie 1 here.
Jy kan Kom Ons Teken en Verf Tuinstories hier koop.
Jy kan Kom Ons Kleur Tuinstories In hier koop.
Jy kan Tuinstories hier koop.
For more crafty ideas and great products, visit A Pretty Talent on Facebook.
Remember to keep nurturing your TALENT for making PRETTY things.
You can subscribe to this blog and receive regular updates by email by simply registering your email address at the top of the current blog.

Sunday 28 August 2016

Cardmaking: Welcoming A Baby Girl

Friends of mine recently welcomed their first little baby into the world. This was the ideal opportunity for me to make this newcomer a special card for her memory box. I love giving cards to babies, even though they can't read them. When they are older, they can discover them for themselves and know that they were a joy and blessing right from the start. I took the design for this card from my book filled with 50 great designs for arts and crafts projects, aptly titled Designs by Miekie 1. Simply click on the title to hop over to Amazon.com, where the book is available for download as an ebook. Or stay right where you are and let me show you how to create this cute card.


I use cardstock that has pink on one side and blue on the other, to make today's card.


I trim the card to measure 17 cm x 25 cm.


When I fold the card over, I make sure to leave 1 cm of the blue showing at the front of the card.


I then crop a sheet of printer paper to fit inside the cover of the card.


I use one of the designs from my book, Designs by Miekie 1, for the illustration of the card. Depending on your device, you may be able to copy and print the design, instead of having to redraw it, if you wish.


I opted to redraw the design in pencil.


When I was sure about the pencil deisgn, I redrew it again in black marker.


I then used Derwent Inktense pencils to colour the design.


I kept the colouring very simple, as it is reminiscent of a child's coloring.


I then very loosely cut around the design. You may want to cut along the lines. This is a matter of personal choice.


The drawing was then stuck onto the card with glue.


I used a couple of flower embellishments on the outside of the card. In the blue line, I glued a row of tiny pink buttons which would be visible whether the card is open or closed. All that was left to add was a personal message. I wrote this in the form of a prayer, as it contains the blessing that I prayed over this little girl's life.


Marietjie Uys (Miekie) is a published author. You can buy the books here:
You can purchase Designs By Miekie 1 here.
Jy kan Kom Ons Teken en Verf Tuinstories hier koop.
Jy kan Kom Ons Kleur Tuinstories In hier koop.
Jy kan Tuinstories hier koop.
For more crafty ideas and great products, visit A Pretty Talent on Facebook.
Remember to keep nurturing your TALENT for making PRETTY things.
You can subscribe to this blog and receive regular updates by email by simply registering your email address at the top of the current blog.