
I had this half of a 12" x 12" craft paper left over from a previous cardmaking project. I had cut a square from it for the previous project and it now boasted a big hole in the paper. This would normally be very problematic. It turned out to work in my favour in this case.

The reverse side of the paper looked like this and it was obvious that I had been in need of the number '14' for the previous project.

When folded in half, the gap in the paper, happened to reveal the number '17'. This was very fortunate, as I was planning on making a card for a teenage boy who would be turning 17! This meant that I could basically only write the message inside the card and it would be perfect. I had a couple more tricks up my sleeve, though.

I had some unused die-cuts left over from when I was testing my Cricut machine, after just buying it, and I would be using some of these. You could also use punched out shapes.

You can load different art cartridges in the machine with hundreds of different designs to be cut from paper and cardboard.

It works very much like a printer, except that it cuts the shape with a blade, rather than print it in ink.

I would be using some of these die-cut shapes which I had cut from glitter paper.

I punched out a birthday message with my punches (although I could have cut these on the Cricut as well).

I used 3-D Double sided tape to give the embellishments a raised appearance.

I cut the 3-D double-sided squares even smaller with a craft knife to mount the punched letters on.

The halved squares were placed on the backs of the letters.

The arrow was used to highlight the important number inside the card and the birthday message was added below it, creating a frame for the number.
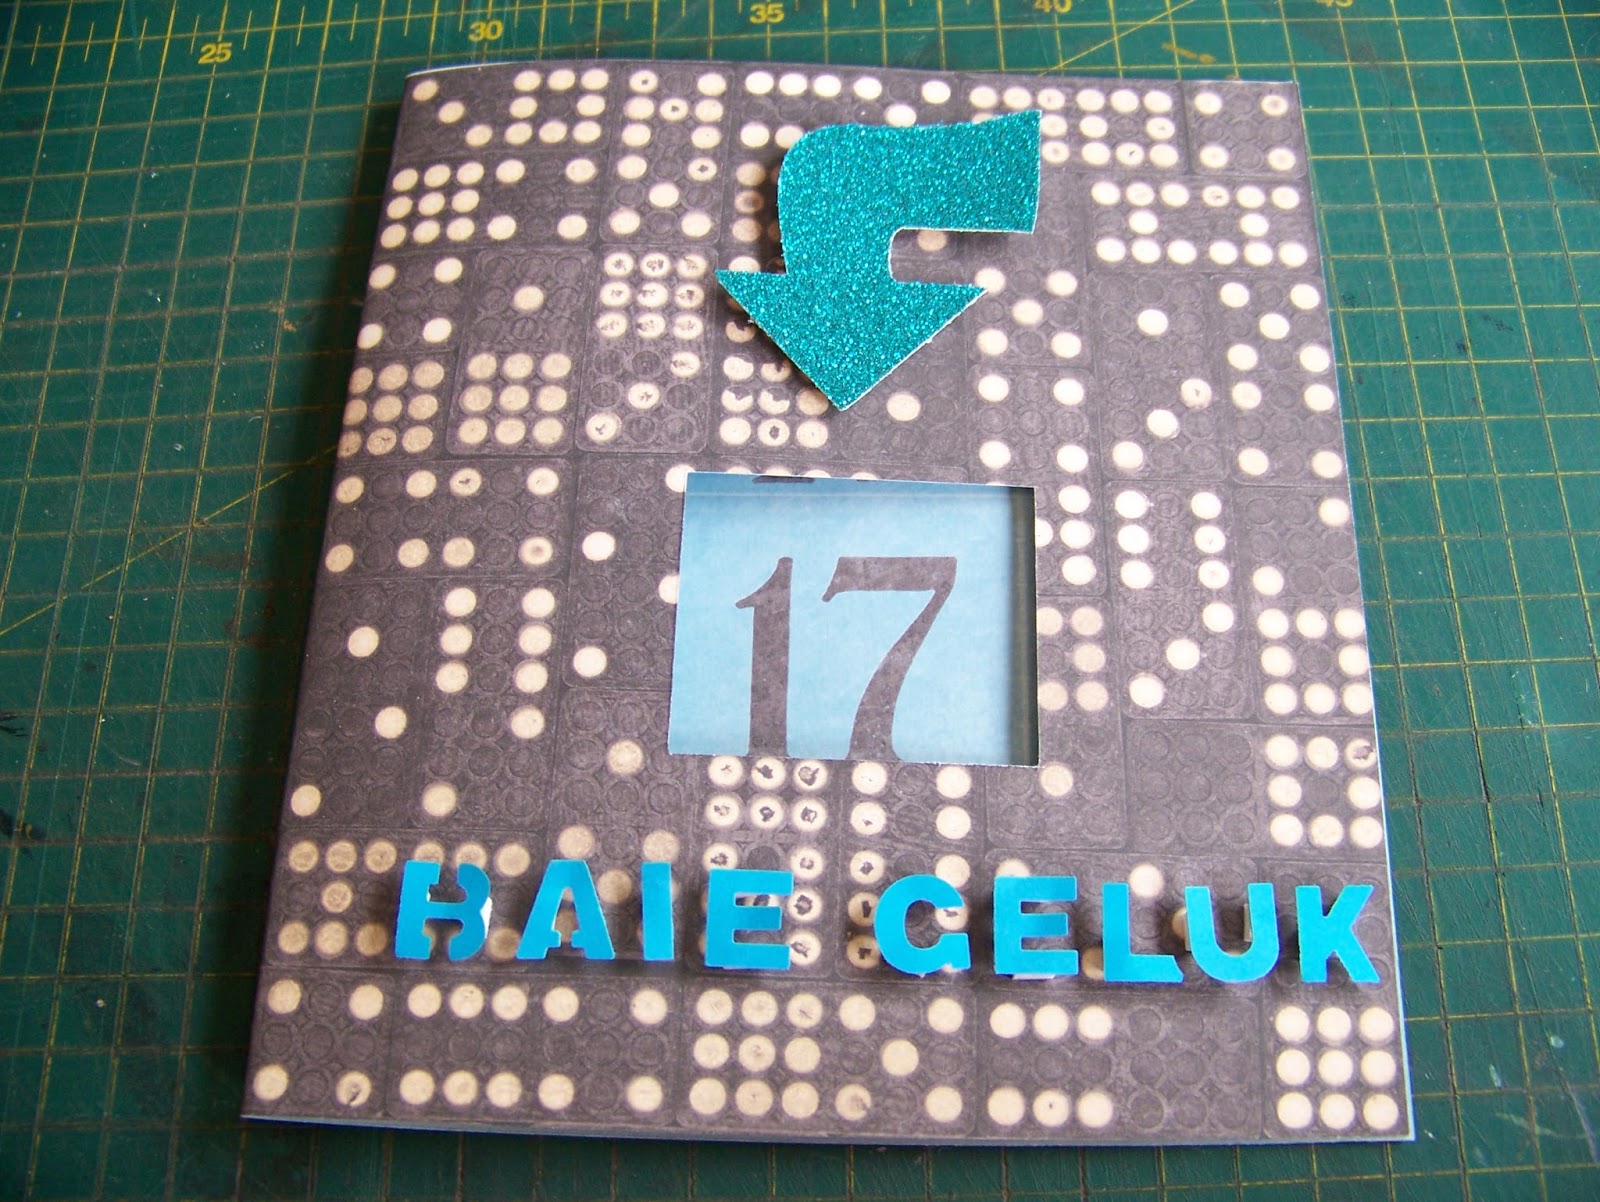
I then added a speech bubble on the left, leaving the open side of the card 'unframed'.

The birthday boy's name was punched out of a contrasting warm colour.

The letters were added in almost random fashion on the speech bubble, adding some interest for a boy who loves solving puzzles. I stopped right there as anything else would be distracting from the message of the card.

Marietjie Uys (Miekie) is a published author. You can buy the books here:
You can purchase Designs By Miekie 1 here.
Jy kan Kom Ons Teken en Verf Tuinstories hier koop.You can purchase Designs By Miekie 1 here.
Jy kan Kom Ons Kleur Tuinstories In hier koop.
Jy kan Tuinstories hier koop.
For more crafty ideas and great products, visit A Pretty Talent on Facebook.
Remember to keep nurturing your TALENT for making PRETTY things.
You can subscribe to this blog and receive regular updates by email by simply registering your email address at the top of the current blog.
No comments:
Post a Comment