
I am using one of the designs from my book Designs By Miekie 1 to colour. This book is available in ebook format from Amazon.com. Simply follow the highlighted text to find the book in-store.

I want to use this picture on a card and therefore I will be redrawing it on a piece of paper cut to size.

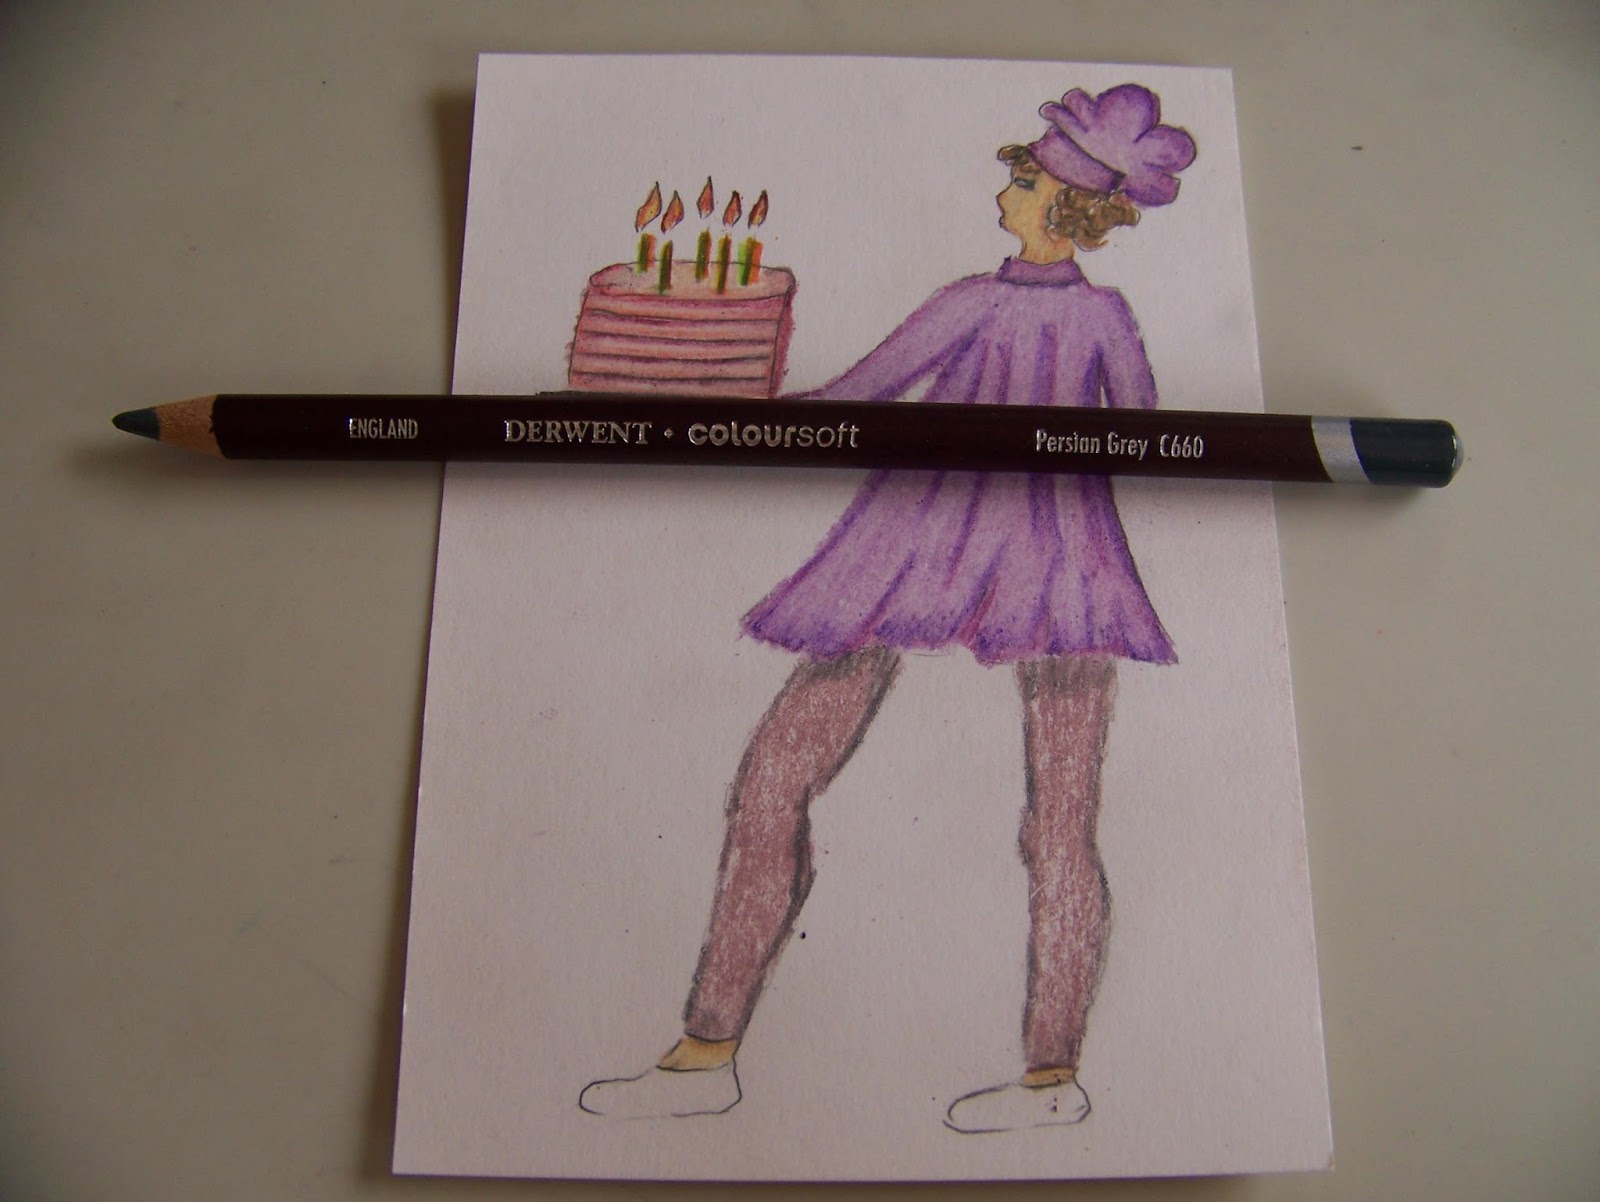
I redraw the design with a pencil. I could just as easily have printed it smaller, but I like the idea of softer pencil lines that almost disappear from sight.

I will be using Derwent Coloursoft pencils to colour the picture with.

I colour all of the skin areas peach.

I then colour all of the areas that are in the shade, such as the bottom of the hand, the face directly under hair line, etc, a darker shade of pink. I use a blender to blend the coloured areas.

I start with a light brown on the hair, leaving lots of white.

I then add a darker brown, still leaving lots of white for reflection of light. Again I blend the coloured areas.

The flames are coloured with a light colour in the centers, an orange in the middel and a bright red on the outside, before blending.

The candles all have green on the left, orange in the middle and dark orange on the right hand, before being blended.

The cake plate is coloured in a light grey, a middle grey is used all around the edges. Black is used on all the shaded areas, such as the bottom of the tray, where it meets the body, etc. The plate is then blended.

I start by colouring the whole cake a very feint pink.

A middle pink is used all around the edges. I then blend the cake.

An intense pink is used for the shaded areas.

I again use the blender.

The chef's hat and top is coloured pale purple.

Outlines and folds are done in a middle purple with a warm undertone.

I now use the blender.

Shaded areas are done in a dark purple with a colder undertone.

Then I blend it again.

The pants are coloured in a pinkish grey.

A medium grey is used on the edges.
I blend the pants.

I use the same grey as before to darken the shaded areas on the pants.

Again, I blend the pants.

The shoes are done in grey.

Then I blend them.

Shaded areas and outlines are done in black before being blended.

The cheeks are coloured a bright pink and the eyes get blue. The blender is once again used.

I very lightly shade the area surrounding the figure with a pale blue.

A darker blue is used around the edges of the paper.

The background is then blended.

I anchor the figure by adding a slight shadow in grey below her feet.

This figure is now ready to go onto a card.

Marietjie Uys (Miekie) is a published author. You can buy the books here:
You can purchase Designs By Miekie 1 here.
Jy kan Kom Ons Teken en Verf Tuinstories hier koop.You can purchase Designs By Miekie 1 here.
Jy kan Kom Ons Kleur Tuinstories In hier koop.
Jy kan Tuinstories hier koop.
For more crafty ideas and great products, visit A Pretty Talent on Facebook.
Remember to keep nurturing your TALENT for making PRETTY things.
You can subscribe to this blog and receive regular updates by email by simply registering your email address at the top of the current blog.
No comments:
Post a Comment