
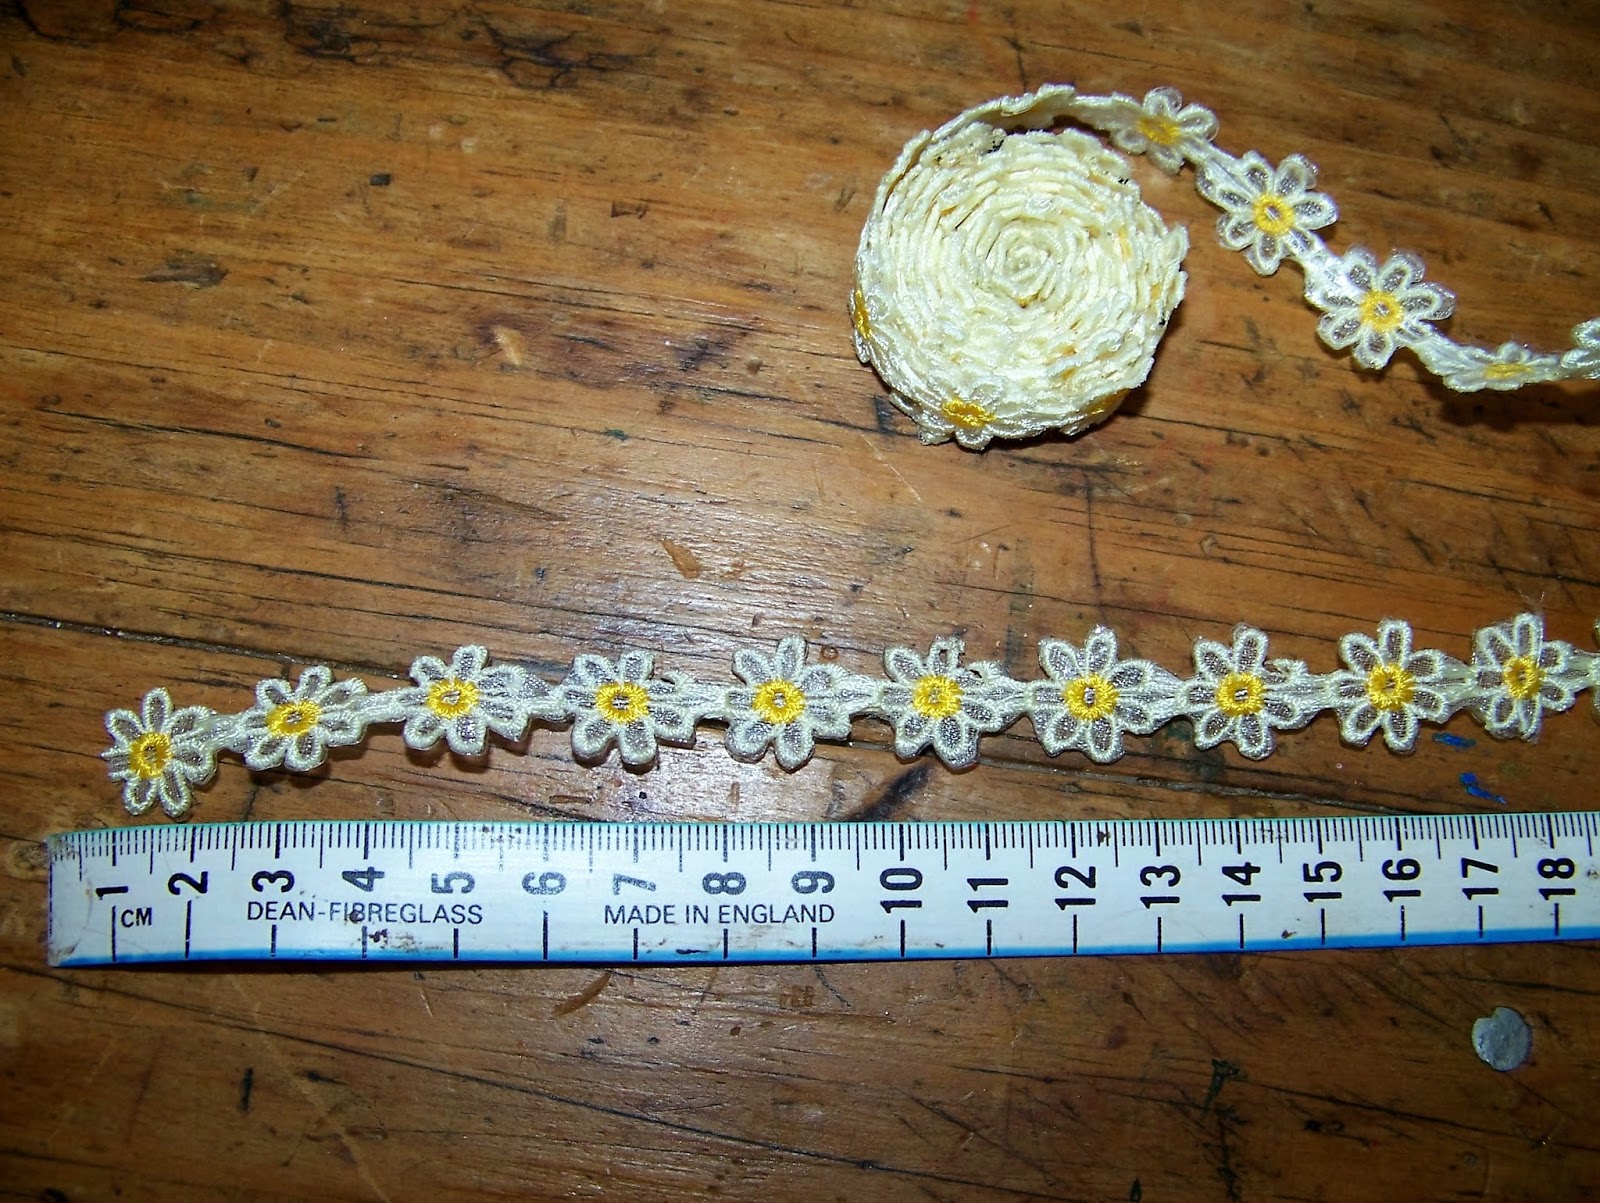
I start by measuring off a string of lace to a length of 100 cm. I will use this as is, making it the first string to go onto my necklace.
I then use a rather thick beading string in pale pink for the second string of the necklace. I need this to be 92 cm in length when done, but some of the length will be lost when I tie knots into it. I therefore cut the string to a length of 122 cm, giving me enough extra length to tie knots with.

I will be using these copper-coloured plastic beads on my pale pink string.

I start by tying a knot on one end of the string.

I then slip a bead onto the string, before tying another knot in the string, securing the bead in place.

You need to maneuver the knot to end as close as possible to the bead, so as to limit the movement of the bead on the string as much as possible.

I measure approximately 6 cm to the next knot. Again, I slide a bead in and tie it off with yet another knot.

I repeat these steps until I have a length of 92 cm beaded and knotted in this fashion. This is set aside and becomes the second string in my necklace.

I then use some beading yarn, made from nylon. I need a length of 80 cm, but again I allow myself some extra length to tie the ends off with knots. I cut myself an extra 10 cm, making the piece I cut a total length of 90 cm.

I want to use these fake pearls as my primary beads on the string.

I will also be using the copper-coloured beads from before, as well as these pale pink seed beads as spacers.

I tie off one end of the yarn with a knot before stringing a sample of the pattern I want to use. I am happy that this might work, but I will need to string a few more beads to be sure.

After repeating the pattern 4 times, I am satisfied that it will give me the requires results and I continue to string the full length of 80 cm in this way. I tie the end off with yet another knot when I am done and set it aside as the third string in my necklace.

For the fourth, and last, string of the necklace, I measure a length of ribbon to 76 cm in length.

I will only be stringing 6 beads onto the ribbon, and I need these beads to have large holes, or they will not fit around the ribbon.

The stiff ribbon keeps the beads in place without the need to tie knots to keep the beads in position.

I then use a bar clamp of 15 mm to clamp the four strings together at each end.

Place the four string inside the bar clamp. Make sure the knots of the stringed beads are inside the clamp.

Use your pliers to press the clamp shut.

Here you can see the two clamps with the strings inside them.

I then string split rings onto the bar clamps. This is similar to the split rings on a key holder, only smaller. I end by sliding a lobster claw into one of the split rings.

This necklace is now ready to adorn an outfit with a similar colour scheme ,..

... or an outfit in a contrasting colour scheme.

Marietjie Uys (Miekie) is a published author. You can buy the books here:
You can purchase Designs By Miekie 1 here.
Jy kan Kom Ons Teken en Verf Tuinstories hier koop.You can purchase Designs By Miekie 1 here.
Jy kan Kom Ons Kleur Tuinstories In hier koop.
Jy kan Tuinstories hier koop.
For more crafty ideas and great products, visit A Pretty Talent on Facebook.
Remember to keep nurturing your TALENT for making PRETTY things.
You can subscribe to this blog and receive regular updates by email by simply registering your email address at the top of the current blog.
No comments:
Post a Comment