
This is what the pot looked like that my mom dug up for me. And this is after I gave it a proper bath and scrub.

The pot had a crack running through it that someone else had fixed many moons ago already.

This is the other pot she gave me, after it's had a bath.

Fortunately the piece that had broken out could be glued back without too many missing bits showing on the surface.

Almost as good as new!

I sanded the peeling pot and gave it another wash, giving both pots time to dry completely. Now I would apply Universal undercoat to both pots. That would create a good foundation to start any successive painting on.

Give each pot 2-3 layers of the universal undercoat.

Wait for the first layers to dry before painting the next.

Brushes used for applying universal undercoat has to be cleaned in lacquer thinners or turpentine. I also suggest you wash them afterwards in warm soapy water to prolong the lives of the brushes.

I then used Dala Craft Paint in Red to paint the smaller of the pots, still not having settled on any fixed idea as to what I wanted to do with the pots. Not yet, at least.

At first I had thought to do two different projects with the pots, but an ideas was starting to take shape in my head and I decided to paint the second pot in the same colours as the first.

After giving the craft paint a chance to dry, I painted a thick layer of crackle medium on the whole pot, doing the same with the larger pot as well.

Leave the crackle medium to dry for about 24 hours.

The cracks in these two pots will always be visible.

That is why I don't try to conceal the cracks. Instead, I opt to rather add more cracks, hiding the real ones among the fake ones.

The next day, the crackle medium was completely dry and I could paint the top layer of paint on the pots. I opted for Dala Craft Paint in Turquoise. The cracks started showing even before I was finished painting the pots.

I painted the larger pot with the same colours and got similar results.

In this photo I zoomed in on the cracks so you can have a better look at it.

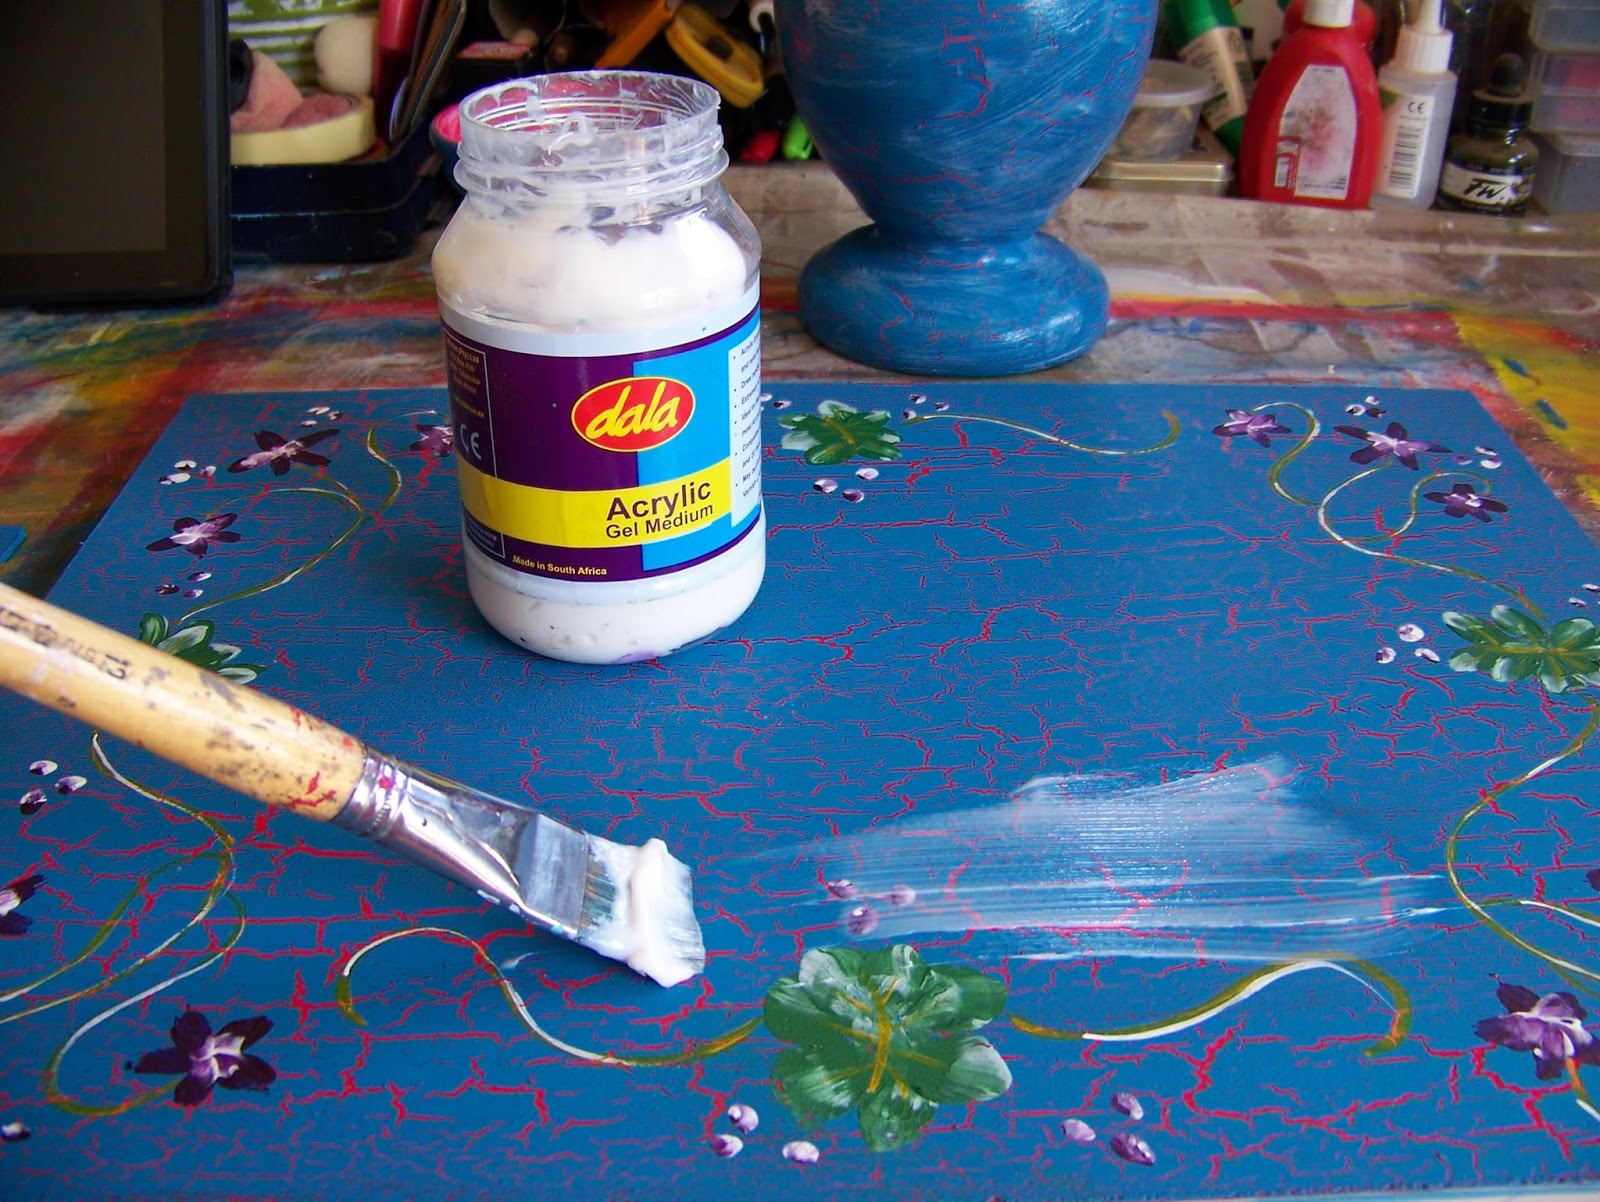
When the paint has dried, I seal the pots with Dala Acrylic Gel Medium. I wait for the first layer to dry and then apply a second layer as well.

The MDF board, that I have painted in a previous blog, is also sealed.

I opted to stick the boards onto the pots with very strong prestik. This makes it easier to store the servers, as well as giving me more options for using it. I can lay the boards flat on the table top, use the servers separately, or stack them on top of each other, as my needs dictate. Alternatively, you can glue the pots to the boards with a glue gun.

The view from the top.

The two servers stacked on top of each other.

Marietjie Uys (Miekie) is a published author. You can buy the books here:
You can purchase Designs By Miekie 1 here.
Jy kan Kom Ons Teken en Verf Tuinstories hier koop.You can purchase Designs By Miekie 1 here.
Jy kan Kom Ons Kleur Tuinstories In hier koop.
Jy kan Tuinstories hier koop.
For more crafty ideas and great products, visit A Pretty Talent on Facebook.
Remember to keep nurturing your TALENT for making PRETTY things.
You can subscribe to this blog and receive regular updates by email by simply registering your email address at the top of the current blog.
No comments:
Post a Comment