Use your side-cutters to cut a length of memory wire from the roll.

Use your round-nosed pliers to bend one end over to prevent the beads from slipping off this end when you start threading them onto the wire at the open end.

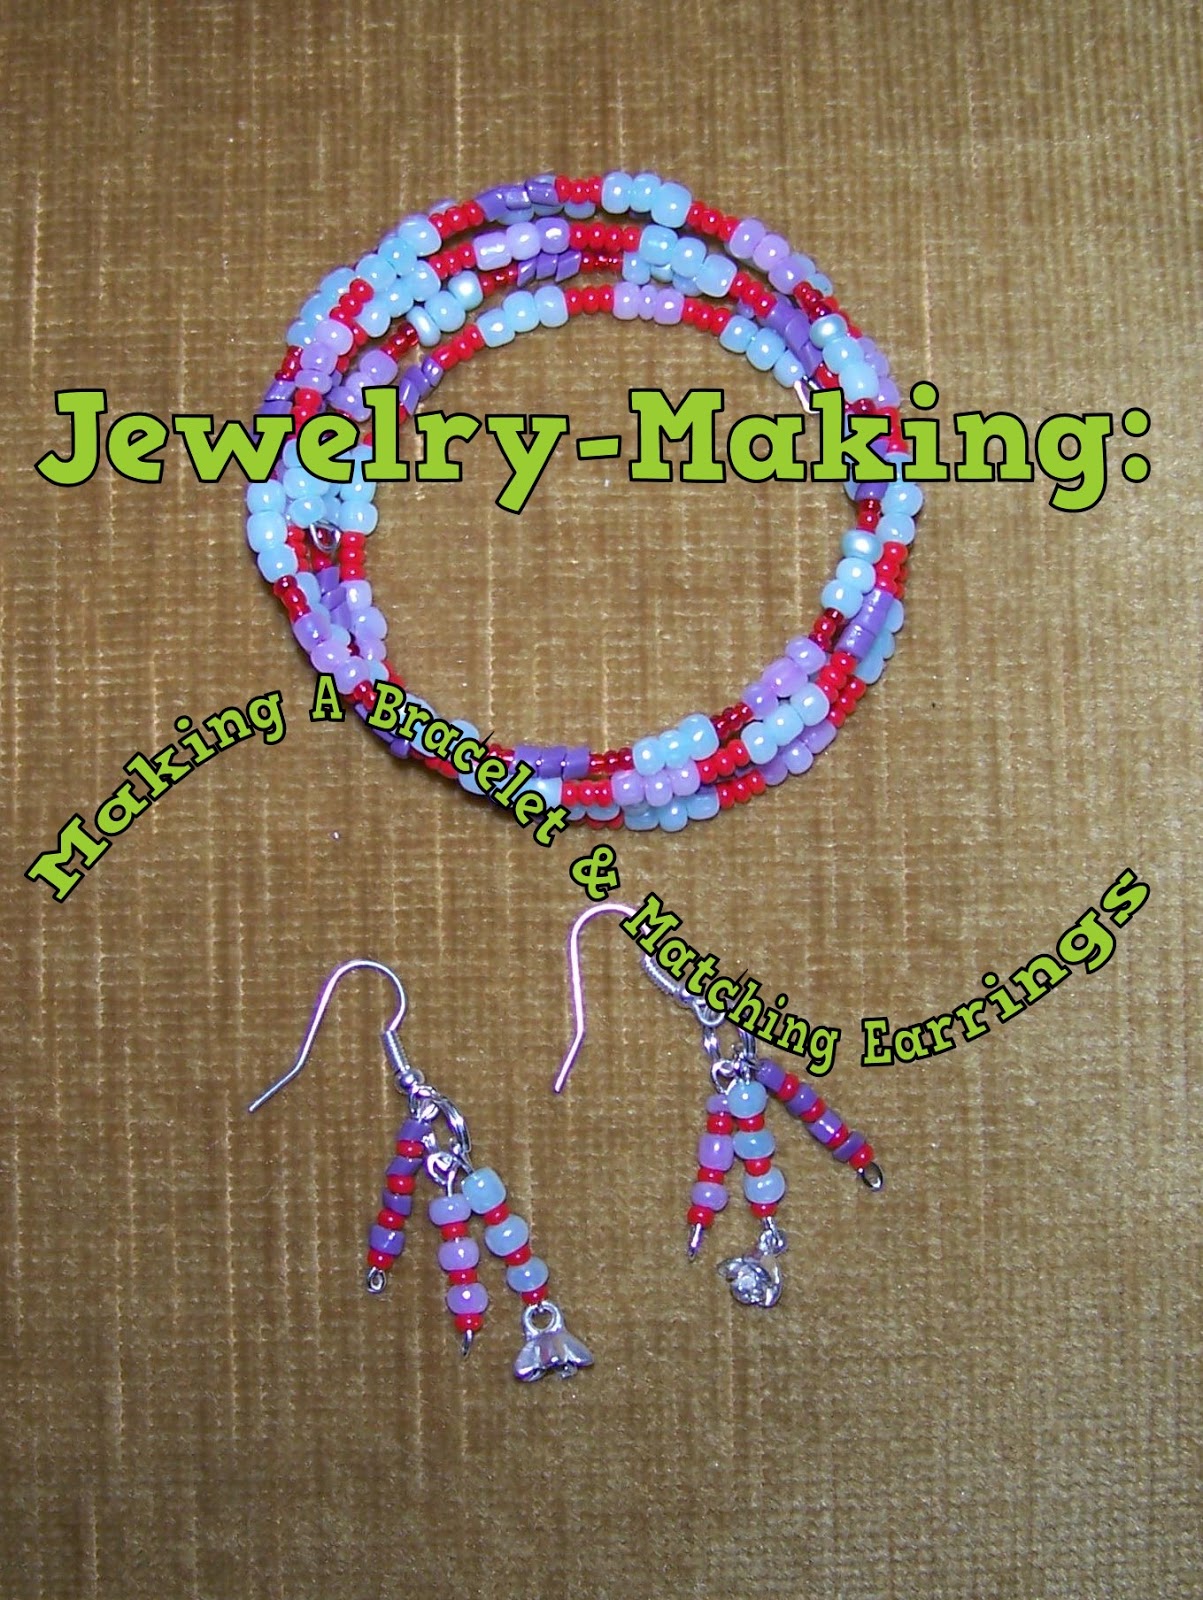
Select your colours and pattern. I opted for a rather extended pattern that had repetition in the pattern itself.

Keep stringing beads onto the memory wire, making sure you stick to your predetermined pattern.

When you are done, use the round-nosed pliers once again to bend the open end over in a neat loop to finish the bracelet off.

You will be left with a pretty little bracelet. Now to make the matching earrings.

The pattern is too extensive to repeat on a single eye pin. This is what determines that we will need to add more than one pin to each earring.

The first pattern for the earrings, uses only the blue and the red spacers in the pattern. I alternate these in single beads, instead of sticking to the pattern of three beads each.

I then slide a tiny rose pendant in at the end.
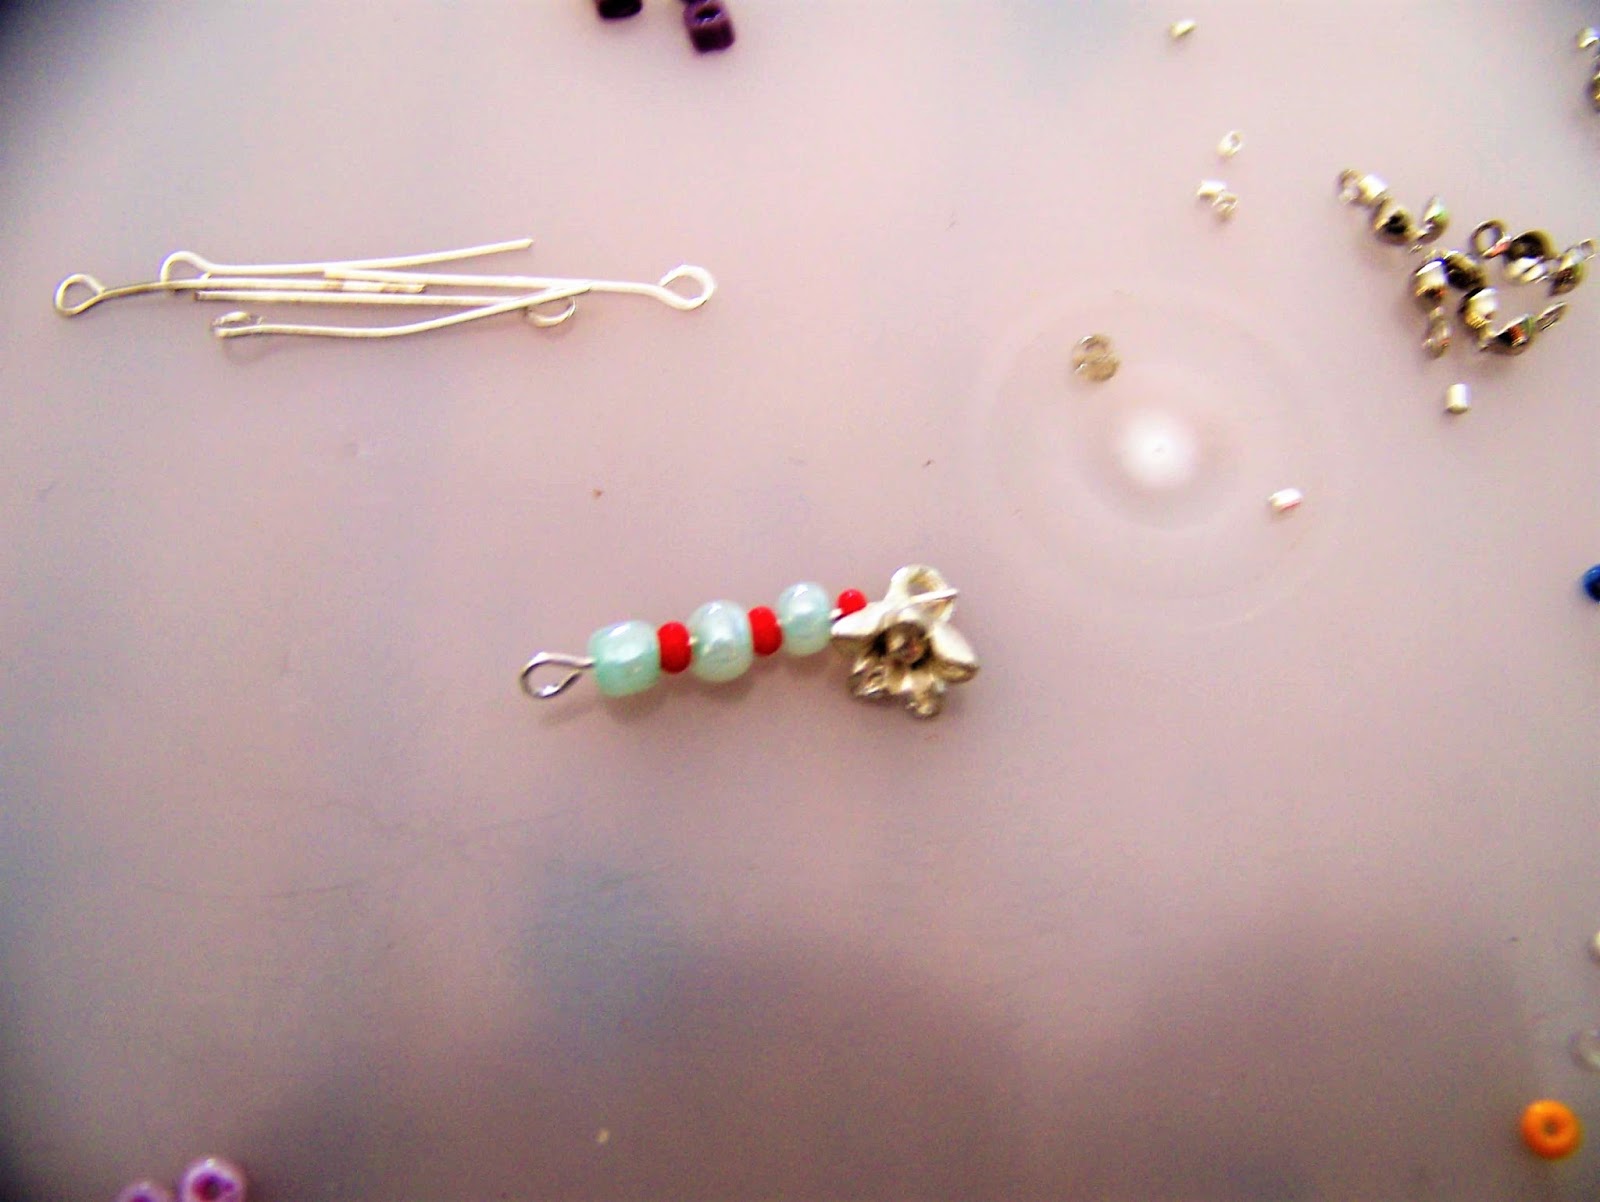
I use the round-nosed pliers to bend the end over to prevent the beads from sliding off the pin. I then make a second pin in exactly the same way for the other earring. I put these aside.

I use the pale purple beads, alternated with red spacers on a second pin. This time I do not add a pendant, but simply end the pin with a loop, made with the round-nosed pliers. I make a second of these as well and put them aside.

I string a third pin for each earring, using the same alternating pattern, but this time using the dark purple bead. I once again simply end it with a loop.

You will now need two jump rings and two French Hook & Ball wires to finish the earrings.

Slide one French hook and one of each of the three beaded pins onto each jump ring.

When you are done, you will have a pretty bracelet complete with matching earrings!

Marietjie Uys (Miekie) is a published author. You can buy the books here:
You can purchase Designs By Miekie 1 here.
Jy kan Kom Ons Teken en Verf Tuinstories hier koop.You can purchase Designs By Miekie 1 here.
Jy kan Kom Ons Kleur Tuinstories In hier koop.
Jy kan Tuinstories hier koop.
For more crafty ideas and great products, visit A Pretty Talent on Facebook.
Remember to keep nurturing your TALENT for making PRETTY things.
You can subscribe to this blog and receive regular updates by email by simply registering your email address at the top of the current blog.
No comments:
Post a Comment