
This is the pattern and the fabric I will be using. The pattern dictates that I use a stretch fabric. The top has a wide neck with a facing, runs straight down at the sides and has a short sleeve. Very basic.

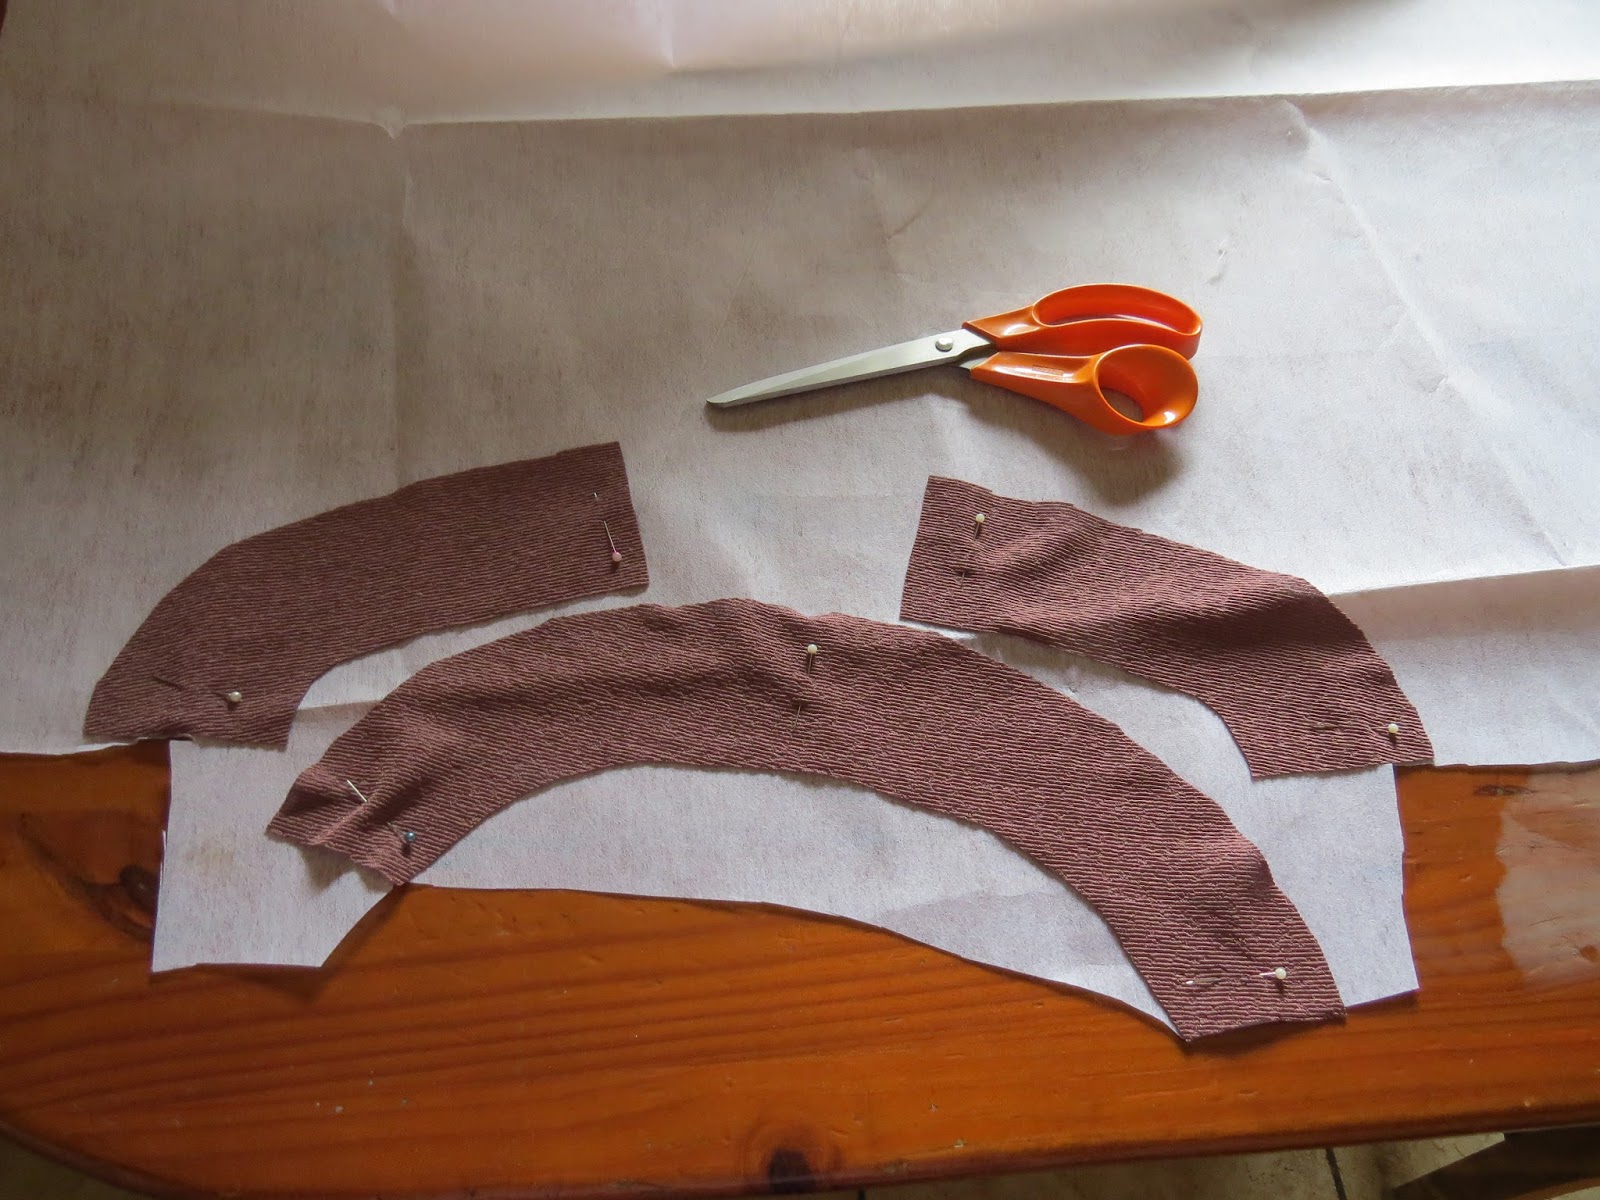
I lay the pattern out as best I can on the fabric I have available. I can't manage to get the back on the fold and allow extra fabric for seam allowance. I will simply cut two and sew them together. I do the same with the back neck facing.

I start by sewing the center back seam.

I then cut interfacing for my facings.
The interfacing is sewn onto the facings. However, I discover that the interfacing is of very poor quality and will not stick to the facings. This happens sometimes, even though it really shouldn't. It means that I have to sew the interfacing to the facings. I do this with a zigzag stitch all around the edges. This is not ideal, as it creates extra thickness where you don't want it.

I then lay the back neck facings with right sides facing and sew the center back.

Then I pin the back neck facing to the top and sew.

Open the facing up and sew roughly 0,5 cm away from the seam on the facing only. This is called understitcing. This will allow the facing to lie flat against the top.

This is what the back of the top should look like by now.

You now need to cut notches into the seam.

Follow the same steps for attaching the front facing to the top.

Pin the front and back together at the shoulders and the facings. Sew from one end to the other on both shoulders.

Pin the sleeve to the armhole.

Sew the sleeve to the top.

Pin the seam on the sleeve right through the side seam on the top to the hem. Sew one continuous seam.

Hem both sleeves.

Hem the top.

This basic top took roughly an hour to make. Simple and easy sewing.

Marietjie Uys (Miekie) is a published author. You can buy the books here:
You can purchase Designs By Miekie 1 here.
Jy kan Kom Ons Teken en Verf Tuinstories hier koop.You can purchase Designs By Miekie 1 here.
Jy kan Kom Ons Kleur Tuinstories In hier koop.
Jy kan Tuinstories hier koop.
You can follow Miekie's daily Bible Study blog, Bybel Legkaart, here in English & Afrikaans.
For more crafty ideas and great products, visit A Pretty Talent on Facebook.
Remember to keep nurturing your TALENT for making PRETTY things.
You can subscribe to this blog and receive regular updates by email by simply registering your email address at the top of the current blog.
No comments:
Post a Comment