
I start this project on a masonite board that has already been prepped with coatings of gesso. The board measures 85 x 33 cm.

I use a pencil and a square to draw wide stripes on the board.

To make it a little more interesting, I change the direction of the stripes at (what will become) the bottom of the board.

I then draw a very simple pot inside the horizontal lines.

I draw the stem and branches for the tree. You may prefer to connect them, but it appealed to me to separate the segments with openings.

I then gathered my collection of Dala Blackboard Paint.

I painted every alternate stripe Teal.

Progress photo.

I then filled the remaining stripes in with Grey. I used a ruler to block off my colours, but you may prefer to use masking tape, which certainly is more secure.

Progress photo. I then went back and painted a second coating into each stripe!

I painted the whole pot Navy.

I then added the shaded areas on the pot, the sides and the inside rim, Black.

Then I painted the highlighted areas on the pot Blue. This will give your pot a nice rounded appearance.

None of the colours in my collection appealed to me for painting the tree. I decided to mix my own colour and started with Maroon and Green.

I added Teal and even more Maroon to get this colour.

I used the mixed colour to pain the tree.

I then poured some Pink on a paper plate.

I dipped the bottom of an empty soda bottle in the paint and dabbed it a little on the dry part of the plate, to make sure there would be no splashy drops.

I then touched the bottle to the board and lifted it straight up and away so as to not get any paint smears and smudges.

What a pretty little flower! When I was done, I decided that I wanted the petals slightly larger and so I enlarged mine with a brush. This is a matter of personal choice and you may not opt to do so.

A quick swivel of my brush and I painted centers for the flowers.

I then used the maroon to add another dimension to the flowers.

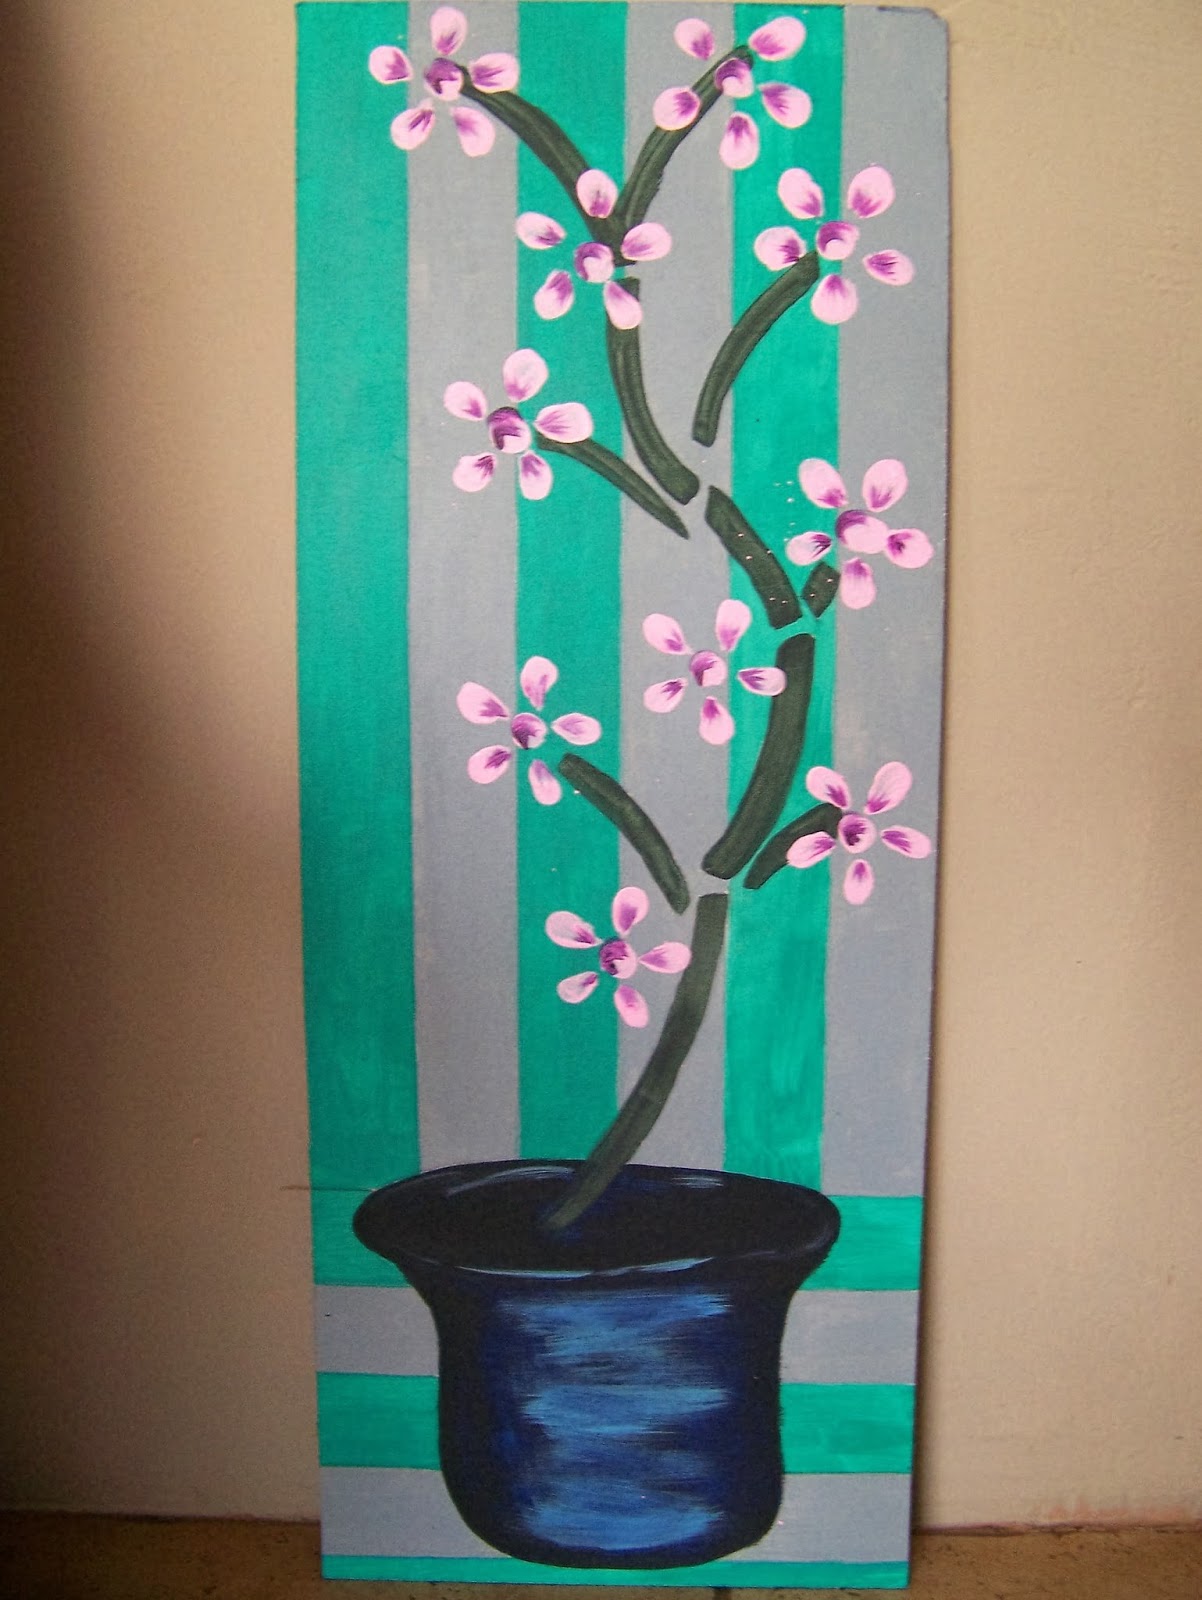
The finished product!

This board should be placed low down on a wall to give the impression of a pot standing on the floor, but also so the child can reach it to draw on it with chalks.
Marietjie Uys (Miekie) is a published author. You can buy the books here:
You can purchase Designs By Miekie 1 here.
Jy kan Kom Ons Teken en Verf Tuinstories hier koop.You can purchase Designs By Miekie 1 here.
Jy kan Kom Ons Kleur Tuinstories In hier koop.
Jy kan Tuinstories hier koop.
For more crafty ideas and great products, visit A Pretty Talent on Facebook.
Remember to keep nurturing your TALENT for making PRETTY things.
You can subscribe to this blog and receive regular updates by email by simply registering your email address at the top of the current blog.
No comments:
Post a Comment