
I started the project by tracing the design onto printer paper. You may wish to print it rather than to redraw it, but tracing is still a handy skill when the printer is acting up.

If you are not comfortable with the tracing exercise, you may opt to start in pencil and redraw in pen. If you feel confident, you can start in pen.

I coloured the picture with Derwent Coloursoft pencils.

I start on the flesh parts, beginning with a pale colour and using a darker shade around the edges to give the arms and legs a rounded appearance.

The hair is 'coloured' by making twirly curls in three shades of brown.

It is now time to pay attention to the facial features and make-up.

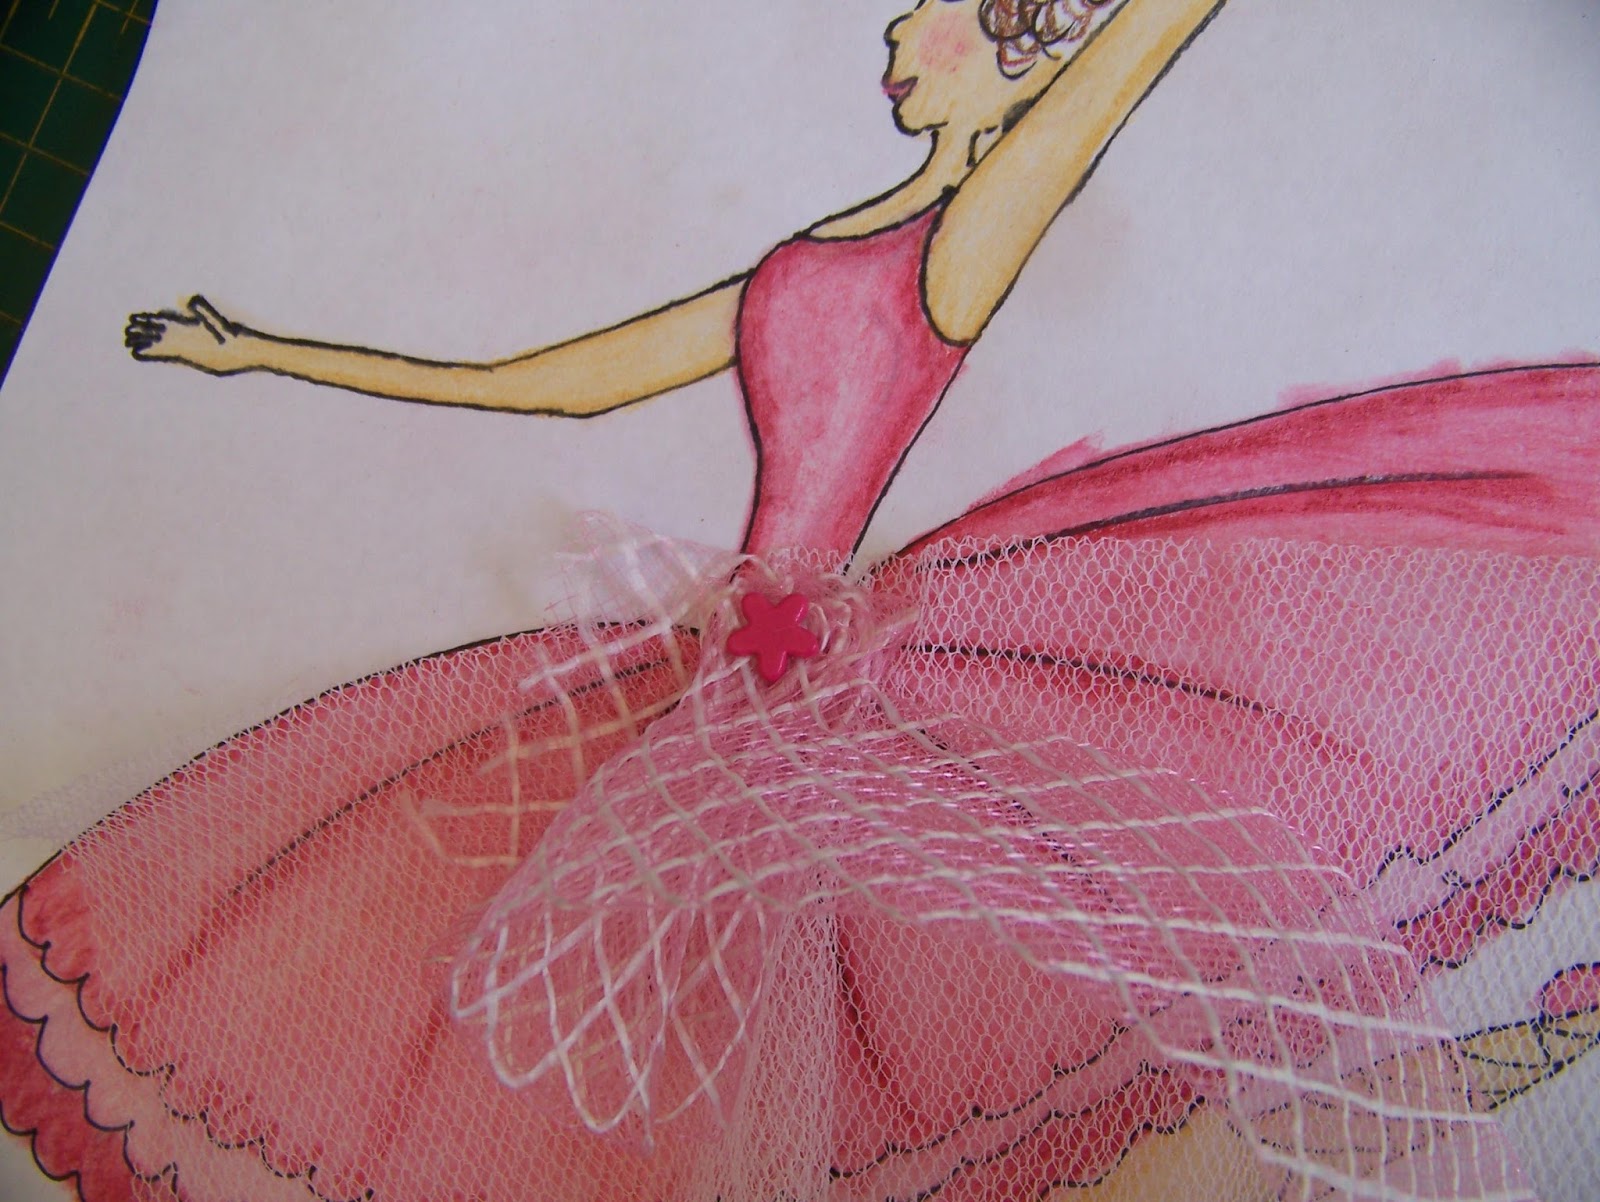
The dress is done in three shades of pink. The darkest colour is used to create the illusion of depth in the pleats, as well as to create roundness on the edges of the dress, as if it is wrapping around the body.

This circular shaped net was recovered from a wedding where it was used to tie confetti in. It will come in handy for this project.

I fold it in half and place it on the skirt part of the dress. It will work nicely.

Gathering it at the center, gives it the shape I need.

I also have a wide ribbon in pale pink with a net texture in my stash.

I gather a length of this ribbon and stick a split pin through it to keep it gathered.

I then put the split pin through the gathered netting, before sticking it through the ballerina and opening the ends at the back to secure the fabric to the paper.
I need to glue only one side down to keep the fabric in place. If you need to glue down both sides, do so, but try not to use too much glue.

The glue dries transparent.

After sticking a second split pin through the hair as an accent, the figure is finished and ready to be used in the scrapbook album.

Marietjie Uys (Miekie) is a published author. You can buy my books here:
You can purchase Designs By Miekie 1 here.
Jy kan Kom Ons Teken en Verf Tuinstories hier koop.
Jy kan Kom Ons Kleur Tuinstories In hier koop.
Jy kan Tuinstories hier koop.
You can follow Miekie's daily Bible Study blog, Bybel Legkaart, here in English & Afrikaans.
You may prefer to follow the traveling blog, A Pretty Tourist.
For more crafty ideas and great product reviews, visit A Pretty Talent on Facebook.
If you are in a literary mood, follow Miekie's musings, stories and poetry on A Pretty Author - Miekie.
Remember to keep nurturing your TALENT for making life PRETTY.
You can subscribe to any of these blogs and receive regular updates by email. Simply register your email address at the top of the applicable blog.
No comments:
Post a Comment