Search This Blog

Thursday 24 August 2017

Baking A Cranberry & Almond Loaf Using A Sourdough Starter

I am still staying in Hondeklipbaai on lovely Namaqualand and having a ball discovering what is available in my friend's kitchen. She gave me free reign over items which would only grow old while she's away and among these I found some almond flakes and dried cranberries. These would be prefect to add to a loaf and it was high time I baked something again. In today's blog, I share the steps for baking this delicious Cranberry & Almond Flake Loaf.


What distinguishes today's loaf from the others, is the fact that I add Buttermilk, cranberries and almond flakes.


In a large mixing bowl, add 2 1/2 cups (625 ml) Cake flour, 1 1/2 cups (375 ml) brown bread flour, 1 tablespoon (12,5 ml) sugar and a tablespoon (12,5 ml) salt.


To this, add 1/2 cup (125 ml) almond flakes and 1/2 cup (125 ml) dried cranberries.
Alternative: If you are not using a sourdough starter, or even if you are, but wish to speed up the raising time, you can add a packet of Instant Dry Yeast to the dry ingredients.


Mix the dry ingredients well.


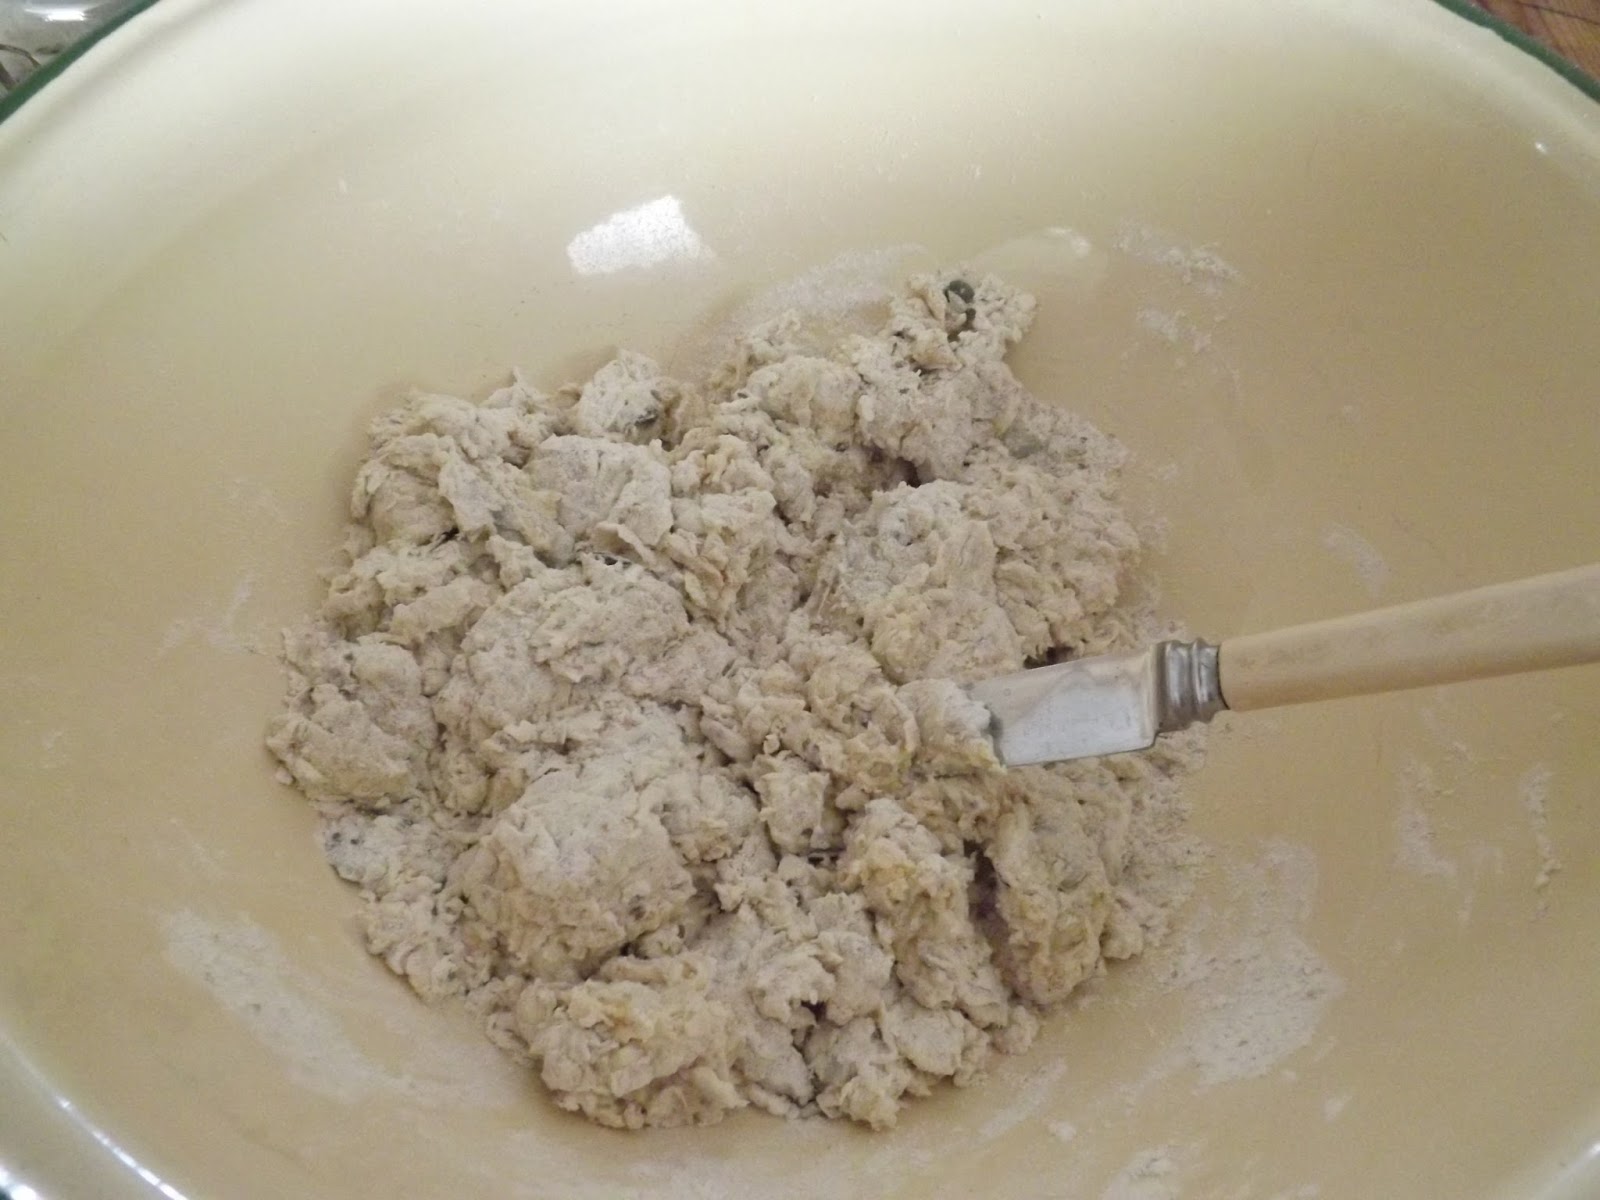
Add 1 egg, 1 cup of buttermilk (250 ml) and 1/2 cup olive oil (125 ml).


Add a cup (250 ml) sourdough starter. You can read about making the sourdough starter in a previously published blog, by following this link: Make your own Sourdough Starter.


Bring the mixture together into a ball.


Knead the dough on a lightly floured surface until the dough ball takes on an elastic consistency.


Give a baking sheet a non-stick coating and lightly dust with flour.


Cut grooves into the dough.


Place on the baking sheet.


Cover with plastic and allow to rise in the sun until roughly double in size.


The loaf is now risen.


Brush with egg for a shiny finish.


Brushing the dough.


Bake in a preheated oven at 200 °C for roughly 50 minutes. Serve hot from the oven with butter.


Marietjie Uys (Miekie) is a published author. You can buy my books here:
You can purchase Designs By Miekie 1 here.
Jy kan Kom Ons Teken en Verf Tuinstories hier koop.
Jy kan Kom Ons Kleur Tuinstories In hier koop.
Jy kan Tuinstories hier koop.
You can follow Miekie's daily Bible Study blog, Bybel Legkaart, here in English & Afrikaans.
You may prefer to follow the traveling blog, A Pretty Tourist.
For more crafty ideas and great product reviews, visit A Pretty Talent on Facebook.
If you are in a literary mood, follow Miekie's musings, stories and poetry on A Pretty Author - Miekie.
Remember to keep nurturing your TALENT for making life PRETTY.
You can subscribe to any of these blogs and receive regular updates by email. Simply register your email address at the top of the applicable blog.

Saturday 19 August 2017

Baking A Namaqualand Seed Loaf Using A Sourdough Starter

Being invited to spend three months in Hondeklipbaai in breathtaking Namaqualand during the wildflower season, is a dream come true. I figured it would leave me plenty of time to write, paint and bake, while not neglecting exploring the surrounds either. With this in mind, I set out to get a sourdough starter going. You can read all about this in a blog I published previously: Making a Sourdough Starter. In today's blog I wish t share a recipe I developed here in my friend's kitchen while she was traveling Europe. I call it my Namaqualand Seed Loaf. I used the sourdough starter as a raising agent.


My sourdough starter was alive and bubbling - a good sign that it was ready to be used. Read all about making your own in this previously published blog: Making a Sourdough Starter.


In a large mixing bowl, add: 2 cups (500 ml) cake flour, 1 cup (250 ml) brown bread flour, 1/2 cup (125 ml) mixed seeds, 1 tablespoon (12,5 ml) salt and 1 tablespoon (12,5 ml) sugar. The mixed seeds I discovered in the cupboard consisted of pumpkin seeds, sunflower seeds, sesame seeds and flax seeds. Mix the dry ingredients together.
Option 1: Add a packet of Instant Yeast instead of the sourdough starter as a raising agent.


Add 1 cup (250 ml) sourdough starter, 1 egg, roughly 1 cup (250 ml) water and 60 ml olive oil. Water is added last and only enough is added to bring the dough together. That is why it reads that you should add roughly a cup of water.


Make sure to mix the dry ingredients well before adding the wet ones.


Bring the dough together with a knife or spatula. Add water as needed.


Once the dough is formed into a ball, it is ready to be kneaded.


Knead the dough on a lightly floured surface to prevent it from sticking to the surface.


Knead for roughly 10 minutes until the dough resembles an elastic ball.


Coat a pot or pan with non-stick spray. I found actual fat in this Namaqualand kitchen!


Lightly flour the pot or pan.


Transfer the dough to the pot/pan and score the top to prevent the crust from cracking.


Cover with plastic and leave in the sun to rise.


Once risen, preheat the oven to 220 °C and bake for around 40 minutes. The bread is ready when you hear a hollow sound when you tap the bottom. Leave the bread in the pan/pot to sweat for a minute or two before turning it out.


If you prefer a soft crust, you can cover the warm bread with a damp dish cloth to steam slightly. I enjoyed mine with real butter.


Marietjie Uys (Miekie) is a published author. You can buy my books here:
You can purchase Designs By Miekie 1 here.
Jy kan Kom Ons Teken en Verf Tuinstories hier koop.
Jy kan Kom Ons Kleur Tuinstories In hier koop.
Jy kan Tuinstories hier koop.
You can follow Miekie's daily Bible Study blog, Bybel Legkaart, here in English & Afrikaans.
You may prefer to follow the traveling blog, A Pretty Tourist.
For more crafty ideas and great product reviews, visit A Pretty Talent on Facebook.
If you are in a literary mood, follow Miekie's musings, stories and poetry on A Pretty Author - Miekie.
Remember to keep nurturing your TALENT for making life PRETTY.
You can subscribe to any of these blogs and receive regular updates by email. Simply register your email address at the top of the applicable blog.

Thursday 17 August 2017

Making Tomato Jam in Namaqualand

When visiting friends in Namaqualand recently, I quickly made lots of new friends as well. One of these wanted us to cook some tomato jam together as she had not done this on a larger scale yet. The jam was intended for the local coffee shop, called The Shack. I show you how to make your own tomato jam in today's blog, but feel free to stop by The Shack in Hondeklipbaai when next you are in town and try the delicatessen's available from there as well. These are made by people from the community and sold in The Shack as consignment stock to try to improve the living conditions of the local residents.


You need fresh red and ripe tomatoes to use in your jam.


Core the stalks.


Prick the tomatoes.


Weigh the tomatoes. I like to use a ration of 1 Kg sugar to 1,2 Kg tomatoes.


Sprinkle a handful of salt in some water.


Soak the tomatoes in the salted water for roughly half an hour to firm them up slightly.


Drain the water and dice the tomatoes.


Weigh the sugar you will need.


Layer the sugar and diced tomatoes.


Let it stand like this until it has made a 'juice'. It is starting to get juicy at this stage, but needs more time.


At this stage, the tomatoes are ready to be cooked. Depending on weather conditions this can take an hour or two.


Crush some fresh ginger. I used about a thumb-sized piece on 3,5 Kg tomatoes.


You will need the juice of 1 lemon for each kg of tomatoes. The lemon juice will serve as pectin to thicken the tomato jam.


The crushed ginger I added.


Add the tomatoes, sugar, ginger and lemon juice to a large pot. Bring to the boil. Smear butter around the top of the pot to prevent the jam boiling over. DO NOT ADD WATER!


Tomato jam takes a long time to boil. Keep an eye on it, but carry on with something else in the kitchen, stirring occasionally. This is a stage in the cooking process.


Still cooking.


It's getting ready to be bottled.


Sterilize your bottles and lids.


You can test the jam to see when its ready. Drip some of the liquid on a glass plate. The moment it holds its shape and doesn't run anymore, the jam is ready to be bottled.


Pour the jam into the sterilized bottles and seal immediately with a tight fitting lid.


Clean the sticky bottles and enjoy!


Marietjie Uys (Miekie) is a published author. You can buy my books here:
You can purchase Designs By Miekie 1 here.
Jy kan Kom Ons Teken en Verf Tuinstories hier koop.
Jy kan Kom Ons Kleur Tuinstories In hier koop.
Jy kan Tuinstories hier koop.
You can follow Miekie's daily Bible Study blog, Bybel Legkaart, here in English & Afrikaans.
You may prefer to follow the traveling blog, A Pretty Tourist.
For more crafty ideas and great product reviews, visit A Pretty Talent on Facebook.
If you are in a literary mood, follow Miekie's musings, stories and poetry on A Pretty Author - Miekie.
Remember to keep nurturing your TALENT for making life PRETTY.
You can subscribe to any of these blogs and receive regular updates by email. Simply register your email address at the top of the applicable blog.