Part 1
Part 2
Part 3

If you have not done so yet, you can check out the Digital Dowloads tab on APrettyTalent.com to buy the Steampunk Divas. For the lady on the Penny Farthing, I start with Lamp Black in my acrylic colors.

I use an Angle Brush turned sideways to pain the tyres on the wheels.

I used Payne's Grey on the frame of the bike.

To make sure the Payne's Grey reflects a true color, I start by painting the frame Titanium White.

I then follow up with Payne's Grey on the frame.

I add white highlights where light reflects off the metal of the bicycle.

Progress photo.

The negligee is painted in much the same way as in the previous blog.

I even used the same palette from the previous blog, which is still wet due to the stay-wet-palette.

I once again use Flesh Tint from Dala to paint the flesh.

Once again layers are used to create the highlights and shadow areas.

A layer of Titanium White is laid down in the hat.
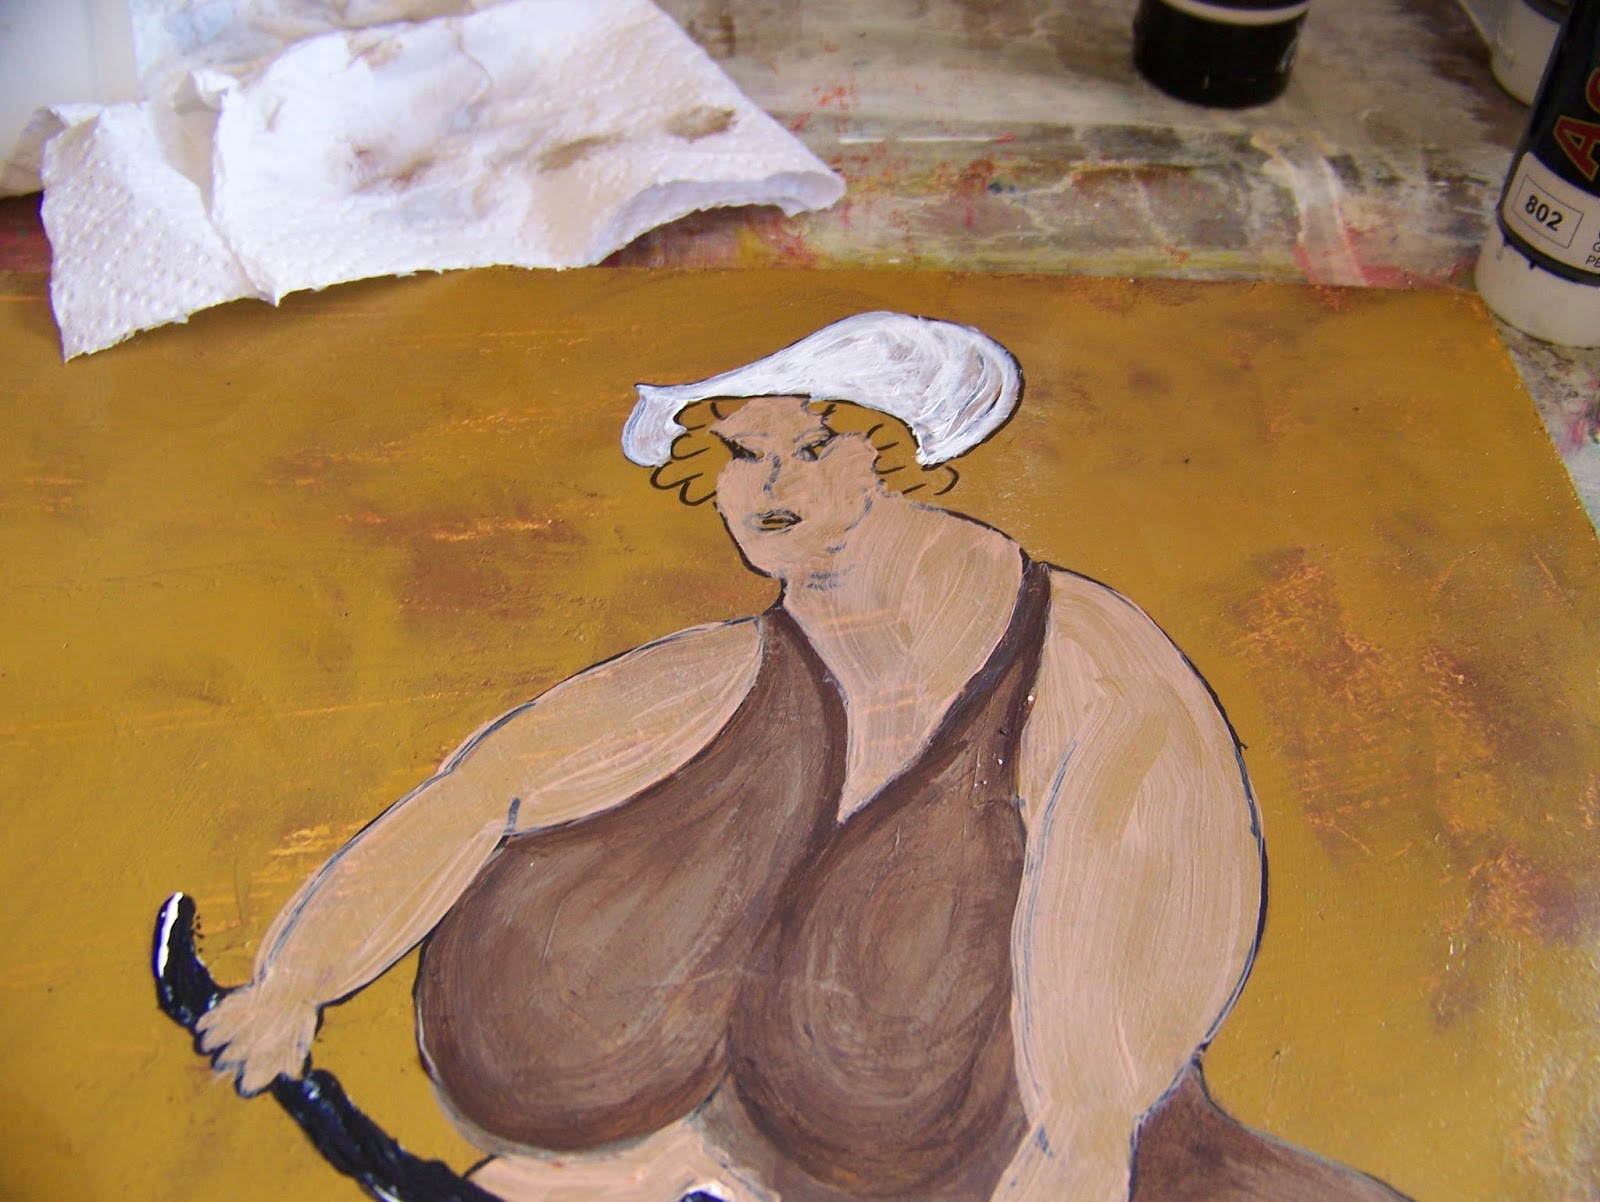
Then the first layer of color is added and the details of the face is painted in.

More color is added to the hat and Light Brown is painted into the hair, making our lady a redhead!

I am now done with the figure and can move on to the background.

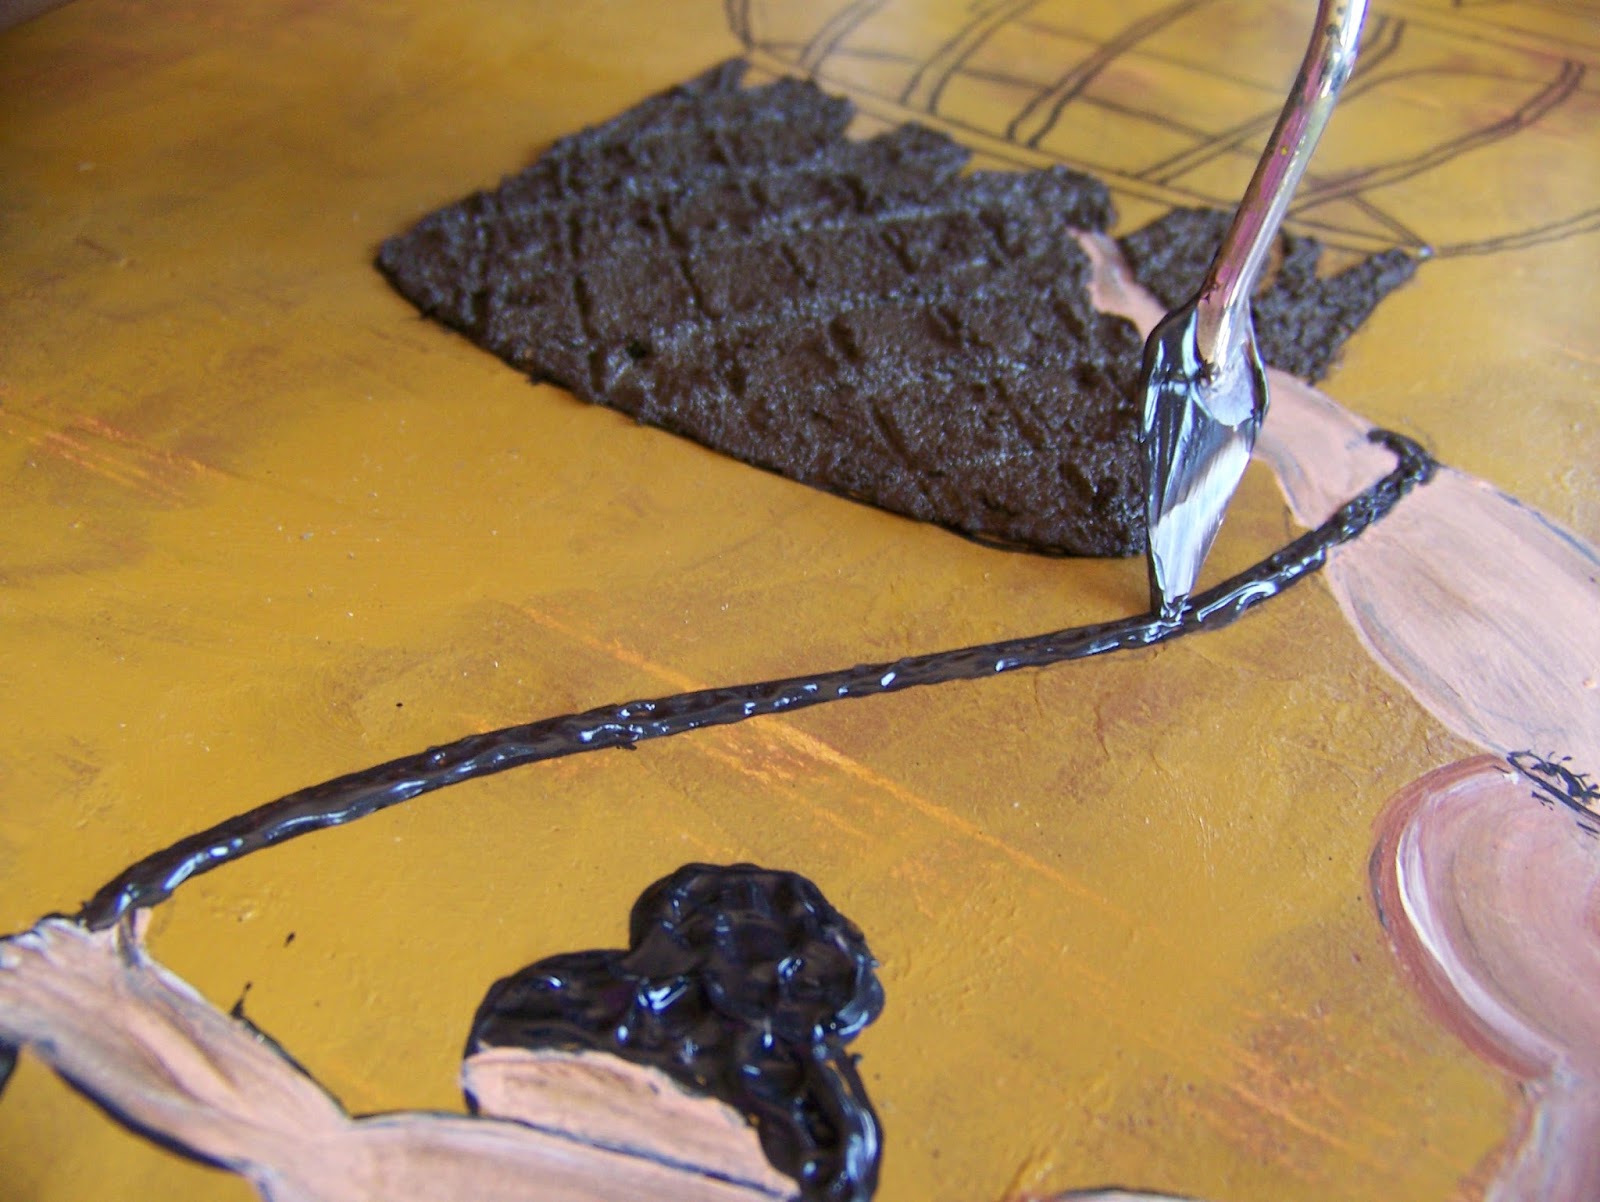
As the wheels of the bike runs off the page, I can not create a successful path for her to travel on, but I can make the path reappear in the foreground. For this purpose I mix Coarse sand, Raw Umber and Payne's Grey.

I also add some modeling paste.

My pathway is added in the corner.

I then decide that she could very well be traveling on a gravel road that will meet up with tarmac and mix some more paint for this; Burnt Sienna, Titanium White and Payne's Grey.

This is mixed with fine sand.

The leftovers are always used to paint some canvas supports.

I used a palette knife to paint the suggestion of a gravel road.

My mini factories (or whatever you want to interpret them to be) is glued on with wood glue.

The metal parts are glued on with Genken Contact Adhesive.

Remember to sign your name!

I then remembered that I had forgotten to add some lace trim to the negligee and quickly added this.

That concluded the second painting, leaving only one more to go.

I start the last lady's negligee in Cream.


The shadow areas are then darkened with Raw Umber.

Finally I turn to the color I actually want to have dominate, Burnt Sienna.

I continue working with these three colors to create shadow and highlights.

I continue painting the flesh areas with Dala's Flesh Tint.

Remember the shadows and highlights.

The lace is painted in Mars Black.

I mix Raw Umber with fine sand.

I then use a palette knife to paint the basket with the sand and paint mixture.

Turning the palette knife on its side, I am able to add the illusion of a basket weave to the painting.

I then mix Black with modeling paste.

This is used to add texture to the hair.

I add Raw Umber, Brown and more modeling paste to the mixture.

Realizing that I want a darker shade, I add more Black.

I use the tip of the palette knife to paint a textured rope with this mixture.
There are actually a number of ropes that need to be treated like this.

I use the leftover mixture to paint some more Canvas Supports.

The last remaining bits is mixed with coarse sand.

In line with the set, I add a ground area on the painting.

I return to the Burnt Sienna.

This time I paint the inside of the basket with it.

I now need to add color to the hot air balloon and start with Light Brown.

I move on to a vibrant Yellow Ochre.

And then I tone it down with Black.

The rest of the hot air balloon is painted in Burnt Sienna again.

That concludes the painting part of this picture.

The 'factories' and 'gears' are glued to the surface with Wood Glue.

The metal bits are attached with Genkem Contact Adhesive.

I still need to sign my name.

And then the last painting is also done.
This set of paintings (triptych) is available from the Gallery in APrettyTalent.com, under the artist Miekie.

The set as seen with the background clutter cropped.

This set of paintings (triptych) is available from the Gallery in APrettyTalent.com, under the artist Miekie.
For more crafty ideas and great products, visit APrettyTalent.com.
Remember to keep nurturing your TALENT for making PRETTY things.
You can subscribe to this blog and receive regular updates by email by simply registering your email address at the top of the current blog.
No comments:
Post a Comment